Are you looking to add a touch of rustic charm to your home decor without breaking the bank? In this DIY project, we’ll show you how to transform ordinary glass jars into beautiful farmhouse-style masterpieces.
By using a few affordable items from the Dollar Store and a bit of creativity, you can create stunning decorative pieces that will elevate the ambiance of any room.
Let’s dive into the step-by-step guide to creating these delightful farmhouse-style jars.
Links may be commissioned.
Materials You’ll Need
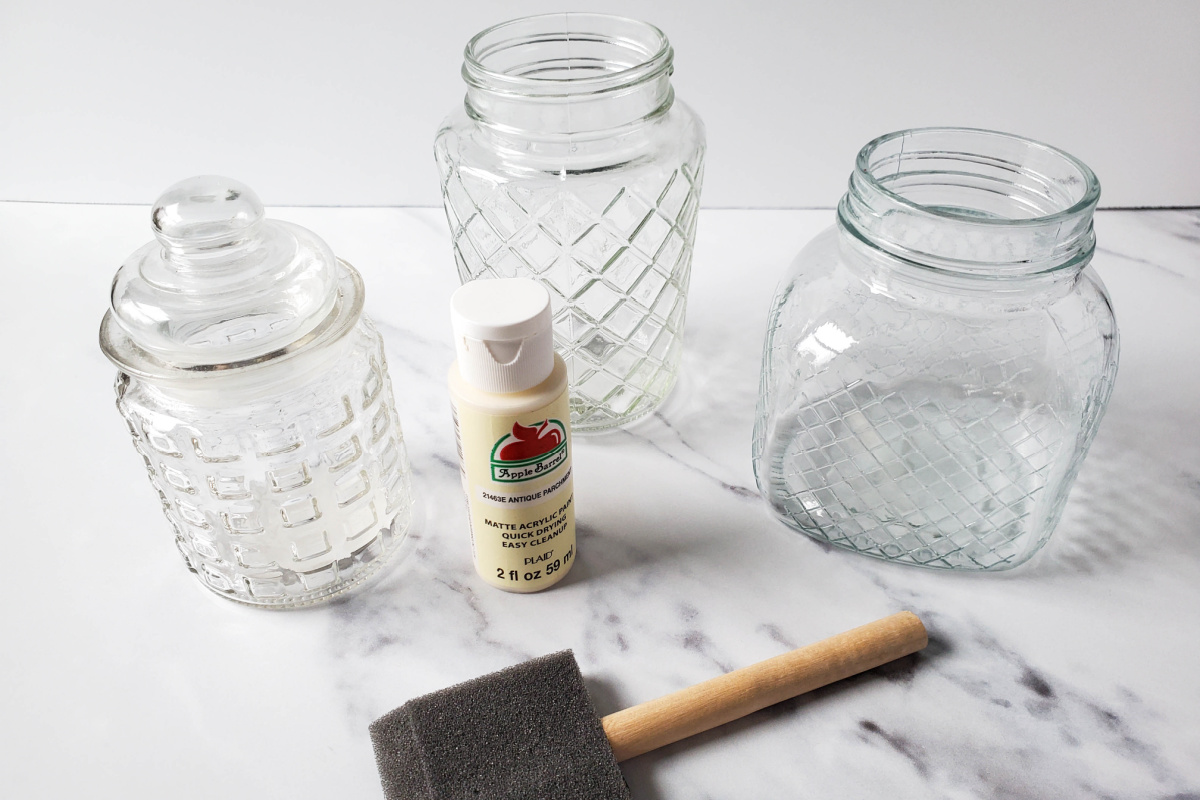
Before we get started, gather the following materials:
- Decorative glass jars from Dollar Tree. You can also use jars you have sitting around at home.
- Antique Parchment paint
- Foam paint brush
- Paper or cardboard to protect your work surface
- Alcohol wipes
- Optional: Sandpaper for distressing
- Optional: Clear sealer or varnish for protection
Directions
Step 1: Prepare Your Work Area
To ensure a smooth crafting experience, lay down some paper or cardboard to protect your work surface from any paint spills or drips. This will make cleanup a breeze and keep your crafting space tidy. Wipe your jars down with an alcohol wipe. This will remove any grease, grime, or oils from your hands.
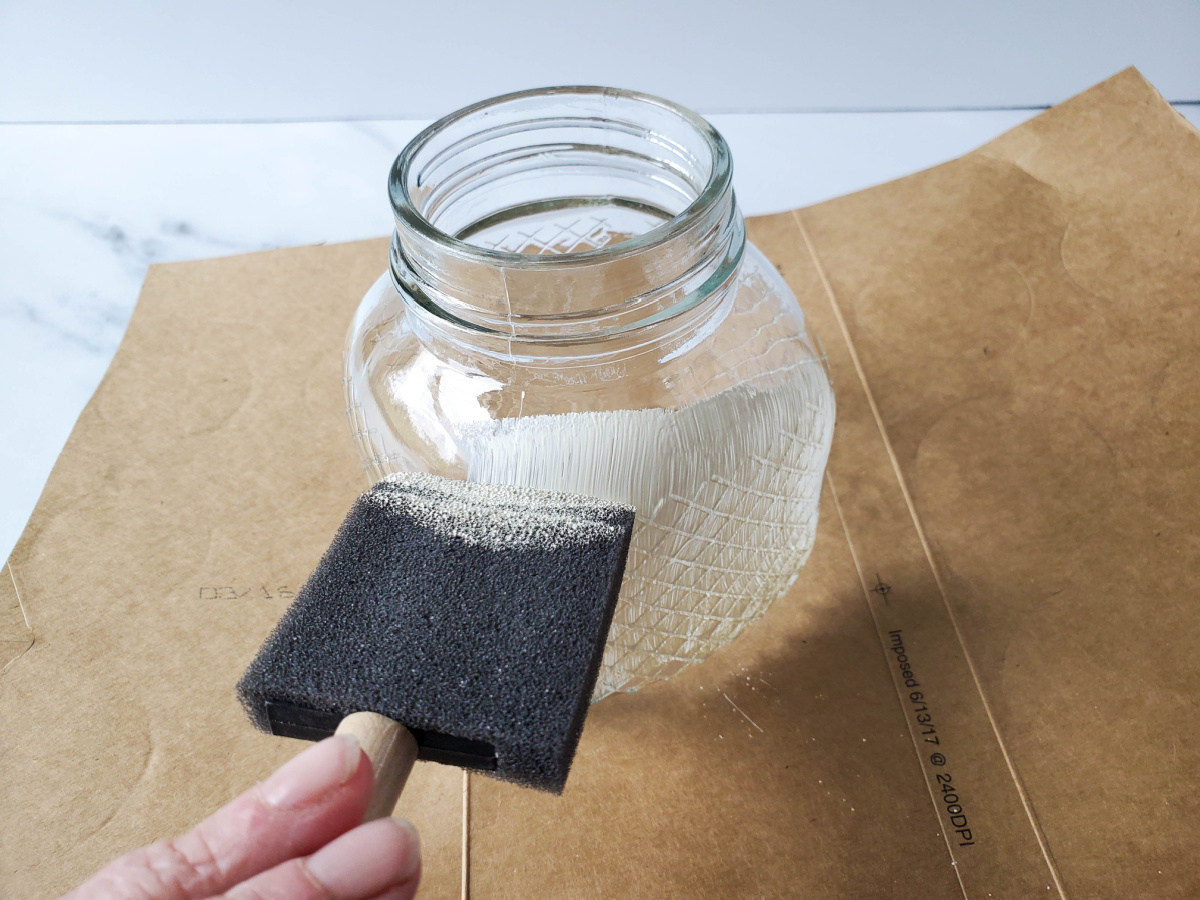
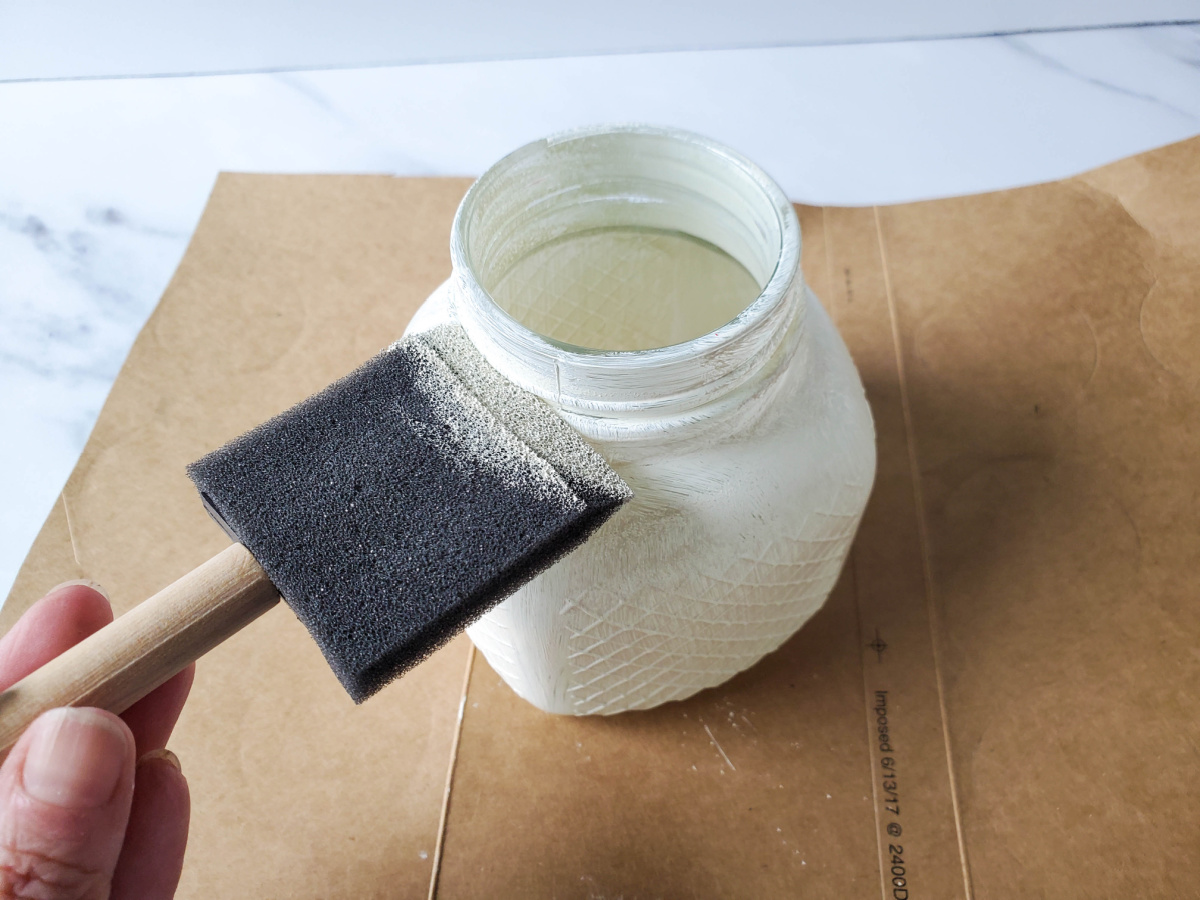
Step 2: Apply a Light Coat of Paint
Using the foam paint brush, coat the entire outside surface of the glass jars with a light layer of Antique Parchment paint. This light coat will give the jars a distressed and vintage look, which is the hallmark of farmhouse-style decor. Take your time to ensure even coverage, and remember that you can always add more paint later if desired.
Step 3: Allow the Paint to Dry
Once you’ve applied the paint, allow the jars to dry completely. The drying time may vary depending on the paint you used, so refer to the instructions on the paint label for guidance. This is an excellent opportunity to take a short break or plan your next steps in the crafting process.
Step 4: Optional: Distress the Jars Further (if desired)
If you want to enhance the distressed look of your farmhouse-style jars, you can choose to distress them further using sandpaper. Gently sand off some of the paint from the edges and raised areas of the jars to achieve a weathered appearance. This step is entirely optional and depends on your preference for the final look. Be gentle while distressing to avoid damaging the glass.
Step 5: Optional: Seal the Jars
If you want to protect the painted finish and give your jars a longer life, consider applying a clear sealer or varnish over the painted surface. This step will help prevent the paint from chipping or rubbing off over time, ensuring your creations stand the test of time.
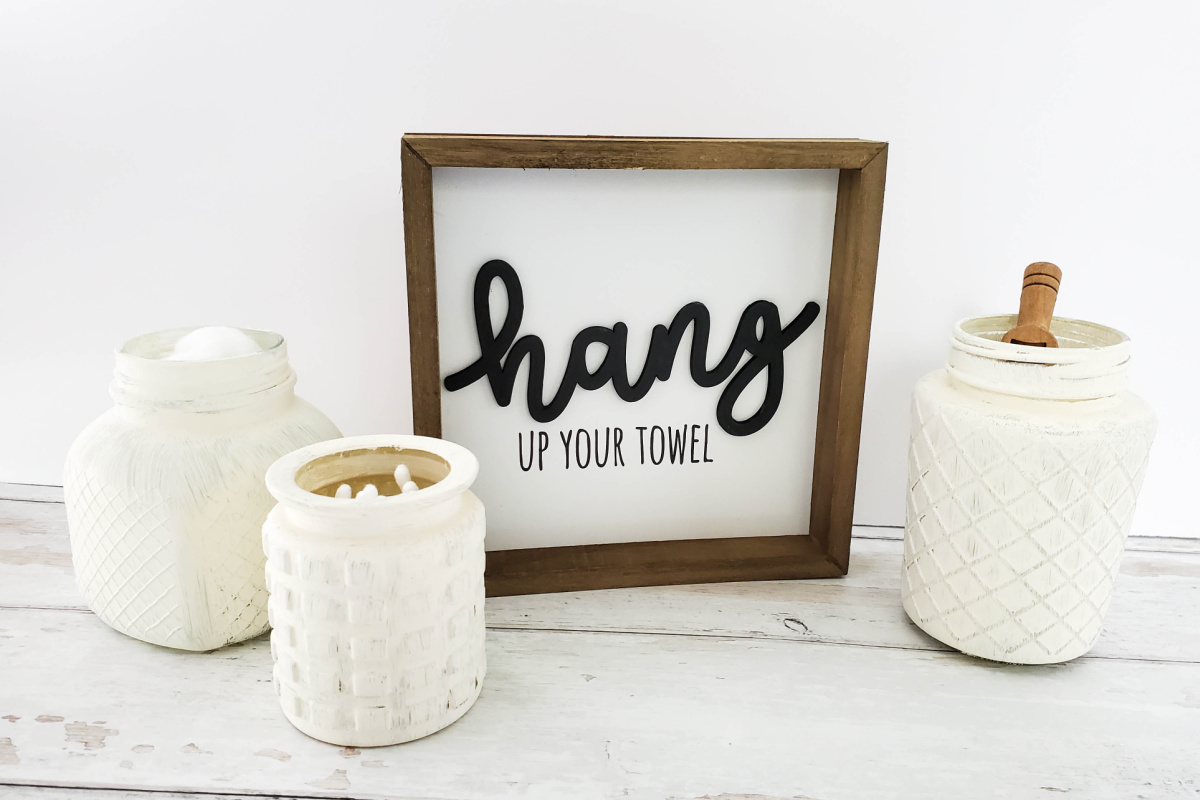
Step 6: Display and Enjoy
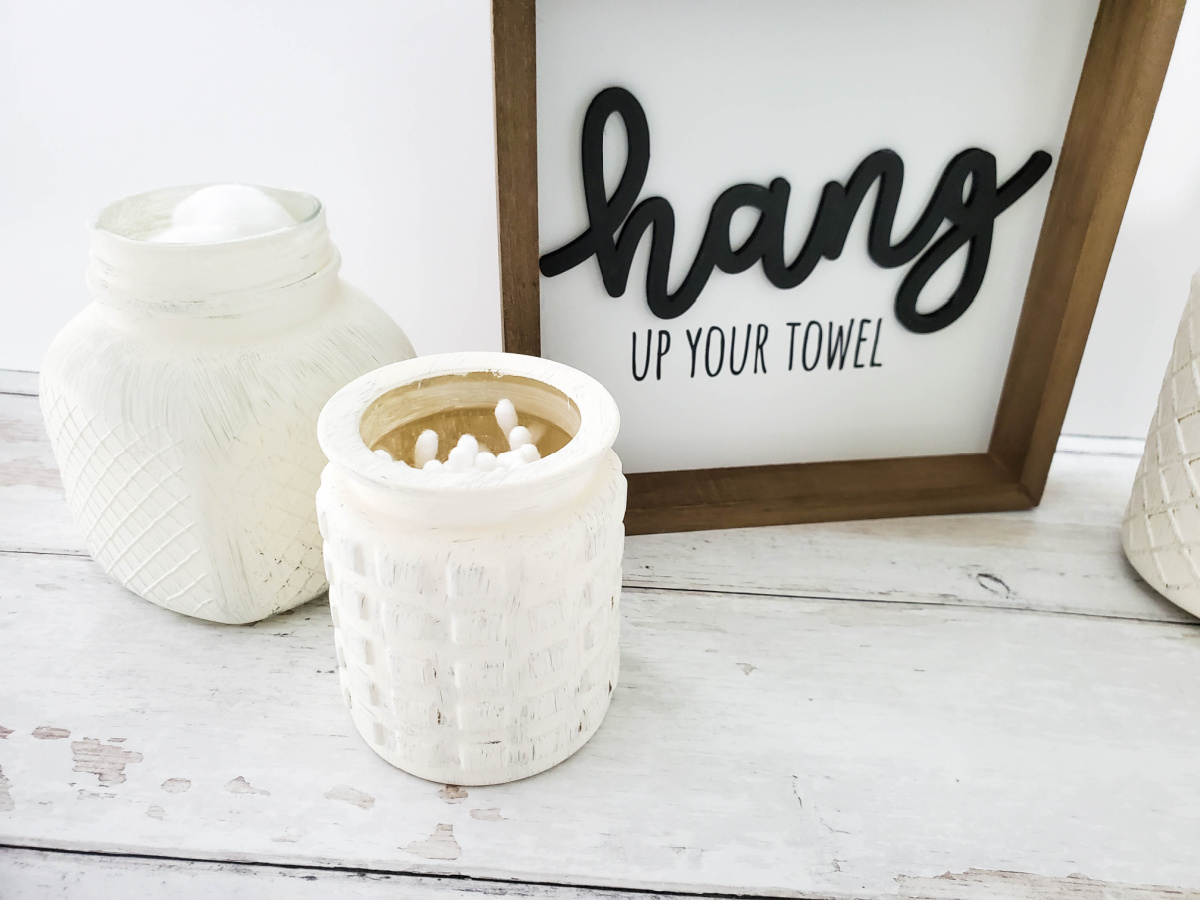
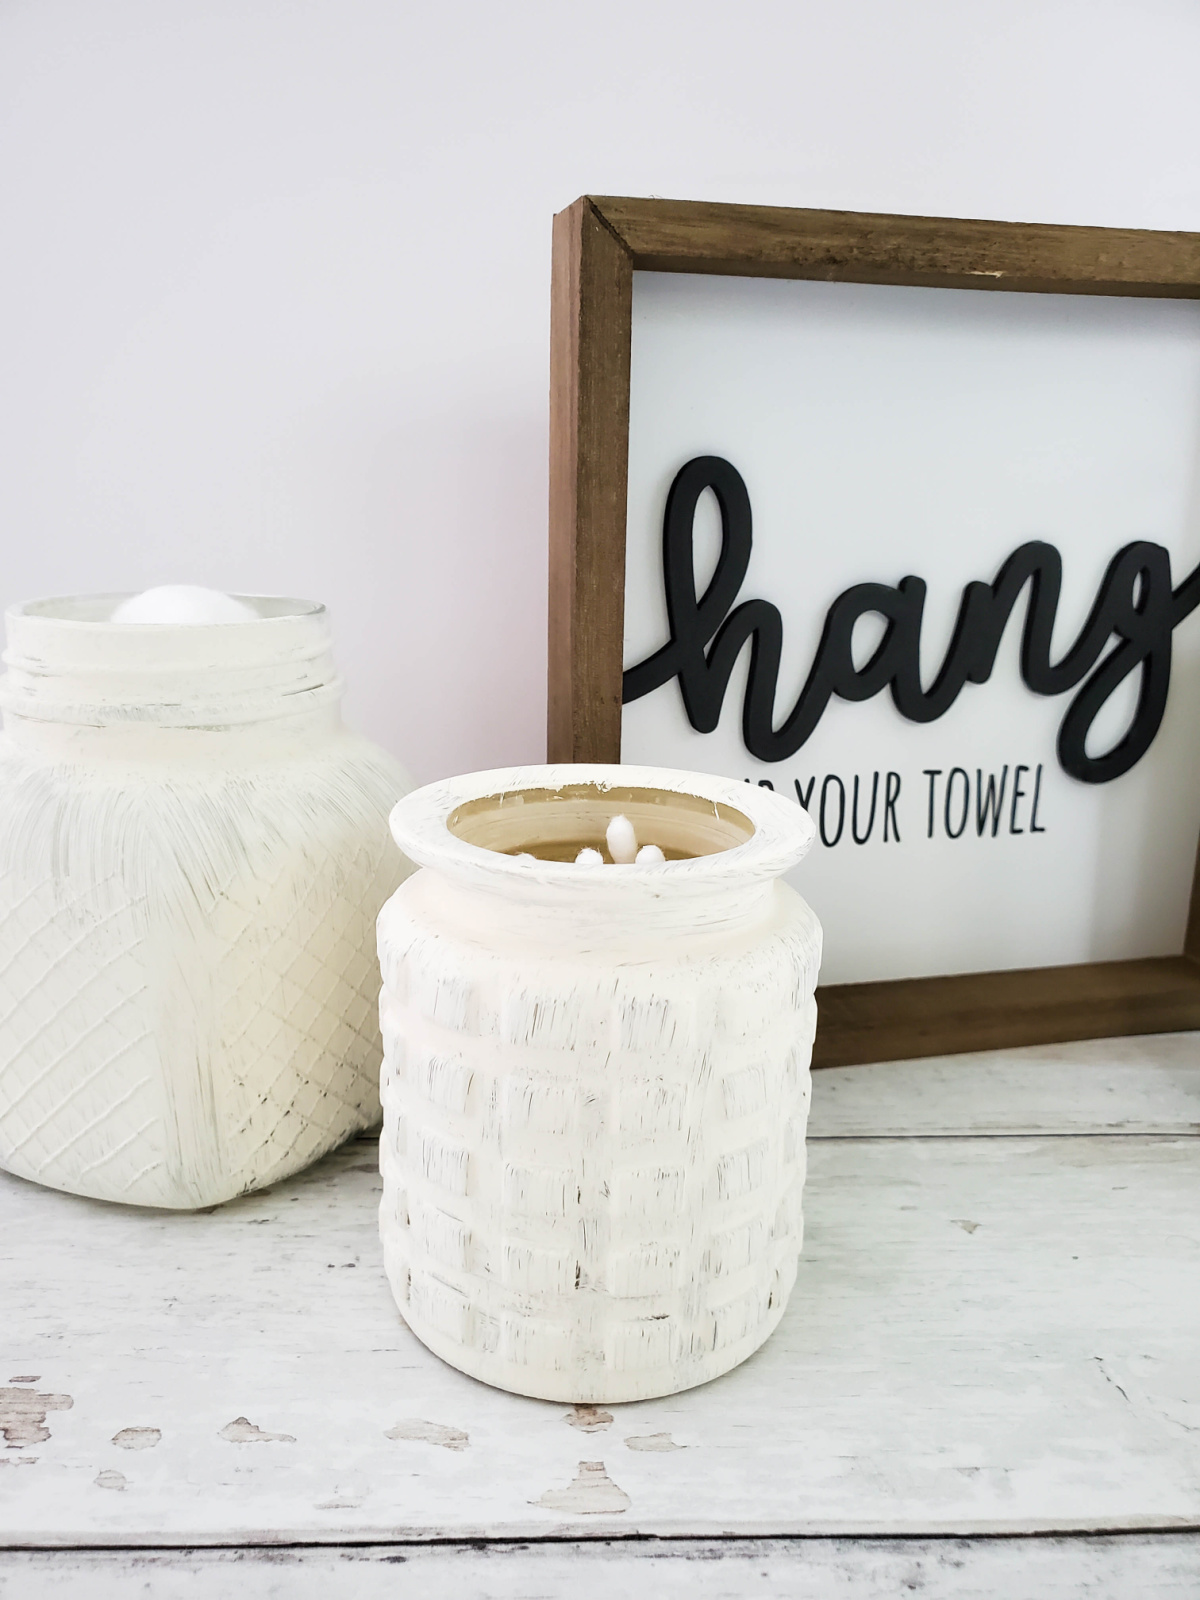
Once your farmhouse-style jars are dry and sealed (if you chose to seal them), it’s time to showcase your creative talent. Use them as flower vases, kitchen storage containers, or display them as standalone decorative pieces around your home. These charming jars will undoubtedly add warmth and vintage flair to any space they grace.
Places to display your DIY Farmhouse Jars
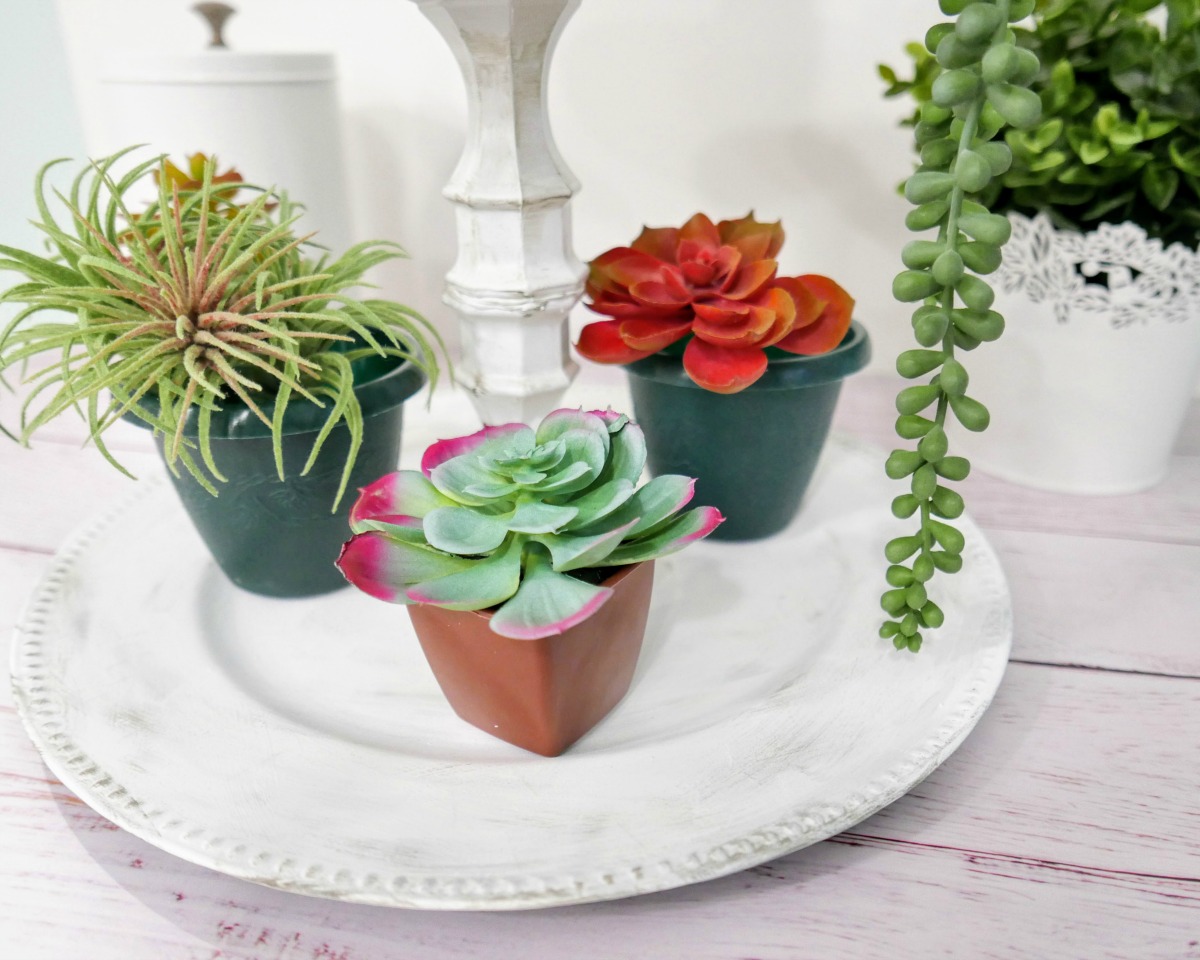
These farmhouse-style jars can be used in various areas of your home to add a touch of rustic charm and vintage appeal, like a DIY Shabby tiered tray. Here are some ideas for where you can use them:
Living Room: Display the jars on a coffee table or side table as decorative pieces. You can fill them with dried flowers, faux plants, or decorative spheres to create an eye-catching centerpiece.
Kitchen: Use the jars for kitchen storage. Fill them with ingredients like sugar, flour, coffee beans, or tea bags. Label each jar with chalkboard labels or tags to add a personalized touch.
Dining Area: Place the jars as table centerpieces during meals. Add battery-operated LED lights inside the jars for a warm and cozy ambiance during dinner gatherings.

Bathroom: Utilize the jars to store cotton balls, Q-tips, or bath salts on the bathroom countertop. They’ll not only keep these items organized but also add a rustic flair to your bathroom decor.
Bedroom: Use the jars as bedside table decor. Place them on the nightstand with LED candles inside for a soft and relaxing glow in the evening.
Home Office: Organize your desk by using the jars to store pens, markers, paper clips, and other office supplies. This adds a touch of farmhouse charm to your workspace.
Entryway: Arrange the jars on a console table or shelf near the entryway. They can hold keys, spare change, or small trinkets, creating a welcoming and organized space.
Patio or Garden: Take advantage of the jars for outdoor decor. Fill them with small plants or candles and place them on a patio table for a cozy atmosphere during evening gatherings.
Laundry Room: Use the jars to store laundry detergent pods, clothespins, or other laundry essentials, adding a bit of style to your eco friendly laundry area.
Nursery or Kids’ Room: Place the jars on shelves or dressers as part of the room decor. They can hold small toys, hair accessories, or other trinkets, adding a whimsical touch to the space. Use colors to match the bedroom’s decor.
The versatility of these farmhouse-style jars allows you to use them in any room that could benefit from a touch of vintage charm. Get creative and experiment with different ways to incorporate them into your home decor, making your living spaces uniquely yours.