Are you looking for a gorgeous and glamorous hair updo for a special occasion? But you need it to be quick and easy. Never fear! This 10 minute hair updo will rescue you and your tresses.

Maybe you have a wedding to attend, or a graduation. Perhaps it’s a special event for work, or a charity. Whatever the case, you need to look good, and you want to do it yourself.
Who wants to spend hours upon hours doing your hair? Not this girl, that’s for sure. This easy to follow tutorial will help your hair look amazing. No one has to know how easy or quick it was.
10 Minute Quick and Easy Hair Updo Tutorial
Links my be commissioned.
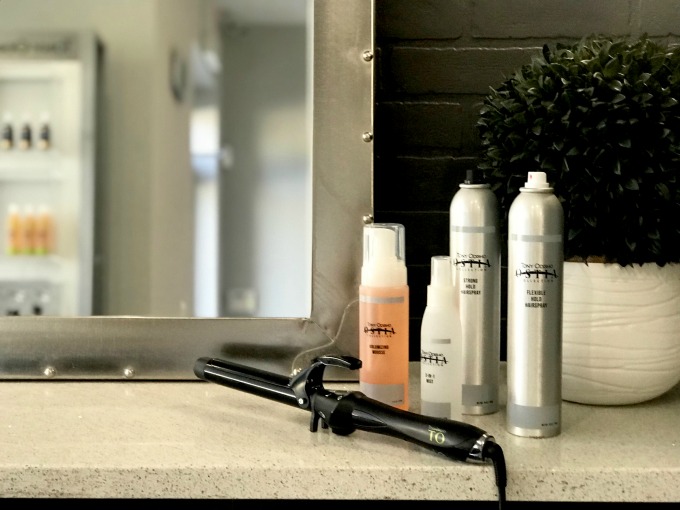
Items needed
- Volumizing Mousse
- Flexible Hold Hairspray
- Curling Wand
- Strong Hold Hairspray
- Elastics that match your hair
- Bobby Pins that match your hair
- 3-in-1 Shine Mist
10 Minute Hair Updo Directions
Step 1 – Prep hair You’ll want to start with hair that isn’t freshly washed. Hair that was washed the day before works great for this, as the natural oils will help to hold the style better. Wash your hair the day before. When styling your hair that day, use Volumizing Mousse to add body and texture. The day of styling, you’ll want to use Flexible Hold Hairspray on dry hair for heat protection and a workable hold.
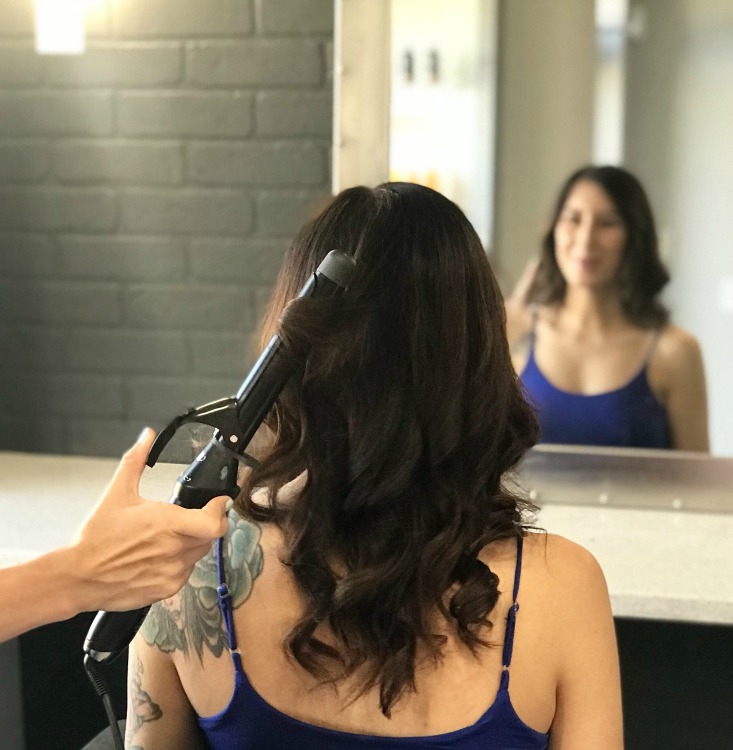
Step 2 – Add some loose curls Using the curling wand, create loose curls. They don’t have to be perfect since they’ll end up in an up-do later on. This is more for some texture. When you’re done curling, comb out hair.
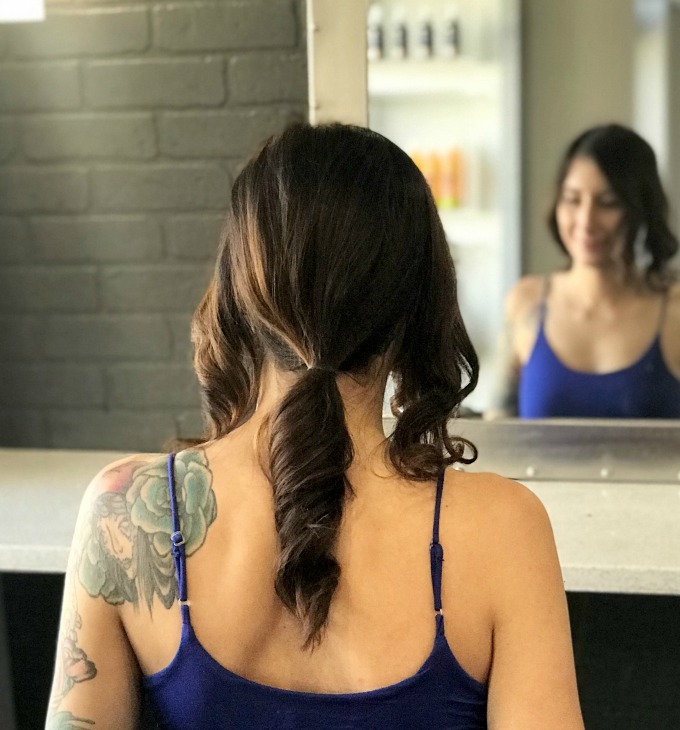
Step 3 – Pull back section of hair Separate hair, leaving two sections in front. Take the rest of the hair in (the back part) and pull it into a loose ponytail. Hold in place with a small rubber band that matches the hair. It’s important to make sure that the ponytail is centered, and not askew.
Step 4 – Flip ponytail inward Gently create opening above rubber band, then push the bottom (loose ends of hair) of the ponytail into that gap and pull through. This should look like kind of like a cheater twist.

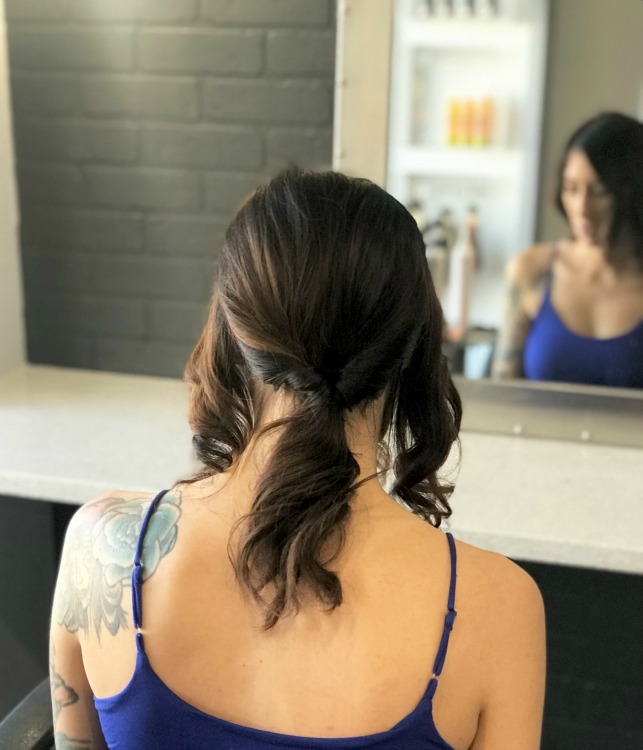
Step 5 – Pull back remaining sections of hair Pull the last two sections of hair back and tie together using another small rubber band, to create another layer of texture.
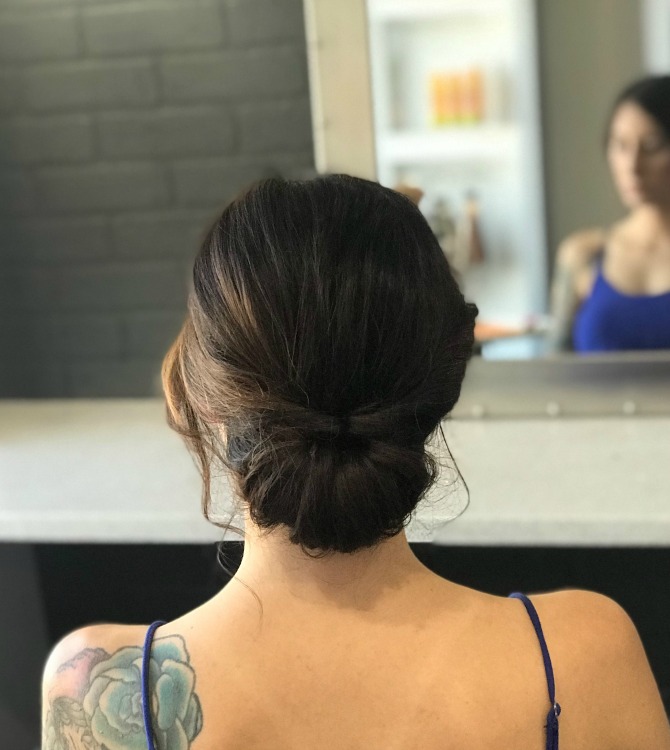
Step 6 – Tuck ponytail to create bun Tuck the ponytail up through the opening above the rubber band like you did in Step 5, but with the section that you just pulled back. This time don’t pull the hair all the way through. Nestle it into that section to turn it into an up-do. Secure with a few bobby pins, if necessary.
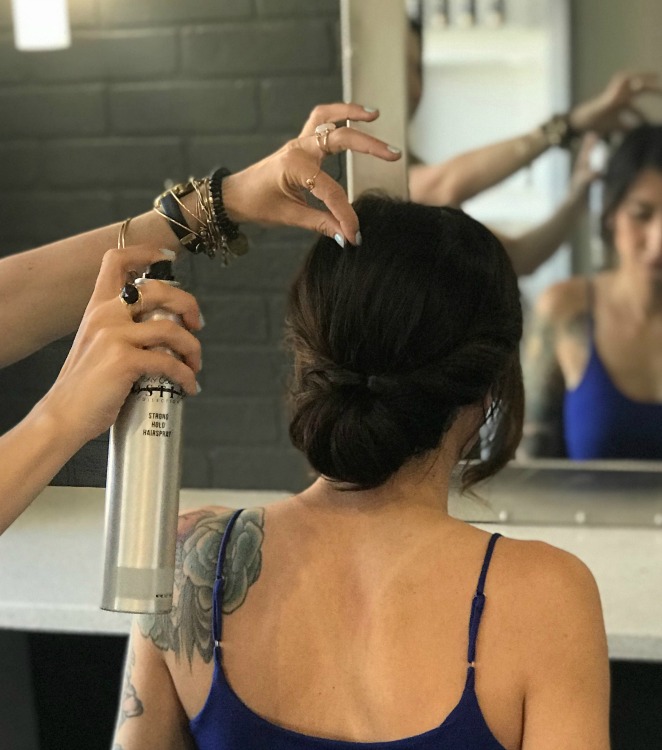
Step 7 – Finish with hairspray Use the Strong Hold Hairspray to finish your up-do and hold it in place all day long!
Step 8 – Add shine using 3-in-1 Mist (optional) 3-in-1 Mist is the perfect addition to a finished up-do because it adds a natural, lightweight shine while protecting your hair from UV rays. This is especially great if you’ll be outdoors, or at a wedding. And remember, a light hand is best with this. You want your hair to have a healthy shine, not look greasy.
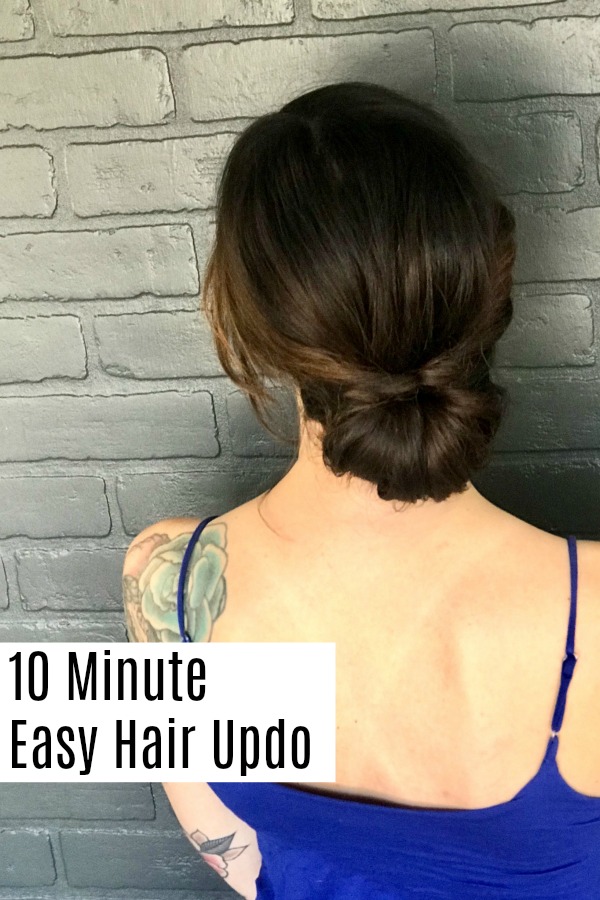
Voila! You’re done! See how easy and simple this elegant hair updo was? And no one will ever know it’s basically some brushed out curls and two ponytails. It looks like such an elegant chignon, and that you sat in a stylists’ chair all day.
 .
. Tutorial and images courtesy of Tony Oshido