If you’ve been paying attention, glitter and resin are everywhere. Ev.er.y.where. Wanna know a secret? Resin is tricky and can be difficult, but there’s an easier version that works better for beginners.
UV Resin. We’re going to show you how to create a glitter resin keychain using an acrylic blank and UV resin.
What’s UV Resin?
Resin is usually a two-part epoxy that needs to be mixed exactly to set correctly. If you don’t get it just right, it can be cloudy, sticky, or just not set at all. UV Resin is premixed and ready to use. It just needs to be cured. In short, UV resin is a different kind of resin that cures under UV light.
How to Make a UV Glitter Resin Keychain
Links may be commissioned.
Supplies Needed:
- UV Resin
- UV Light – This is the same type of light used to cure gel nail polish. If you have one of those, you can use it.
- Mask – Most experts believe a KN95 is probably adequate for using with UV resin in a well-ventilated area. But if you want to be sure, or you’ll be doing a lot of projects, definitely invest in a respirator.
- Nitrile Gloves – You want to wear gloves because removing resin from your hands is a real pain. You also want to protect your skin because you can develop an allergy. And, lastly, wearing gloves helps prevent getting fingerprints on your project.
- Acrylic Heart Keychain or Keychain of Choice – This set has several different shapes, plus the hardware you’ll need to make glitter resin keychains. And tassels!
- Red Glitter– Small projects only require a little bit of glitter, and this is a great option to expand your glitter collection quickly and affordably.
- Red Mica Powder – This is a great set of mica to get started, plus the jars make life so much easier.
- Cups to mix in Glitter and Powder
- Resin mixing kit– Measuring cups, reusable stir sticks, small measuring cups, pouring cups – it’s all here, and makes projects easier.
Directions:
Put your safety gear on. I generally take my chances, but when playing with resin, I (safety) gear up.
![]()
Prepare your keychain blank. If it has protective paper on it, peel it off.
Pour your resin into a cup. I found ½ oz is enough for one glitter resin keychain.
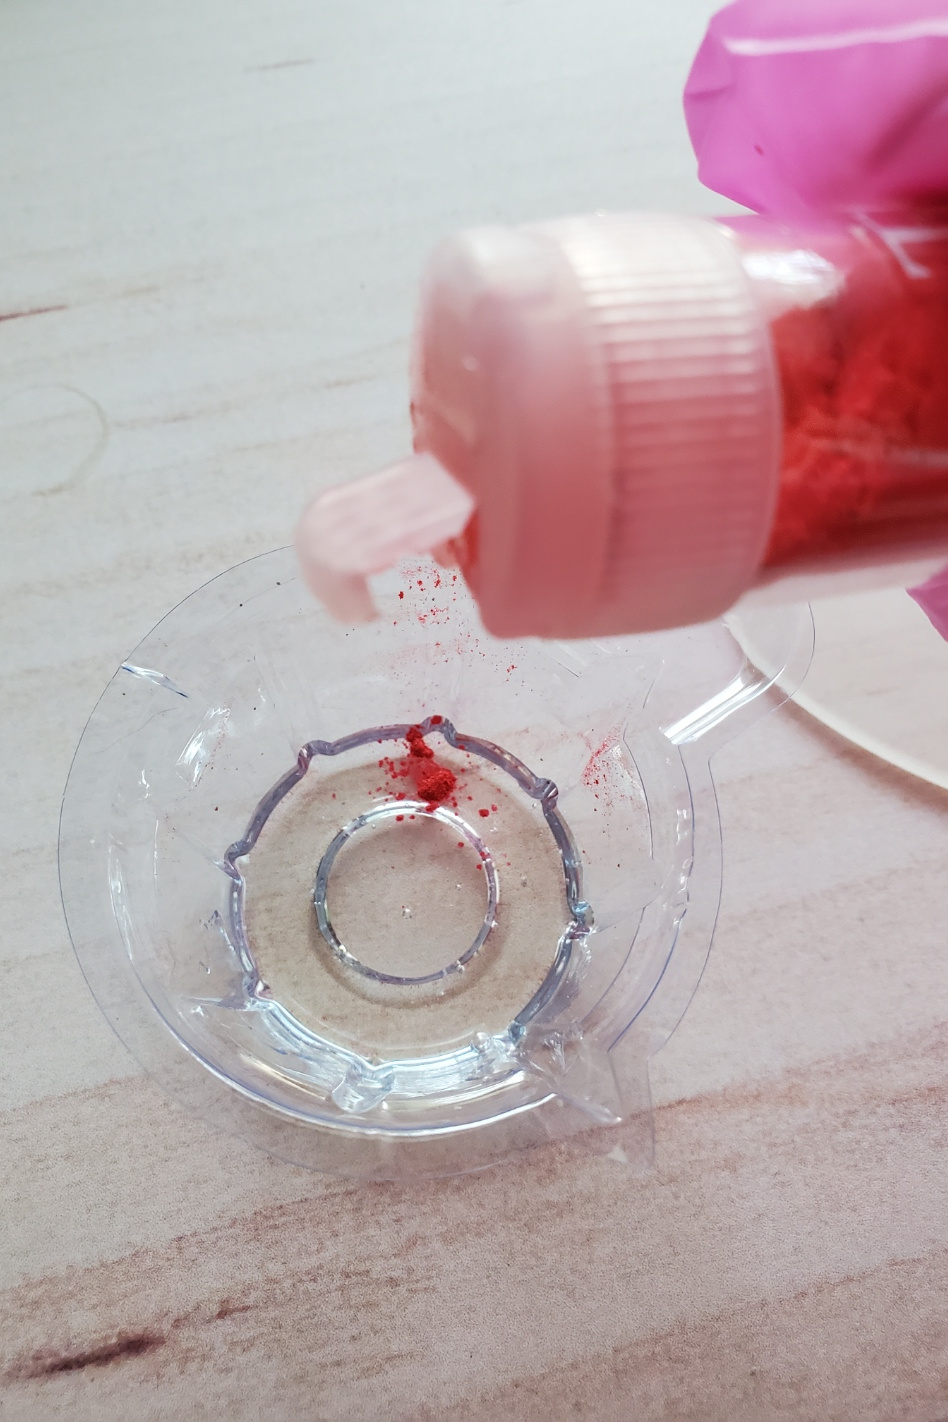
Add your mica powder to the UV resin. I used Red
Add in a little glitter. I used a red mix
Stir gently to mix. You want to take it slow so you don’t incorporate a lot of air. This will cause air bubbles that you have to deal with later.
![]()
Place some resin on your keychain blank and start smoothing it out on the keychain.
Continue this process until the whole keychain is covered, taking care not to fill the hole. You can use a toothpick or something similar to clean the hole out.
If you see any air bubbles you can use a straight pin to pop them or gently run a lighter over it until they pop.
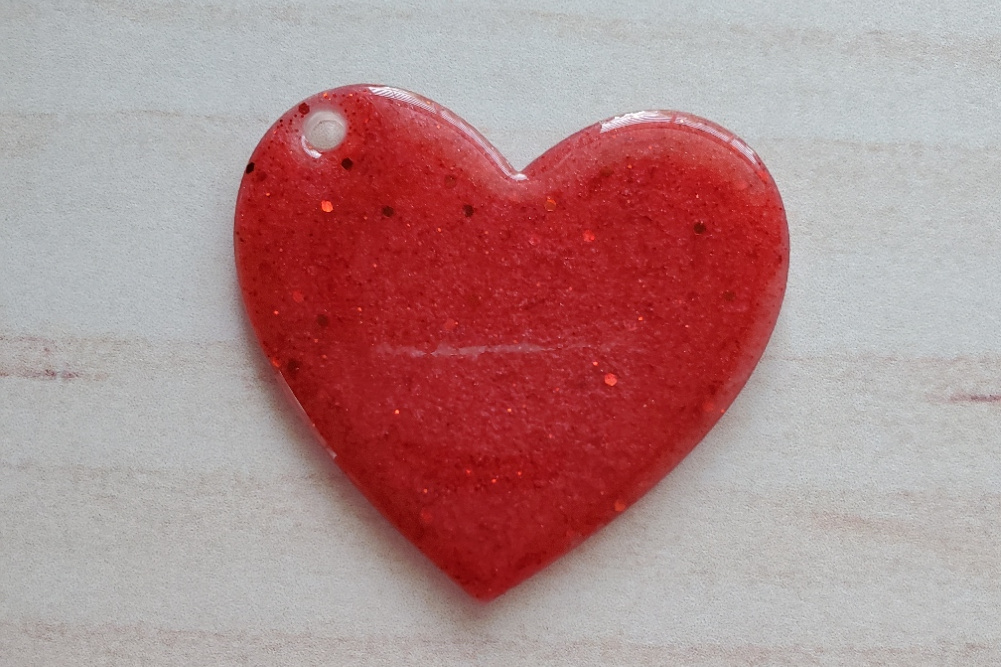
Place under UV light and cure in 60 second intervals until you have cured your UV glitter resin keychain for 4 minutes total.
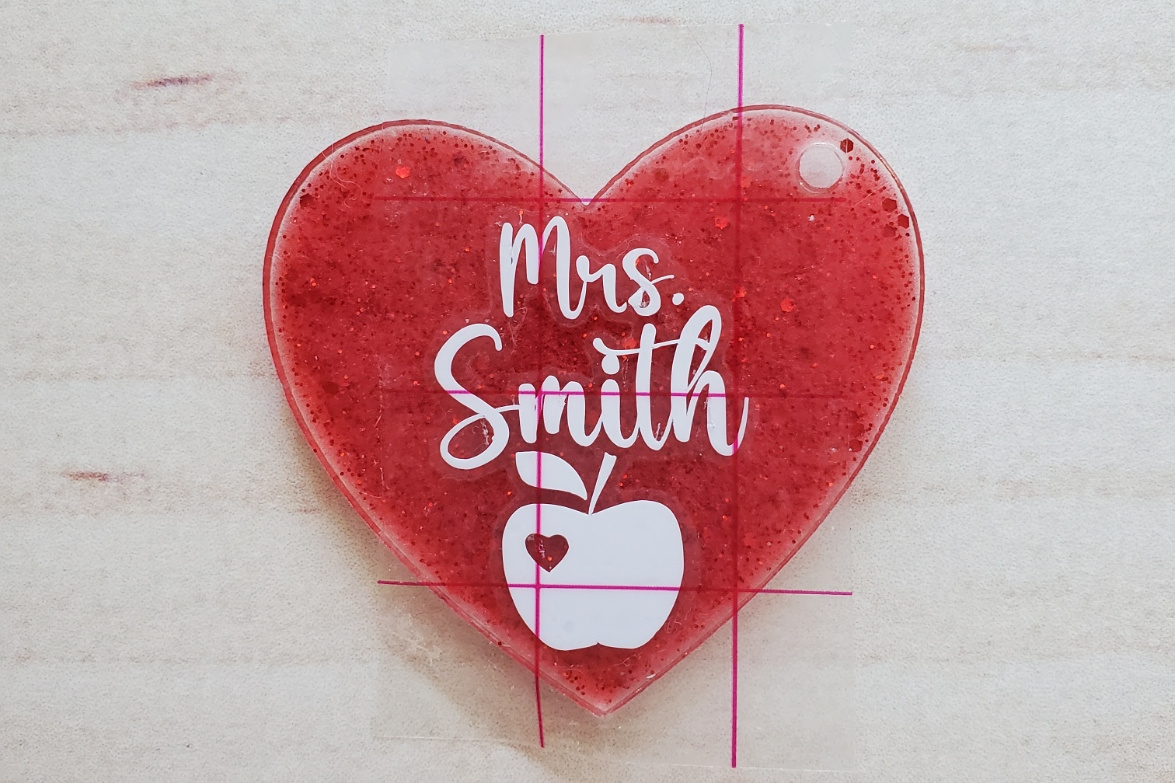
Let it cool down, usually about 5 minutes. Using your favorite cutting machine, like a Cricut or Silhouette, cut out the design you want to place on your keychain and apply. Since the keychain has such a small space to work on, I highly suggest reverse weeding.
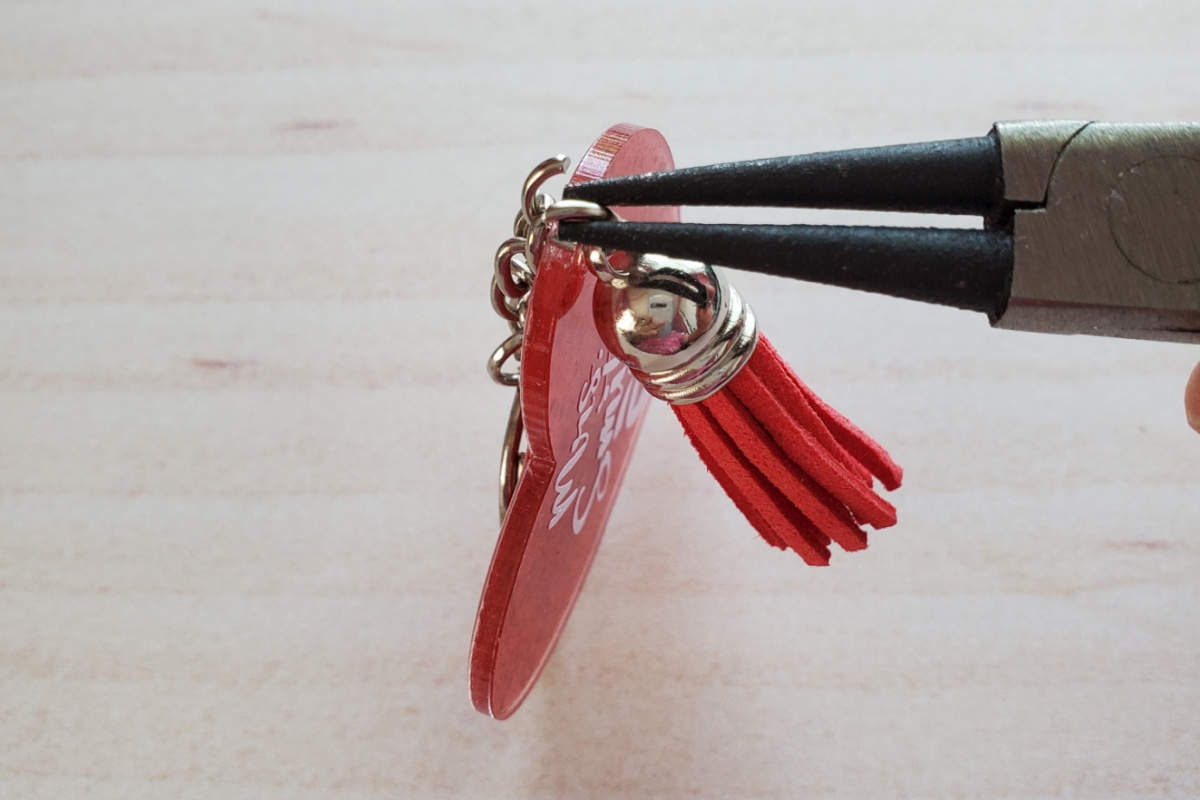
Using your pliers attach your jump ring. Attach your keyring to the back side and your tassel to the front side
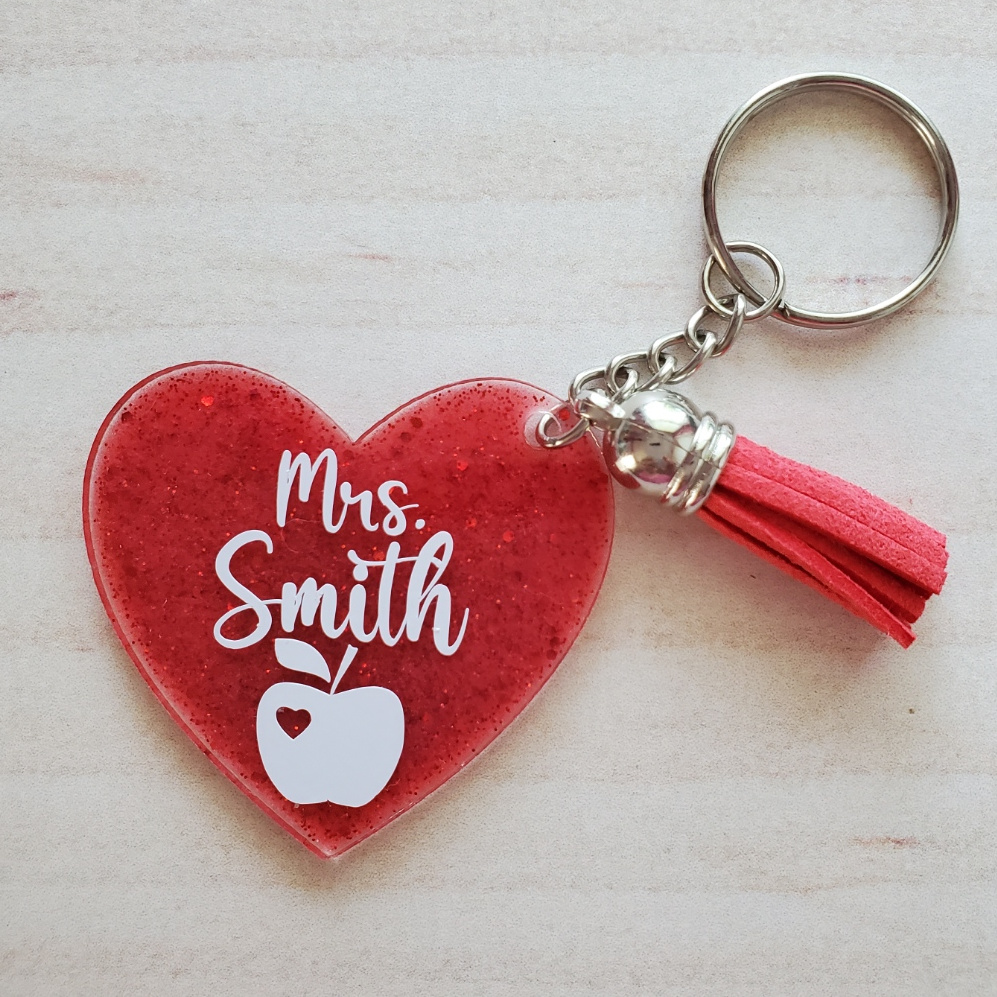
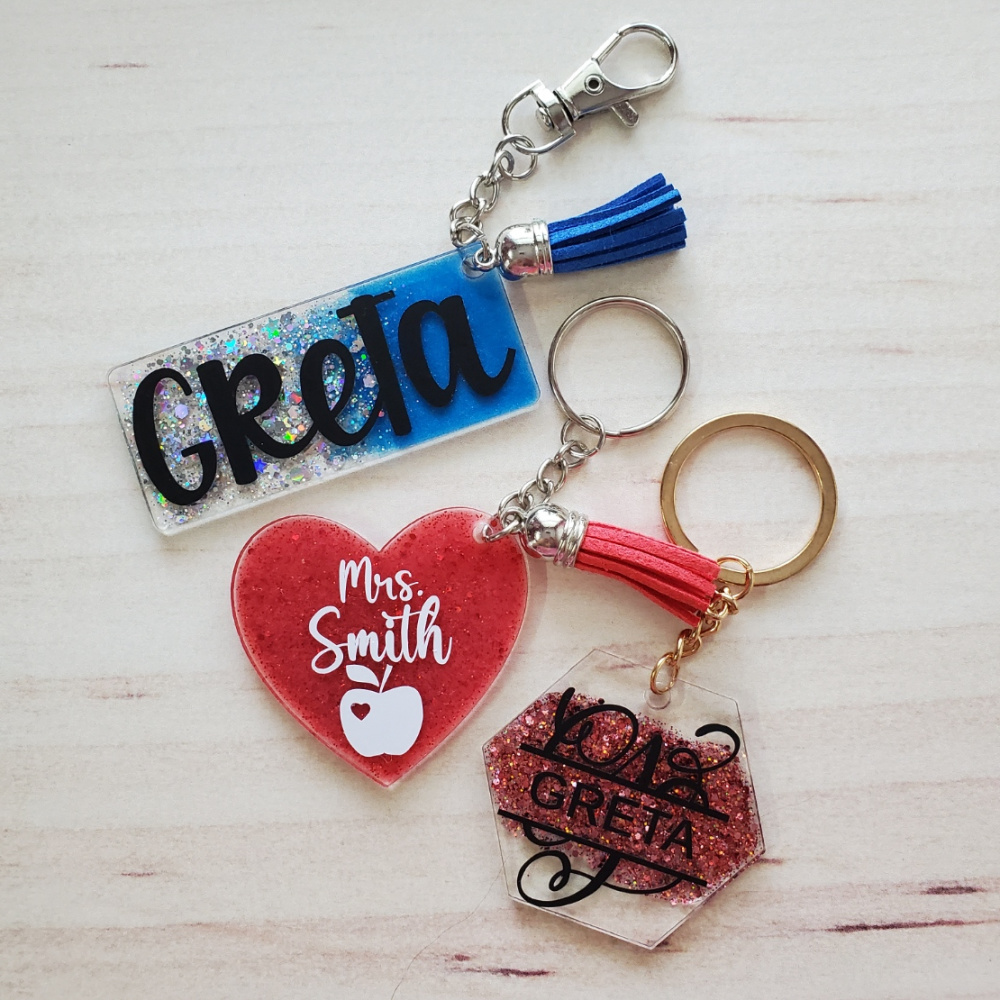
This is what it will look like when finished!
With a little bit of practice you can make fun UV resin glitter keychains in all shapes and sizes! They make unique gifts for every occasion and are pretty good craft show sellers.