How Was Your Day?

Upscale Ideas for a Conscious Casual Life

  • Home
  • Beauty & Fashion
    • Beauty
    • Fashion
  • DIY
  • Home & Garden
    • Home Decor
    • Gardening
    • Organizing
  • Food
  • Travel
  • Love & Money
    • Love
    • Money
  • 2022 Holiday Gift Guides
  • About How Was Your Day
  • Disclosure/Privacy Policy
  • Media PR Kit
  • Favorite Things
You are here: Home / Crafts / How to Make Glitter Glass Marble Magnets

How to Make Glitter Glass Marble Magnets

July 18, 2013 By Greta Brinkley

Sharing is caring!

1.8K shares
  • Share
  • Tweet

Glitter is one of the things that I adore.  It’s kind of ridiculous, really.  I don’t want everything covered with glitter, I just like that extra sparkle and that lil sumtin-sumtin that it seems to provide.

How to Make Glitter Glass Marble Magnets

These Glitter Glass Marble Magnets are the perfect thing to aid in my glitter fix.  As a bonus, they have a lot of flash, and are really quick and easy to make.

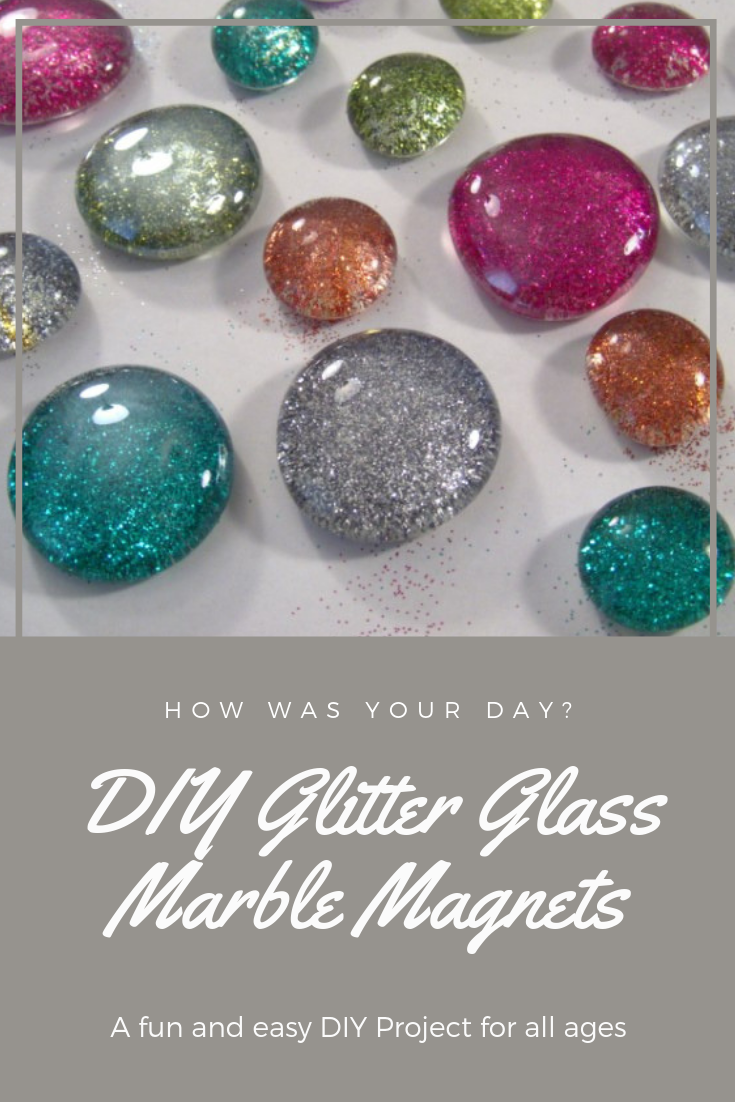
How to Make Glitter Marble Magnets

Supplies Needed:

Glitter Glass Marble Magnets Supplies

Flatback Glass Marbles.  I used both large and small ones, as I like the different looks each gives.  I bought mine at the dollar store.

Mod Podge or a similar adhesive.  Be sure it dries clear!

Glitter.  I’m using Martha Stewart brand glitter.

Sealer.  I like to use a spray sealer, but you can use another coat of mod podge, too.

Neodymium Magnets

E-6000 Adhesive

Glue Brush or foam painbrush

Extra paper


Directions to make Glitter Glass Marble Magnets:

1. Clean your glass marbles with warm, soapy water and dry really well.
2. Place paper down over your workspace.  You will want pieces that are about 8 ½ x 11 or so.

Glitter Glass Marbles step 1
3. Apply Mod Podge to the back of the glass marbles

Glitter Glass Marbles Step 2
4. Sprinkle with glitter.  Let set for a few seconds.

Glitter Glass Marble Magnets
5. Shake off the excess glitter.  You may want to tap the edge of your marble to get the excess glitter off.

Glitter Glass Marble Magnets
6. Set the marble aside to dry.  Return the excess glitter to the container.
7. The marbles will look milky, but don’t fret!  After the marbles dry, the glue will be clear.  Decide at that point if you want to add another layer of glitter.  If so, repeat steps 3-5.
8. After the marbles are significantly sparkly, and dry, seal the backs.  This will help keep the glitter from shedding all over everything.
9. After the sealant dries, attach a magnet using E-6000 adhesive.  I like Neodymium magnets, as they’re super strong and teeny tiny small.  You can also use a regular magnet.  I use E-6000 as it’s super strong, and will glue the metal of the magnet to glass with no issues.
10. Place on a magnetic surface and admire your handiwork!

Glitter Glass Marbles

Cost to Make: About $10 to get all the supplies.  Of course, the more items you already have, the lower the cost.

Time invested: 10 minutes or so, active time.  Approx 45 minutes for drying time.

Tips:

  • Ultrafine glitter works better than chunky glitter.
  • Vivid shades look better than pale or pastel shades.
  • You can glue the marbles for 2 or 3 different colors of glitter at once.  Any more than that, and the glue starts to dry too much.

Tell me – Will you be making Glitter Glass Marble Magnets?


DIY Glitter Glass Marble Magnets. This easy and simple tutorial is practically failproof, and great for all ages.

Share this:

  • Click to print (Opens in new window)
  • Click to share on Facebook (Opens in new window)
  • Click to share on Twitter (Opens in new window)
  • Click to share on Pinterest (Opens in new window)
  • Click to share on LinkedIn (Opens in new window)
  • Click to share on Reddit (Opens in new window)
  • Click to share on Tumblr (Opens in new window)

Related

Filed Under: Crafts

About Greta Brinkley

Greta is originally from the West Coast. Now living in the Midwest, she loves hockey, sparkles, nail polish, and bright colors. She also cannot resist anything that has peanut butter and chocolate together. And she hates filling out bios. Yep.

« How to Organize Paperwork
Hot Jewelry Trends for Fall 2013 »
  • Email
  • Facebook
  • Instagram
  • Pinterest
  • Twitter

About Me

Hi! I’m Greta, a Lifestyle and DIY expert. I’m originally from the west coast, and currently living in the Midwest. We’re mad about DIY and travel, lover of fashion and food, and slightly obsessed with trivia. And you can never go wrong with glitter, nail polish or hockey. Did I mention we were named one of the top DIY blogs?

"Want to work together, or just say hi? Drop me a line! WhyHelloGreta@gmail.com
2023 Holiday Gift Guide graphic
Be Part of our 2023 Holiday Gift Guide

As Seen On

Our Most Popular Posts

20 More Must Have Camping Essentials

How to Make Glitter Wine Glasses

Easy 10 Minute Hair Updo Tutorial

Custom Mudroom bench Ikea Hack

A Trip on the Grand Canyon Railroad

  • Email
  • Facebook
  • Instagram
  • Pinterest
  • Twitter
  • YouTube

I am a participant in the Amazon Services LLC Associates Program, an affiliate advertising program designed to provide a means for me to earn fees by linking to Amazon.com and affiliated sites.

Newsletter

subscribe for email updates!

Copyright © 2023 · Foodie Pro Theme on Genesis Framework · WordPress · Log in

1834 shares
 

Loading Comments...