It’s that time of year again! It’s Mardi Gras, y’all! While this year is really different, and New Orleans is shut down, that doesn’t mean you can’t still celebrate. These DIY Mardi Gras wood signs are super cute, and so easy to make.
Make a set of these signs, whip up some easy Mardi Gras slowcooker recipes, and imbibe in a couple Louisiana style cocktails for your own party.
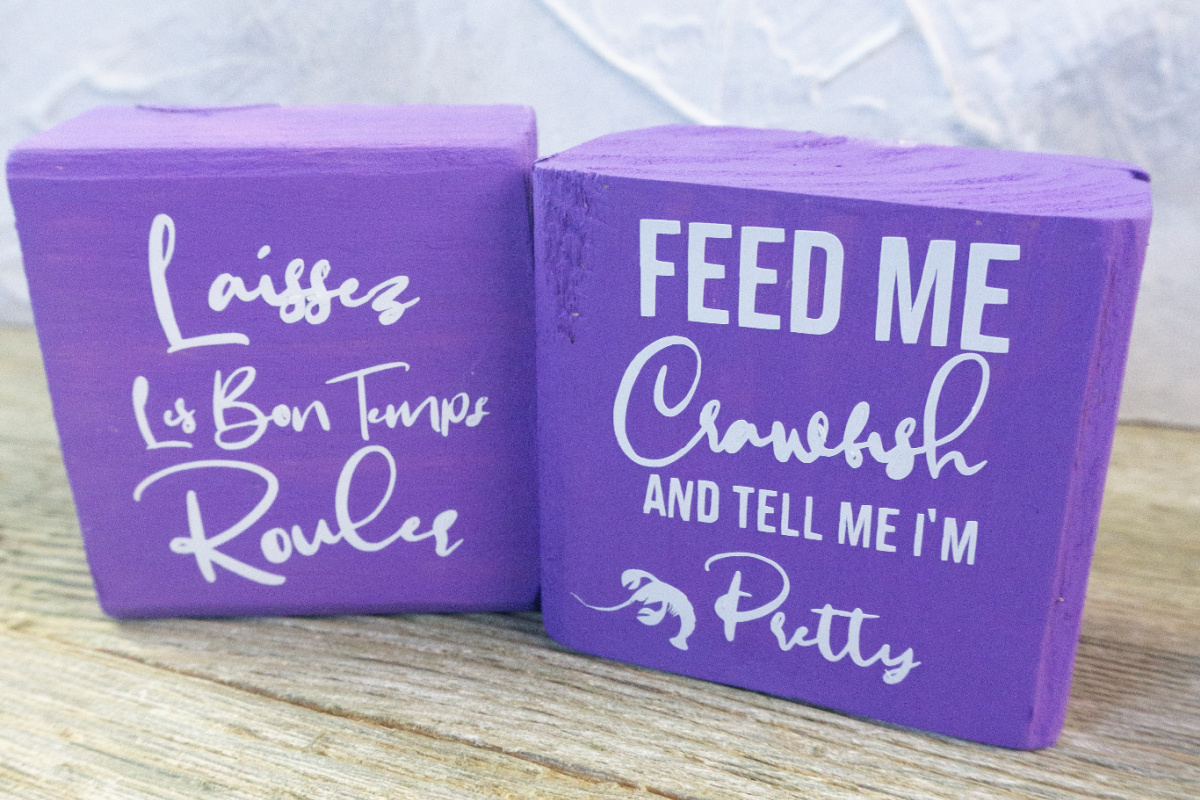
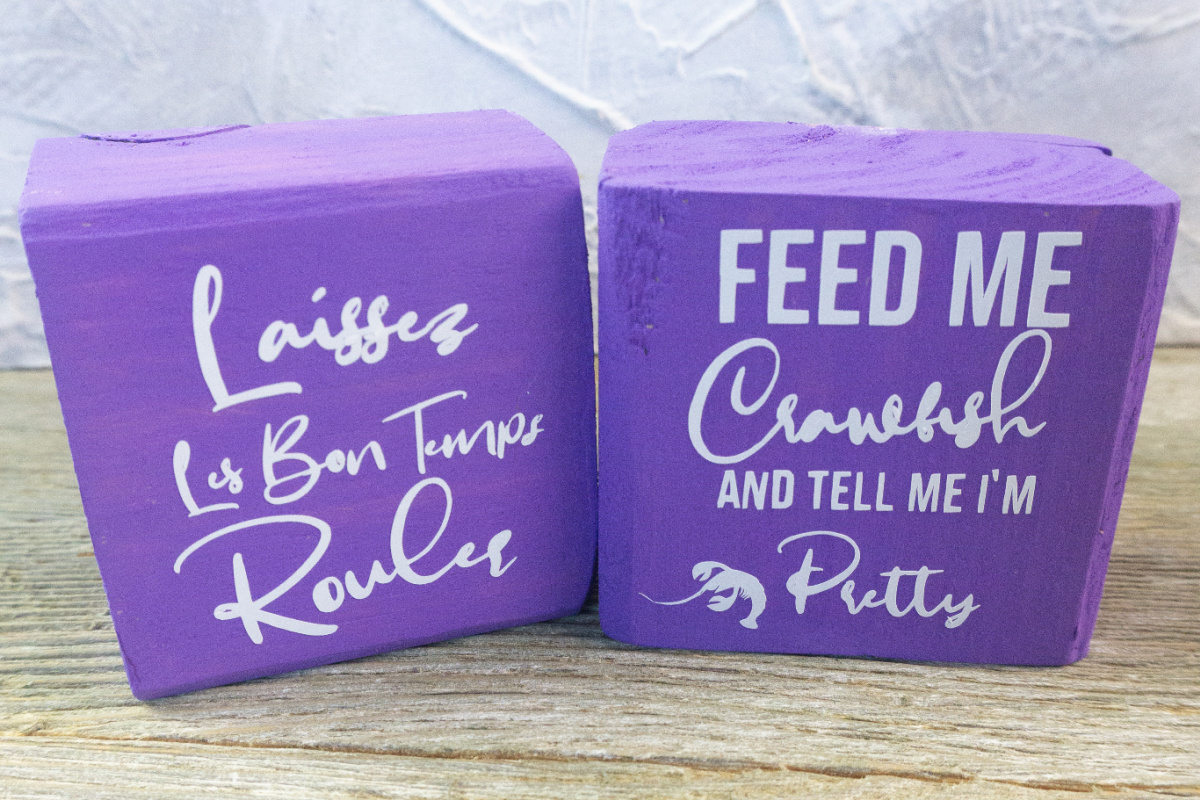
One of these DIY Mardi Gras wood signs says “Laissez Les Bon Temps Rouler”, or Let the Good Times Roll. The other says ” Feed Me Crawfish and Tell Me I’m Pretty.” Both are so Mardi Gras, and so New Orleans. We’ve included these two SVG cut files for free! As long as they’re for personal use, that is.
These blocks, or wood signs, are so super easy to make. All you need are a few basic supplies, and your Cricut or Silhouette cutting machine. I used a Cricut, so that’s the terminology we’ll be using. But, if you’re a Silhouette user, you know how to convert these terms for your machine.
One of the great things about this project is that you can use any of the Cricut family of machines, This is a great project for the Joy machine, as it’s easy and smaller in size.
DIY Mardi Gras Wood Signs for the Cricut
Links may be commissioned.
Makes: 2 signs
Materials:
2x3x8 wood (Cut into 2 1/2 inch blocks). Scrap wood also works well for this.
Lavender matte chalk paint
1 sheet white oracal 651 adhesive vinyl
Blue cricut mat
Weeding tool
Cricut machine
Laissez PNG/SVG
Crawfish PNG/SVG
Transfer tape
Scraper Tool
Sand paper
Plastic drop sheet, large scrap paper, or old newspaper.
Paint Brush
DIY Mardi Gras Signs Directions
Start by cutting the wood into 2 1/2 inch squares. Sand the edges to get rid of rough spots and smooth out the wood.
Download the SVG files. You can get the Crawfish one here. Get the Laissez svg file here.
Place the wood blocks on the plastic drop sheet or some scrap paper. Old newspapers work great for this.
Paint the blocks with matte lavender chalk paint. Let dry completely, usually about an hour or two.
Using Cricut design space, upload the png or svg files. If not using an SVG, you’ll need to convert them to have a png transparent background. Resize them to 2 inches by 2 inches to fit the wood sign. Set the machine to cut on the vinyl setting.
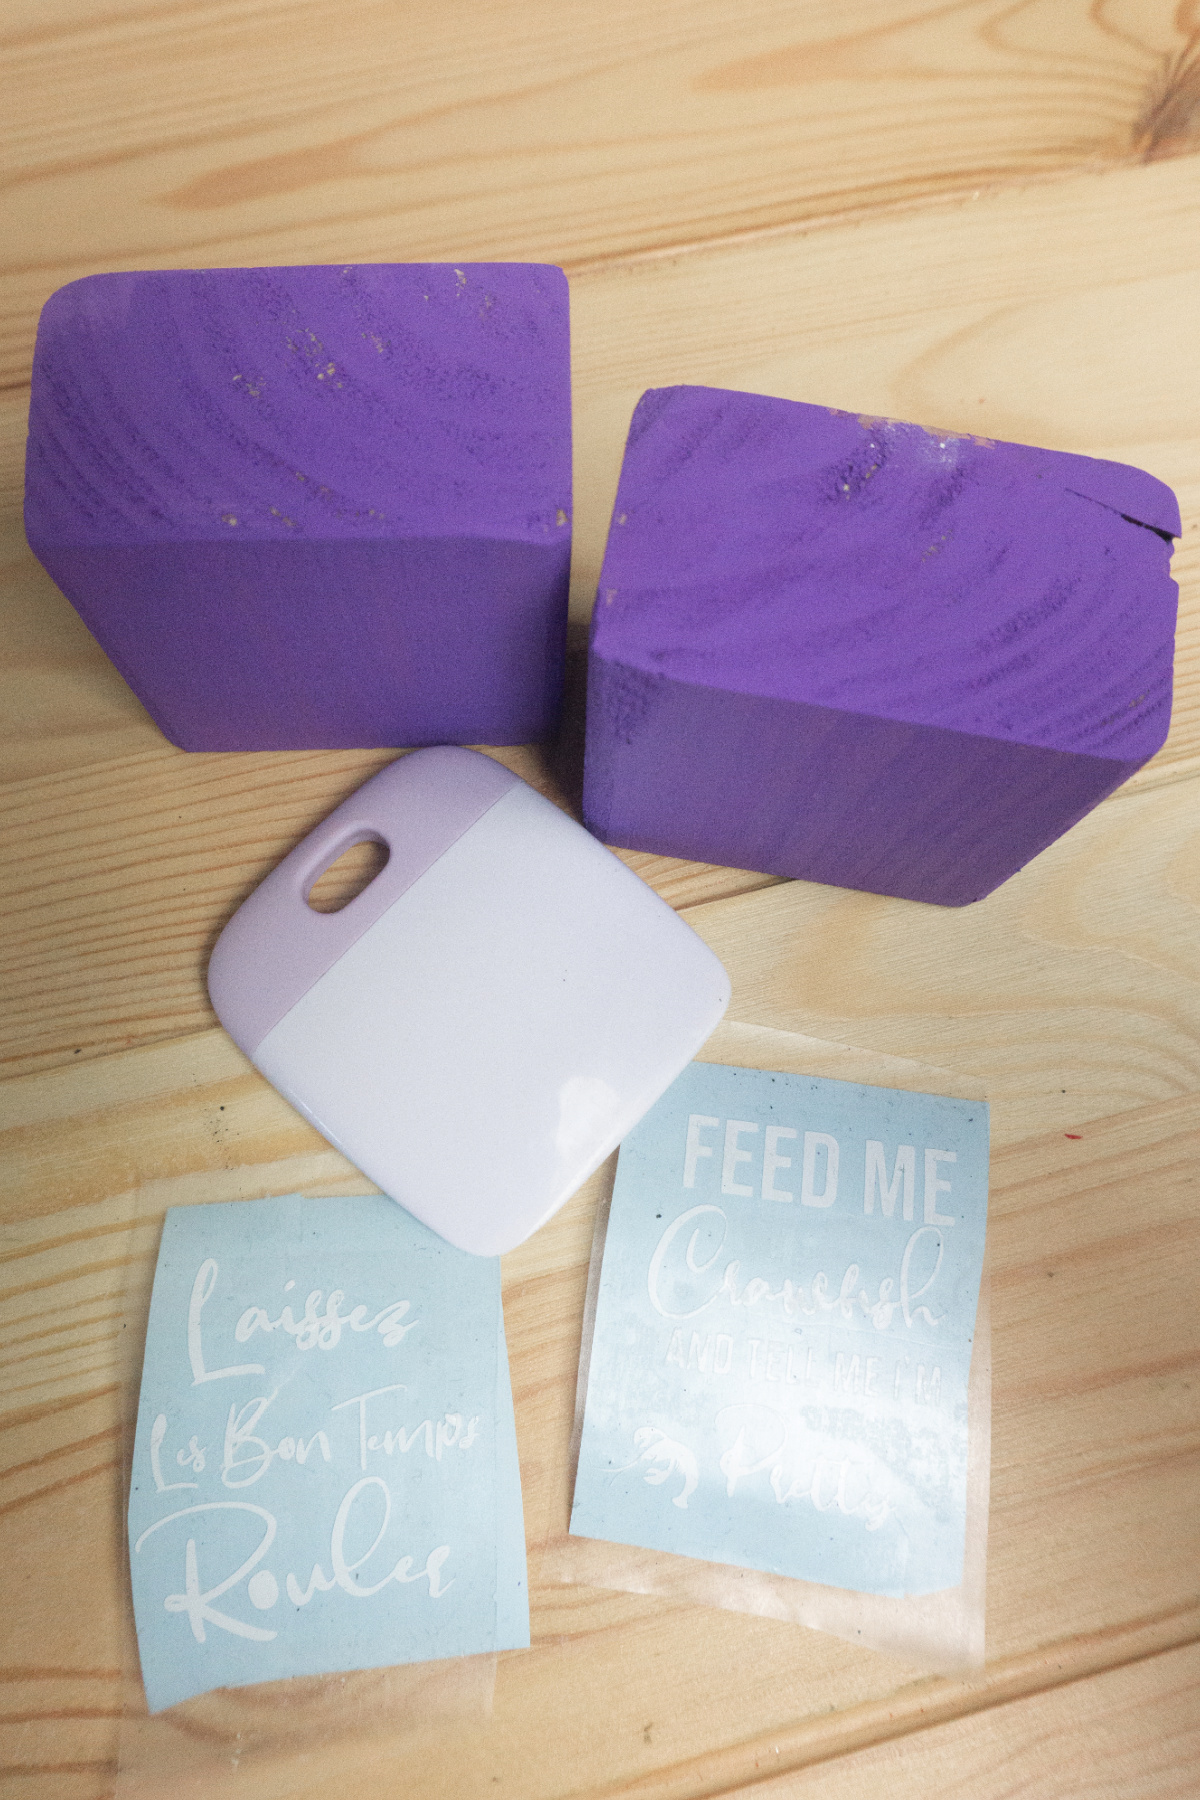
Place the white vinyl on the blue cricut mat. Cut and weed the design with the weeding tool. I like to keep the designs basic for easy weeding since these wood blocks are small.
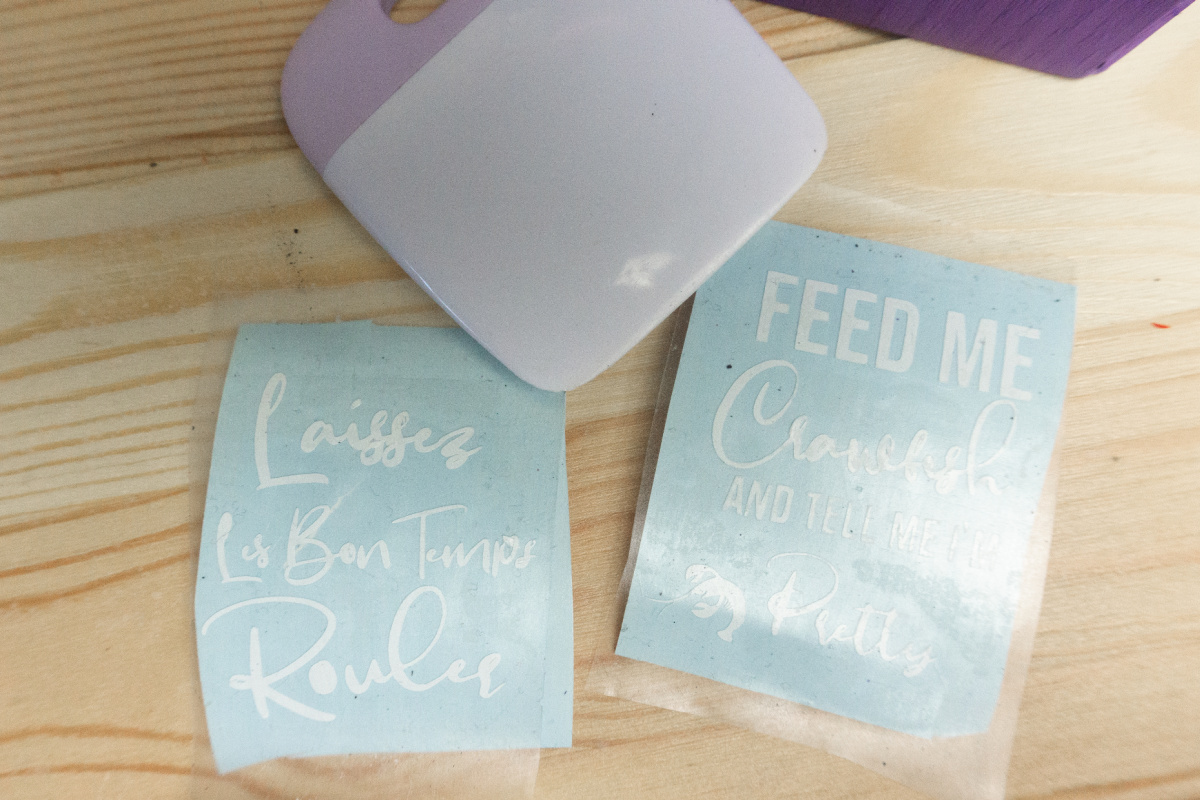
Use the transfer tape by placing the same size piece over the design. Use the scraper tool to scrape the design then remove it slowly.
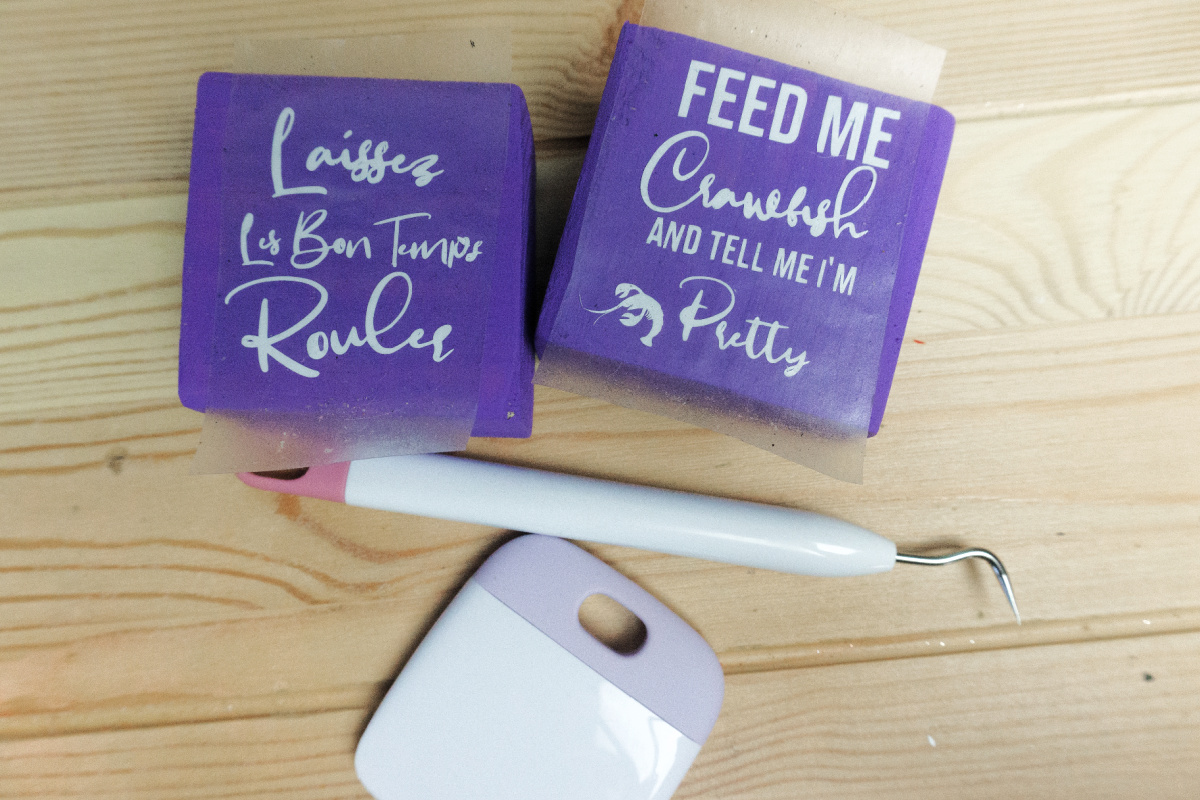
Pull the backing off the vinyl, then place the transfer tape with the vinyl design on the wood block. Burnish really well with the scraper tool. If you don’t have a scraper tool, you can use an old credit card or hotel key.
Slowly pull the transfer tape back, making sure the design sticks.If the design starts to come up, put the transfer tape back down and burnish again. This tends to happen around fine lines and edges.
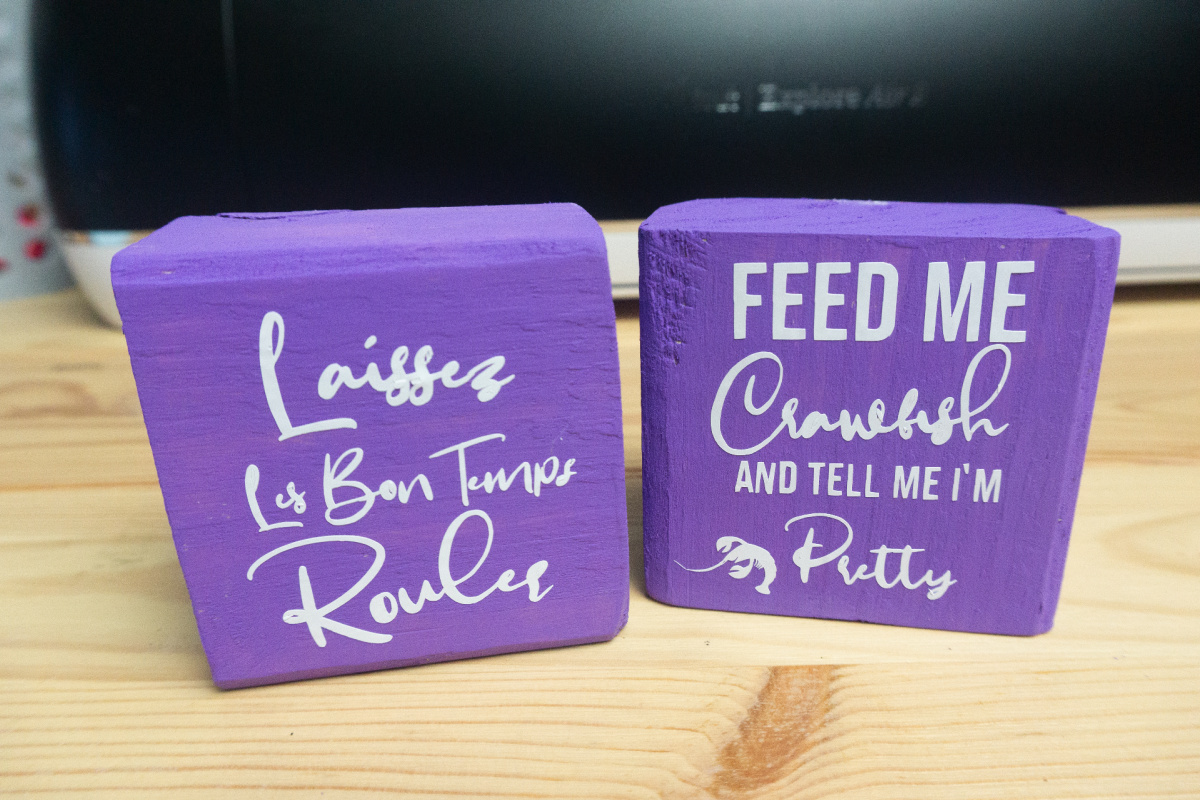
Repeat this process for the other wood cricut sign. Isn’t that easy and fun? Now you, too have some DIY Mardi Gras decor that you can use year after year. If you love this project, don’t forget to share on social with a Pin or a Facebook share. And remember, the free SVG files are for personal use only.