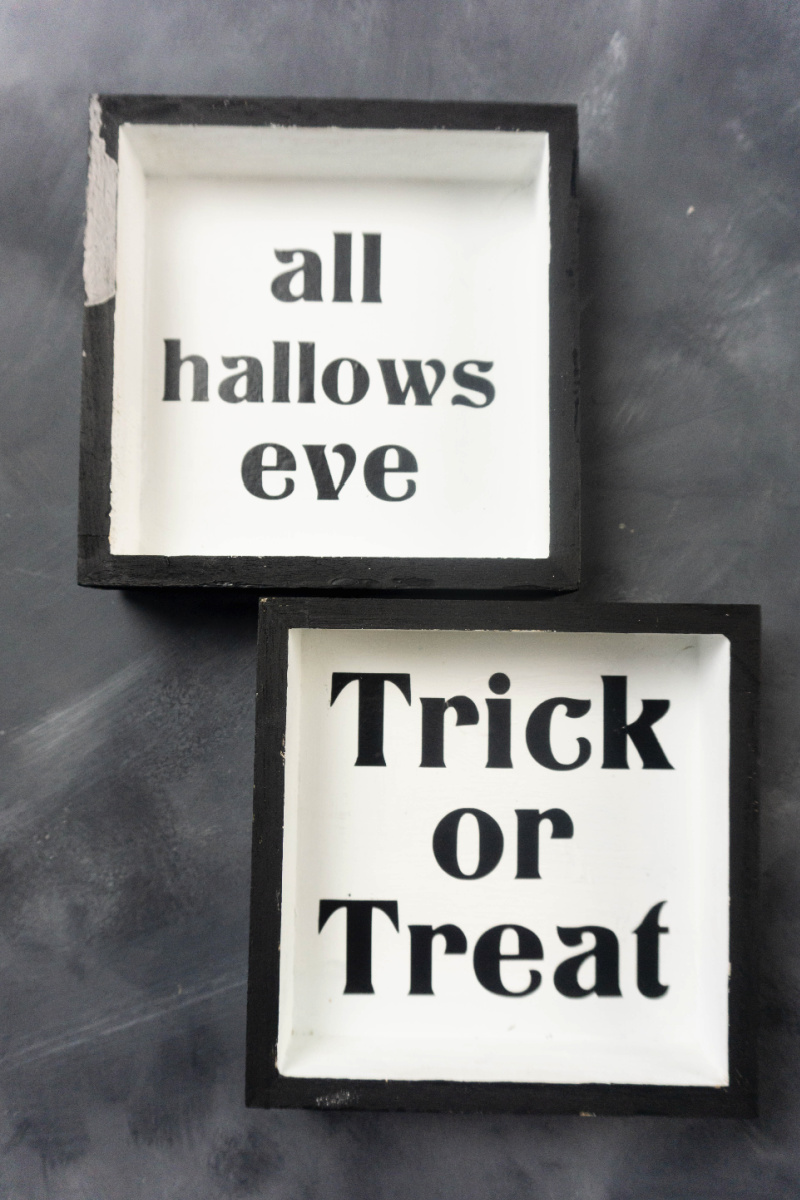
It’s basically that spookiest time of year again – Halloween! This year, get a head start on your decorating with this Halloween Shadow Box tutorial that has that farmhouse feel. They’re oh so easy to make, and you can whip ’em up in practically no time at all.
The secret is the free SVG cut files that work for either Cricut or Silhouette machines. These Farmhouse Halloween Shadow Boxes are the perfect little signs that add that little something extra to your home decor, or a Boo Basket that you’re making.
Halloween Shadow Box Tutorial for Cricut or Silhouette
Links may be commissioned.
This Halloween shadow box tutorial is similar to the Mardi Gras wood signs tutorial, but a little different. You need just a few things to make this easy Cricut tutorial, and it makes a great project for beginner Cricuteers and Silhouetters.
Supplies
Matte Black acrylic paint – we used Folkart
Matte White acrylic paint – we used Folkart
Paint brushes
Wooden square shadow box
1 sheet Matte Black permanent adhesive vinyl – like Oracal 651
1 sheet transfer tape
Blue Cricut mat
Cricut machine – This tutorial uses an Explore, but you could definitely use a Cricut Joy. Or a Maker.
weeding tool
scraper tool
scissors
Directions
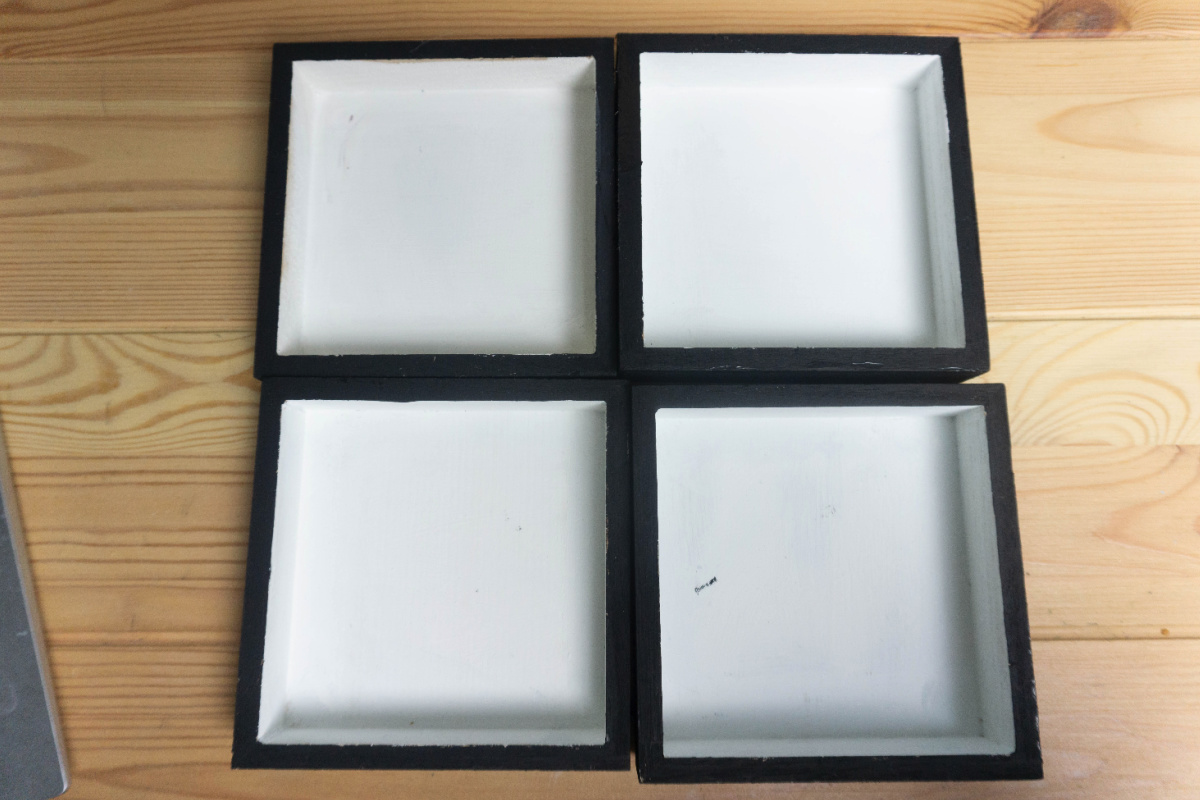
Paint the inside of the shadow boxes matte white. Let dry. Paint the edges and back of the shadow boxes matte black. Let dry.
Using the png files upload them to Cricut design space. Resize them to 4×4 inches to fit these shadow boxes. If you’re using a different box, adjust the size accordingly.
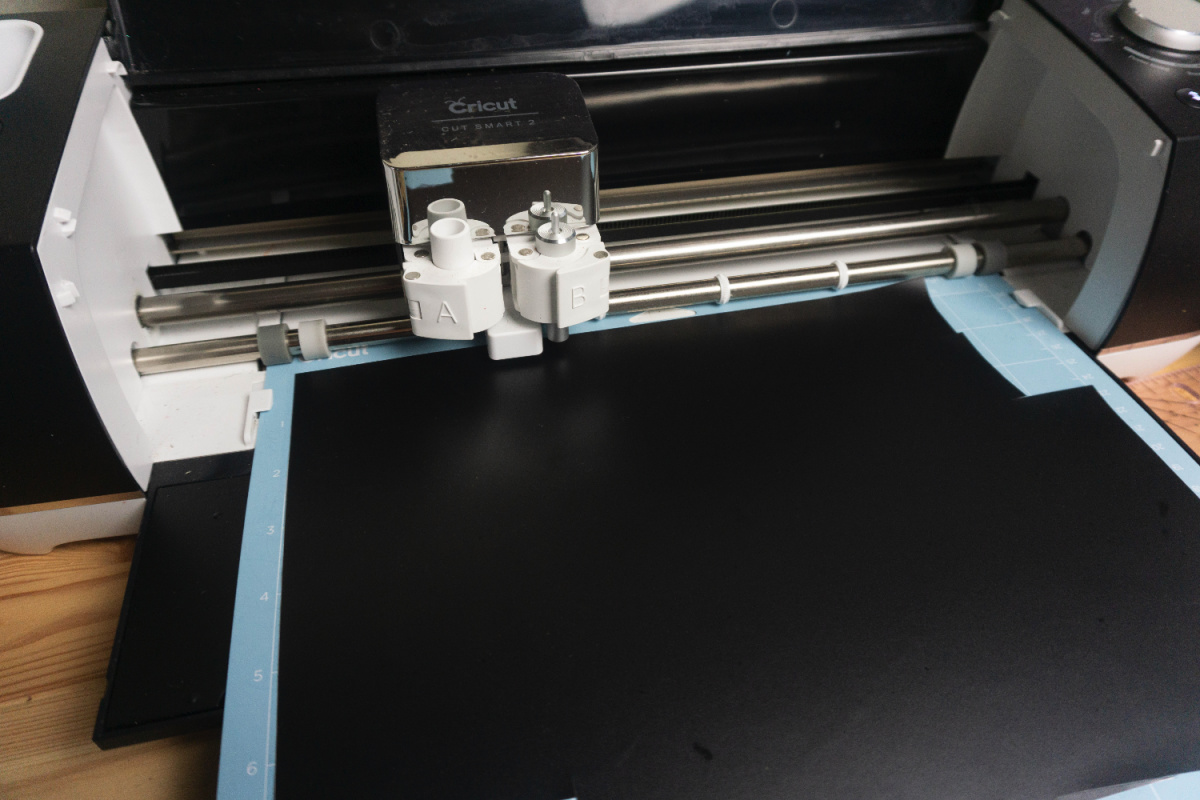
Place the matte black permanent vinyl on the blue cutting mat. You can use a scrap of vinyl, as long as it’s big enough to cut your whole project. For this Halloween Shadowbox tutorial, we’re cutting about 4 inches square, so anything bigger than about 5×5 inches is perfectly fine.
Set your machine to cut on the vinyl setting. Start the cut and wait for it to finish.
Once the design is cut, weed your designs with the weeding tool. This means you’re removing all the vinyl you don’t want transferred to your finished project. Don’t forget to get in between all the letters, and any cutouts like in an E, an A or even an O or R.
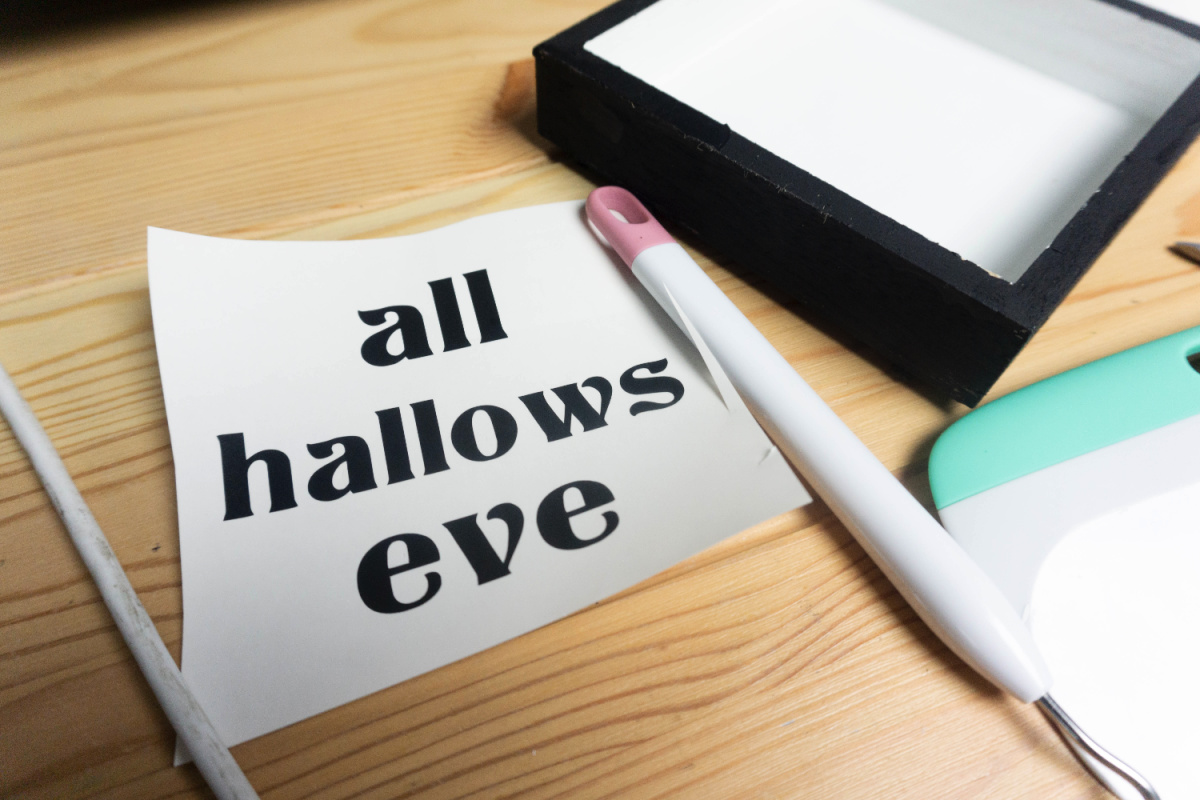
After the design is weeded, cut a piece of transfer tape roughly the same size as the design square. Place the transfer tape over the top and burnish it down really well with the scraper tool.
Peel the transfer tape back slowly, making sure that the vinyl design sticks to the transfer tape. Now, place the design on the wood square on the inside. Make sure it’s centered and straight. Press down and then burnish really well with scraper tool.
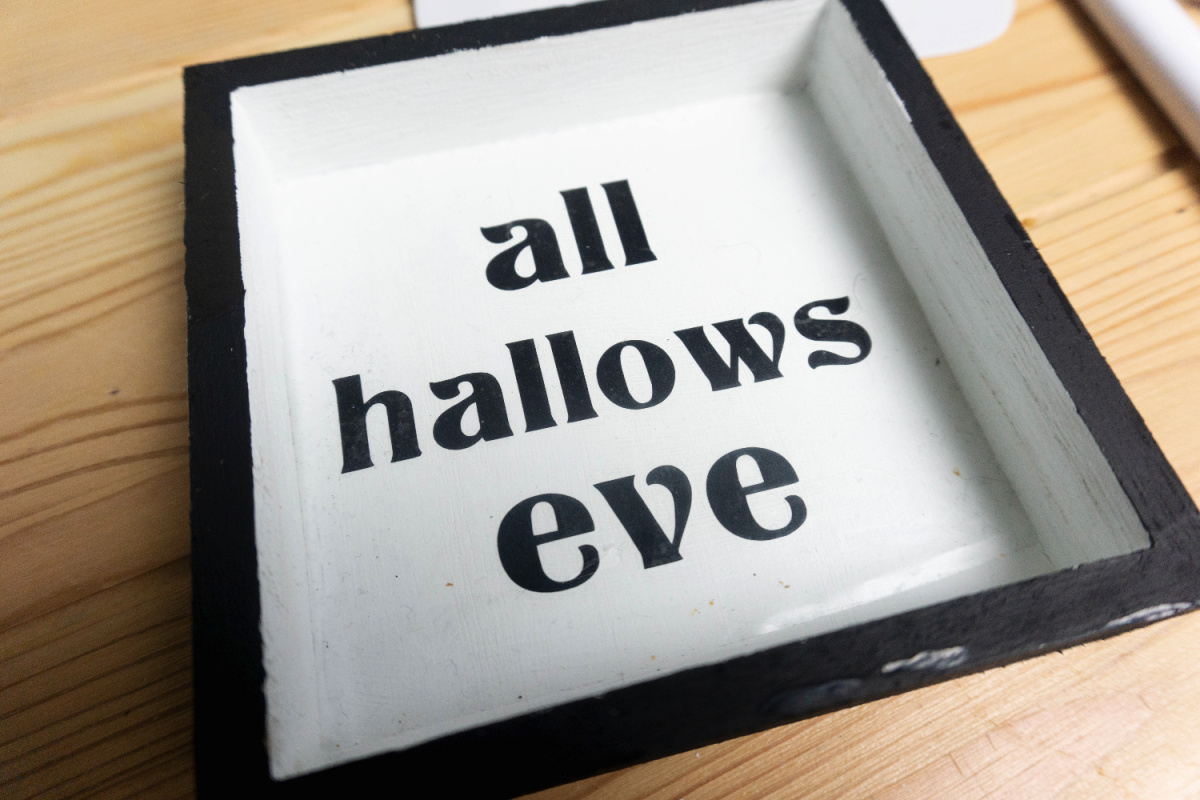
Peel the transfer tape back slowly, making sure the design sticks to the box.
Repeat this for the other box and design as well.
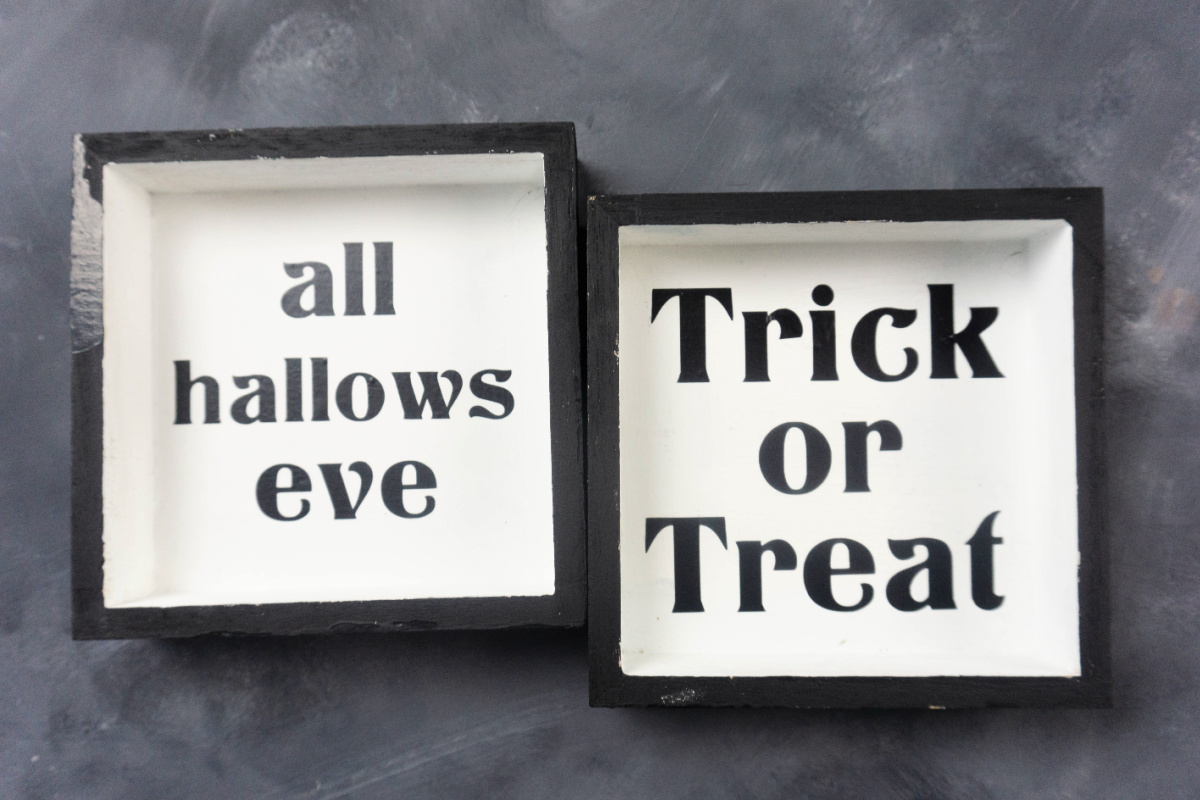
Isn’t this a fun and easy project? Even better, the Halloween Shadow Boxes are so quick and inexpensive to make, you could do this with a group of kids, tweens, or even adults, and it won’t break the bank.