DIY disco ball, everybody! WOOOOOO! I’m one of those people that’s always chosen to do something small for New Year’s Eve. When I was a kid, my mom would have all the other kids over while their parents went out.
As I got older, I still enjoyed those types of celebrations with friends, and not being out in the madness of New Year’s Eve. How fun would this DIY Disco Ball have been? I think it would have been the perfect addition to my New Year’s Eve celebration when I was a kid, and I think it’s the perfect addition now that I’m an adult.
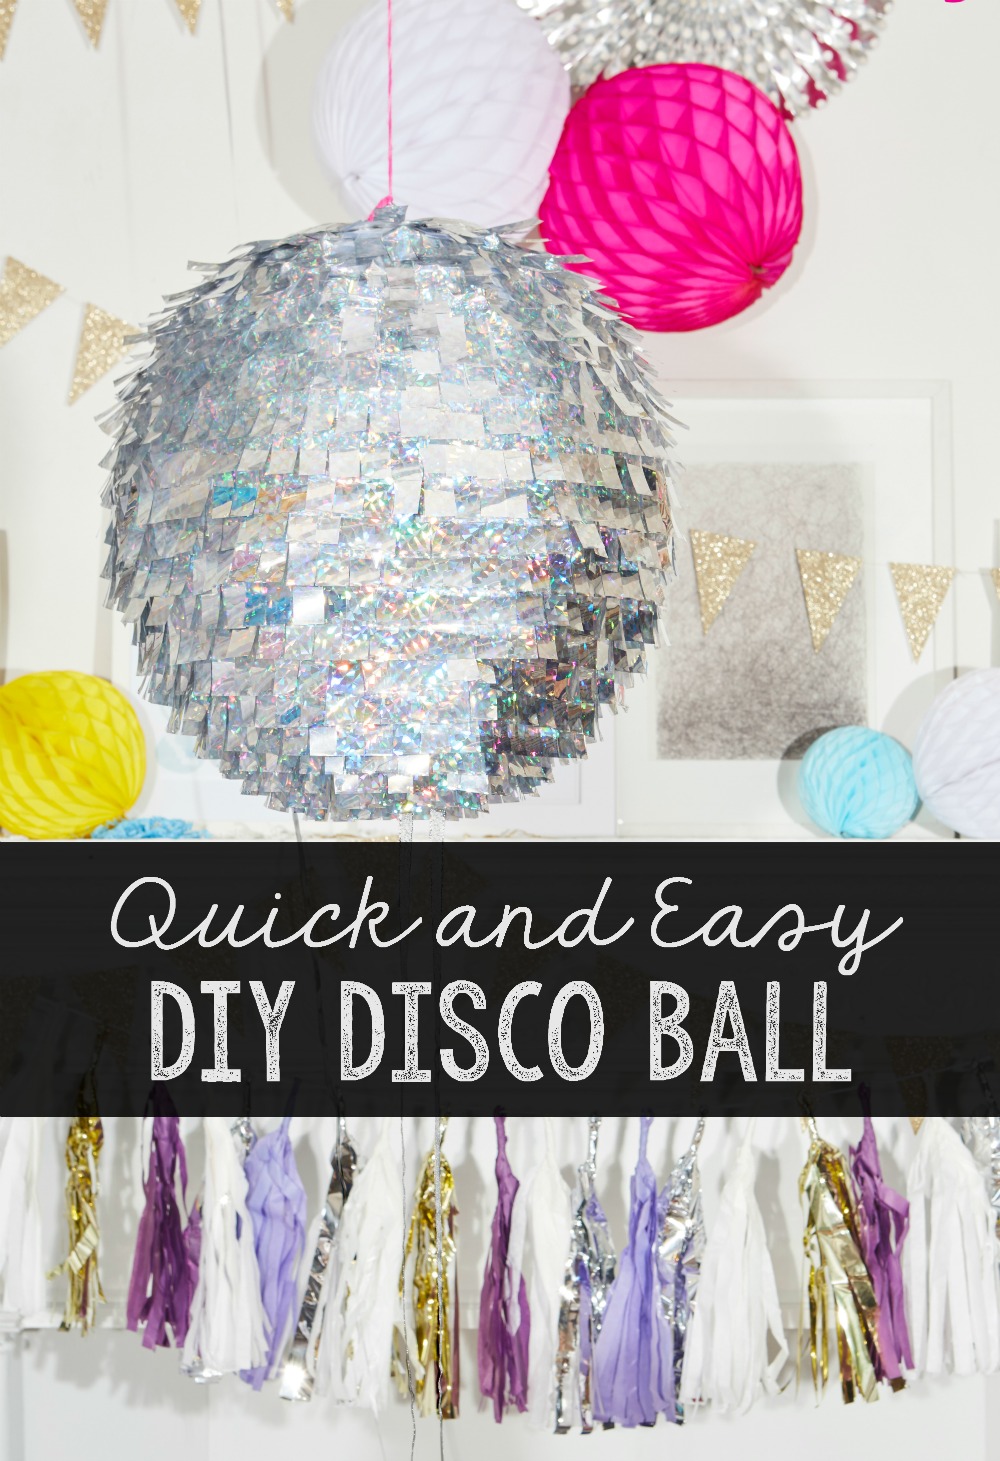
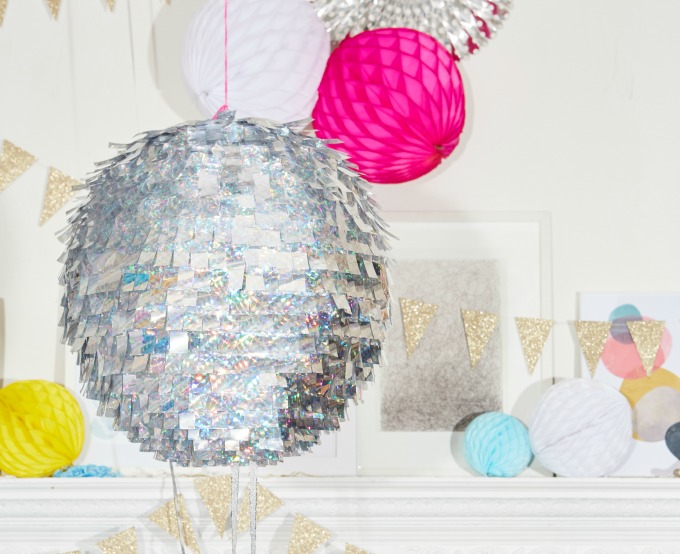
Generally, we make a bunch of finger foods, break out some fun games like Michigan Rummy or Pictionary, and invite friends over, and practice saying Happy New Years in different languages. I think I’m going to add a little bit of sparkle to my celebration this year with this fun and easy DIY Disco Ball. This is so simple, and you can find everything you need locally. It’s so easy to make, and it really ups the New Year’s Eve flair with its shimmery, reflective outside.
How to Make a DIY Disco Ball
This disco ball has everything we love about New Year’s Eve and parties in general. It’s shiny and sparkly and it has that classic disco ball look and shape. Do you know what the best thing about this beauty is? It’s so easy to make. All you need is a handful of supplies, including tape or glue dots. That’s it. It couldn’t be simpler to make, and it looks fantastic. It’s one of the easiest crafts you’ll ever make, and it looks good enough to be the centerpiece of your New Year’s Eve festivities.
Supplies Needed
- 16 inch Paper Lantern – You can generally find these at places like Pier 1, Cost Plus World Market, or even Michaels and Hobby Lobby.
- Holographic Bird Tape – Find this at your local home improvement store, Home Depot, or Lowes. It’s usually in or near the gardening section.
- Tape or Glue Dots
- Length of ribbon
Directions
Cut about 20 2 foot lengths of bird tape. Fringe them along one long side every 1 1/2 to 2 inches or so. It doesn’t need to be exact, you just want some movement. Set aside.
Once you get those all done, start attaching them to your paper lantern.
Expand your paper lantern. Starting at the bottom, attach one fringed length of bird tape with a couple of glue dots or a piece of tape, and wrap it around the lantern, making sure it overlaps the ends. Trim off the excess. You may want to add glue dots or tape a couple more places as you wrap your strip of bird tape.
Repeat, making sure that the row above hangs over the row below it.
Attach a length of ribbon at the top, and hang.
That, ladies and gentlemen, is that. See how easy it is to make your own DIY Disco Ball? All it takes is a few supplies and a little time. There’s no intricate process to this one. No excess cutting and forming. It’s really just as simple as wrapping the bird tape around the lantern and gluing it in place. It doesn’t get much easier than that.
It’s so fun, and you can leave it up all year long. No judging here. Frankly, I’m thinking seriously about making my DIY disco ball a permanent addition to my home’s decor. This is also perfect for those spontaneous dance parties. Ohhh yeahhhh!!! So get out your supplies, put on some fun music, and start creating your very own disco ball for your New Year’s Eve get-together or upcoming party. It’s a ton of fun, and you won’t find an easier craft that looks better.