How Was Your Day?

Upscale Ideas for a Conscious Casual Life

  • Home
  • Beauty & Fashion
    • Beauty
    • Fashion
  • DIY
  • Home & Garden
    • Home Decor
    • Gardening
    • Organizing
  • Food
  • Travel
  • Love & Money
    • Love
    • Money
  • 2022 Holiday Gift Guides
  • About How Was Your Day
  • Disclosure/Privacy Policy
  • Media PR Kit
  • Favorite Things
You are here: Home / Home & Garden / Home Decor / How to Make a Wall Map Gallery that’s Sure to Be a Conversation Starter

How to Make a Wall Map Gallery that’s Sure to Be a Conversation Starter

September 15, 2016 By Greta Brinkley

Sharing is caring!

87 shares
  • Share
  • Tweet

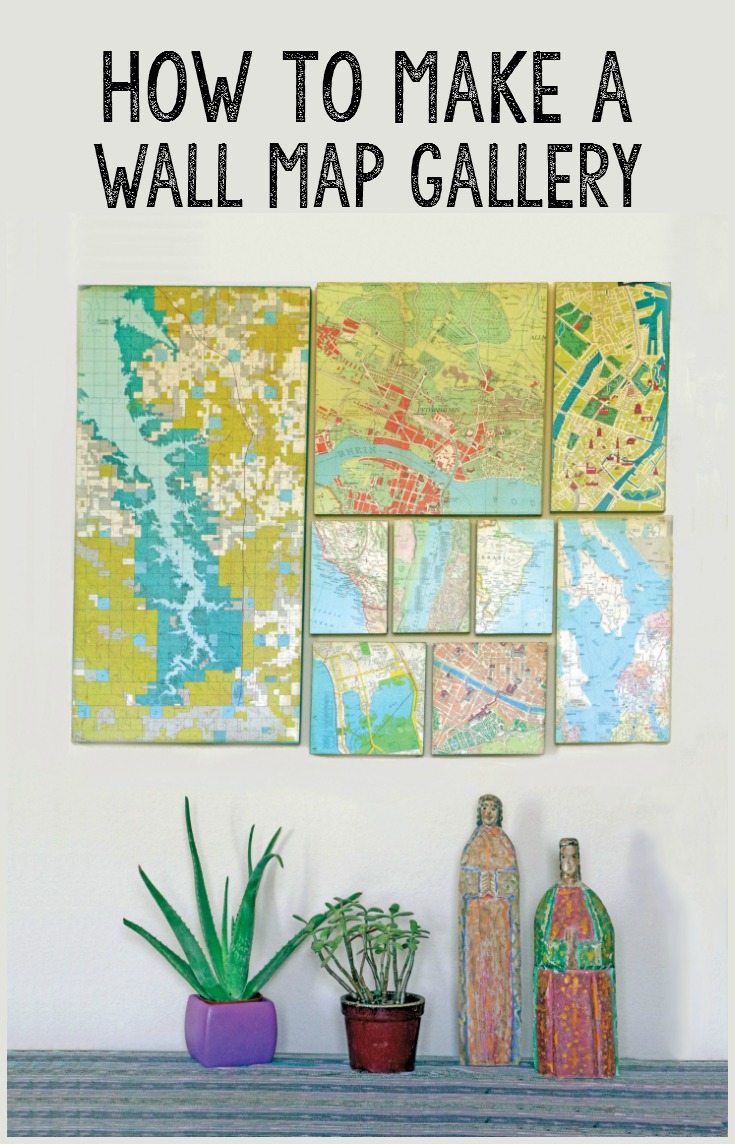
I have always loved maps. I’m not sure why.  It’s probably the different colors, the tales they tell, and how much you can learn about a particular place. Maps appeal to my nerdy side, and my love of color and texture. What better way to show off some of your favorite maps than with a Wall Map Gallery.

How to create a wall map gallery

This is a great way to showcase places you’ve been, or places you want to go, without it being just a series of tchochkies. Don’t get me wrong, I love tchockies and shadow boxes, but sometimes you want something a little more demure.

How to Create a Wall Map Gallery

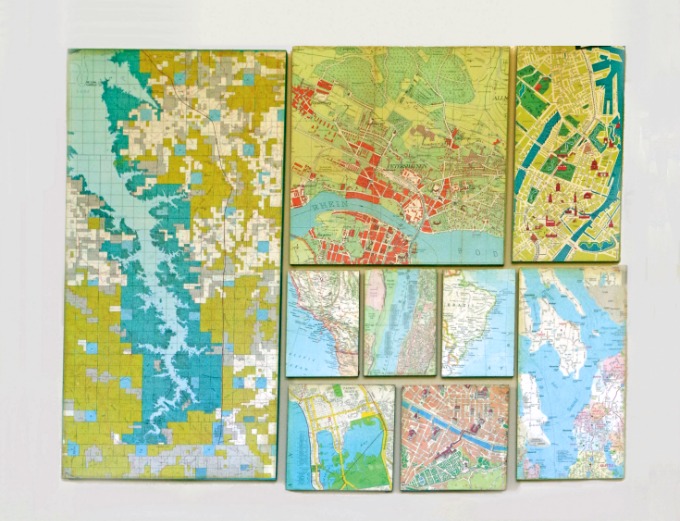
Wouldn’t this be a great discussion piece in your home? It’s also a great way to fill a lot of space with color that’s not too expensive. Links may be affiliate links.

Supplies

  • Maps
  • Wood Panels of various sizes. A 4×8 sheet of good quality plywood is perfect for this.
  • Sandpaper
  • Acrylic Paint
  • White Glue. You can use PVA glue or a decoupage medium like Mod Podge.
  • Glue Brush
  • Brown Stamp Pad that has dye ink.
  • Spray varnish, or a matte sealer
  • Pencil
  • Clean scrap paper
  • Picture Hanging Hardware
  • Metal Ruler
  • Craft knife, like an Xacto.
  • Paint brushes
  • Burnishing tool. I like to use an old credit card or a hotel key card.
  • Bone folder
  • Hammer


Directions

Lookit all those maps

Decide which maps you want to use. This may be the most difficult part of the process.  You want to make sure that the maps coordinate, but are different, too.

Figure out how much space you want to use for your wall map gallery, and sketch it out on paper. Remember, that for interest, you want a mix of different sizes, too.

Wood blocks for wall map gallery.

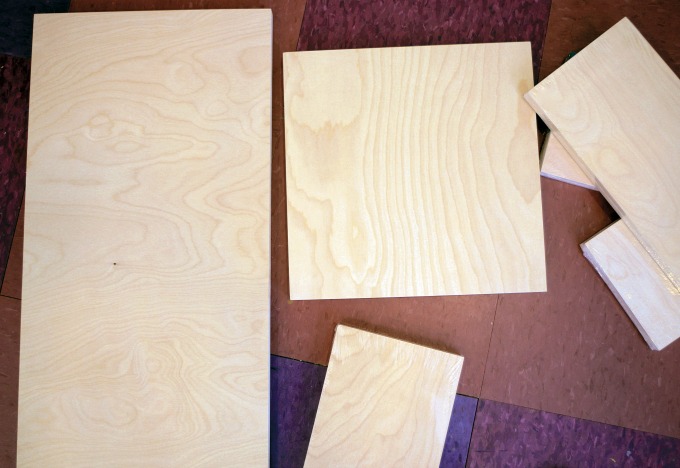
Either cut your panels yourself, or get them cut at the store. I prefer to get them cut at the store where I bought the wood.

Sand the edges of the wood smooth.  We don’t want any splinters!

Trim the maps to fit the wood panels, using the metal ruler and your craft knife. Remember to choose the part of the map you’d like to display in your wall map gallery. You may want to number the maps and the pieces of wood to know which ones go together.

wood-blocks-painted

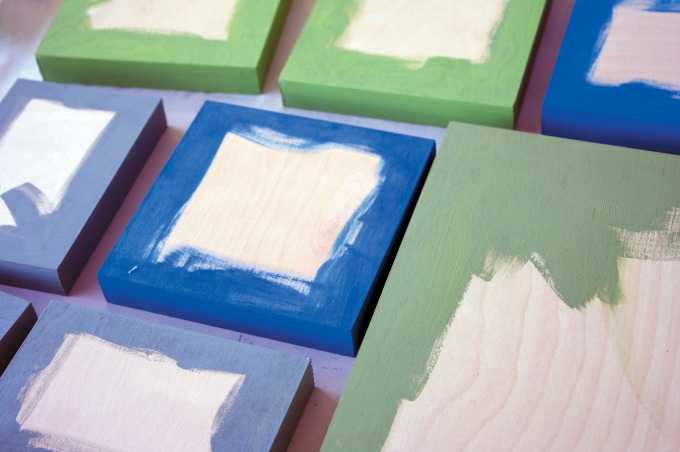
Paint the edges and sides of your panels with acrylic paint.  You can do them all the same color, or mix it up a little. Let dry.

Glue the maps to the wood, being sure to burnish them down well. Cover with a piece of clean scrap paper when burnishing, so your maps don’t get marred.

Check a couple times while they’re drying to make sure no edges are starting to peel. You may want to burnish them down a couple more times during the drying process, to make sure they stick well.

distressing a wall map panel

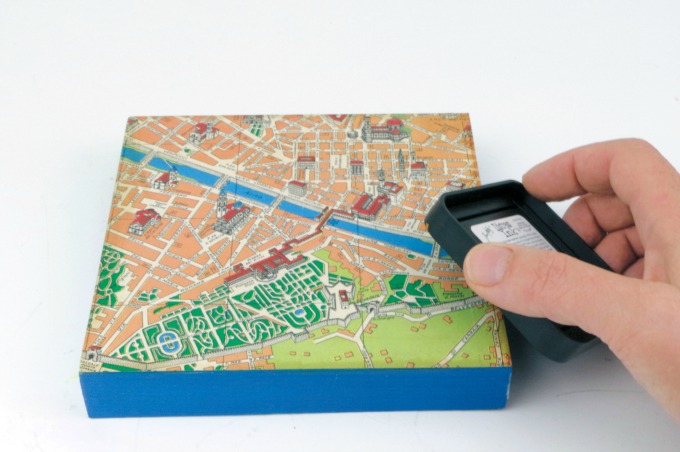
Antique the edges of the wall map gallery panels with the brown inkpad. Let dry thoroughly – about 10 minutes.

Spray with a clear sealer, or brush on a sealer. Let dry thoroughly.

Add picture hanging hardware and place your wall map gallery.  Stand back, and admire your handiwork.

How to make a wall map gallery


Share this:

  • Click to print (Opens in new window)
  • Click to share on Facebook (Opens in new window)
  • Click to share on Twitter (Opens in new window)
  • Click to share on Pinterest (Opens in new window)
  • Click to share on LinkedIn (Opens in new window)
  • Click to share on Reddit (Opens in new window)
  • Click to share on Tumblr (Opens in new window)

Related

Filed Under: Home Decor, Crafts

About Greta Brinkley

Greta is originally from the West Coast. Now living in the Midwest, she loves hockey, sparkles, nail polish, and bright colors. She also cannot resist anything that has peanut butter and chocolate together. And she hates filling out bios. Yep.

« The Tailgater Beer Cocktail that’s Perfect for Fall
Soft Pumpkin Spice Cookies with Cream Cheese Frosting »
  • Email
  • Facebook
  • Instagram
  • Pinterest
  • Twitter

About Me

Hi! I’m Greta, a Lifestyle and DIY expert. I’m originally from the west coast, and currently living in the Midwest. We’re mad about DIY and travel, lover of fashion and food, and slightly obsessed with trivia. And you can never go wrong with glitter, nail polish or hockey. Did I mention we were named one of the top DIY blogs?

"Want to work together, or just say hi? Drop me a line! WhyHelloGreta@gmail.com

As Seen On

Our Most Popular Posts

20 More Must Have Camping Essentials

How to Make Glitter Wine Glasses

Easy 10 Minute Hair Updo Tutorial

Custom Mudroom bench Ikea Hack

A Trip on the Grand Canyon Railroad

  • Email
  • Facebook
  • Instagram
  • Pinterest
  • Twitter
  • YouTube

I am a participant in the Amazon Services LLC Associates Program, an affiliate advertising program designed to provide a means for me to earn fees by linking to Amazon.com and affiliated sites.

Newsletter

subscribe for email updates!

Copyright © 2023 · Foodie Pro Theme on Genesis Framework · WordPress · Log in

87 shares
 

Loading Comments...