Everywhere you look, people are talking about gardening. Eat local. Grow your own food. Eat organic. To a new gardener, it can be a little intimidating, and more than a touch confusing. It doesn’t have to be that way, though. Raised bed gardening may be the way to go.
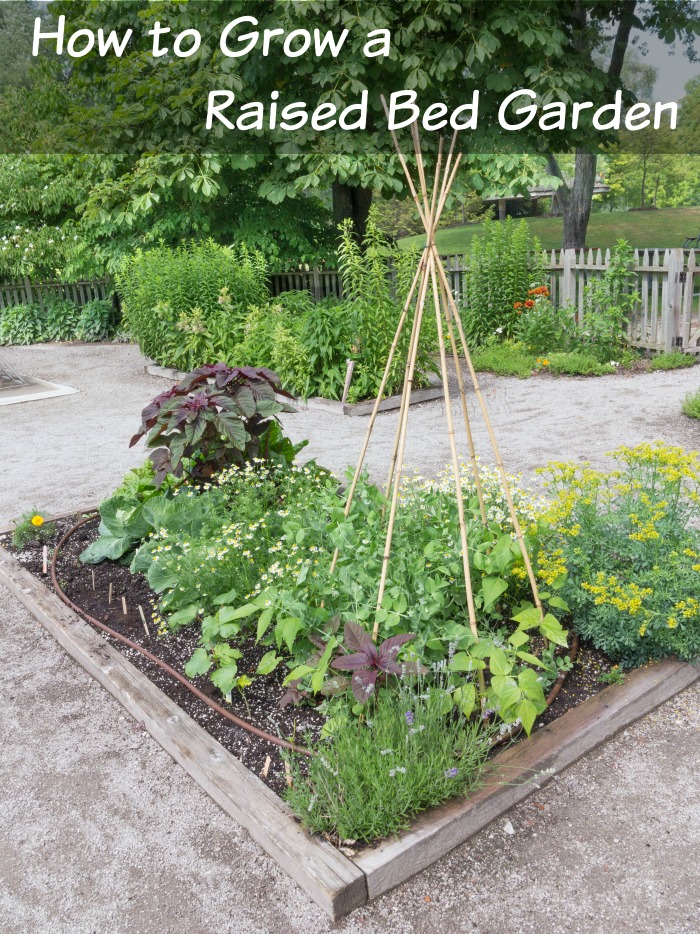
Why a raised bed garden? Unless you have access to a rototiller, planting rows in your yard is a lot of work. Plus, there’s no telling what you’ll run into. A raised bed garden takes the mystery and surprise element out, and allows you to start with great soil.
Starting a vegetable garden is so rewarding and easier than you may think. This guest post from Deedub and KLB, award winning Reggae/Worldpop music artists, show you just how easy it really is to grow your own vegetables in a raised bed garden.
How to Start a Raised Bed Garden
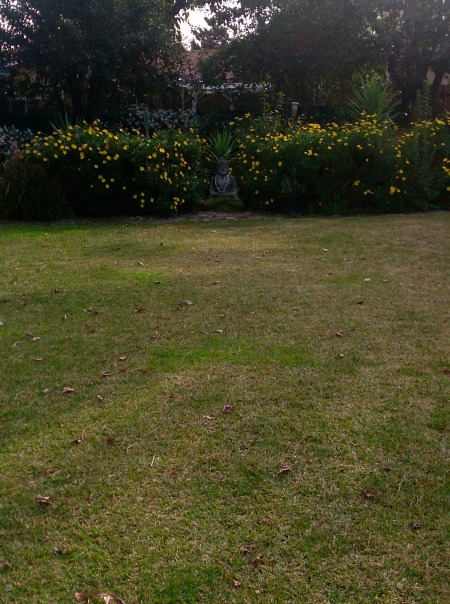
Pick a nice spot that is sunny year round
This is especially important if you have trees near your proposed vegetable garden space. Trees that are barren in winter months may shade garden areas once their leaves grow in. It is important to keep in mind that sunlight differs in winter than it does in spring or summer. Here in Southern California, for example, the sun rises at a lower angle in the winter than it does in the summer. When I created my first garden space a few springs ago, the sun was high overhead and the area received plenty of light all the way through fall. As winter rolled around, the angle of the sun dropped and it became completely shaded by the nearby trees. My winter vegetable garden did not produce as anticipated and I ended up having to start over. At least I learned a good lesson!
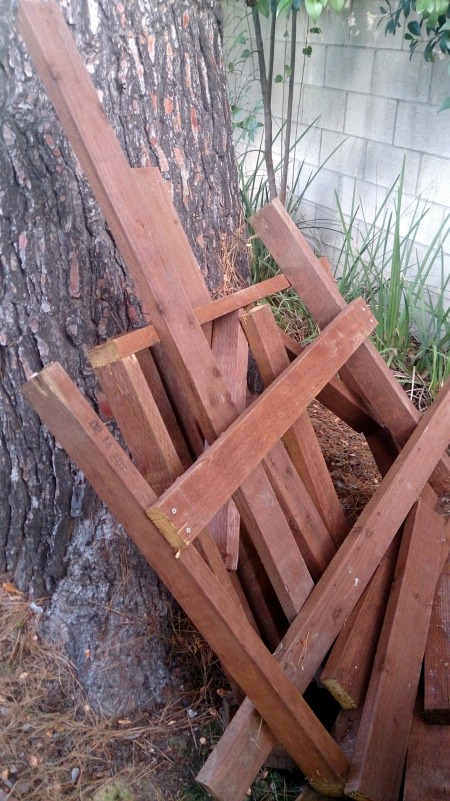
Choose materials to construct raised garden beds
By creating raised garden beds, the soil stays fluffy and provides plenty of air and drainage for my plants. I used pre-treated, exterior grade wood that we had lying around the backyard. This is your chance to get creative and plan your space. Plan to line the raised garden beds with bricks, cement blocks, or anything else you desire. Even plant containers can be used which allows you to grow more vegetables in that area.
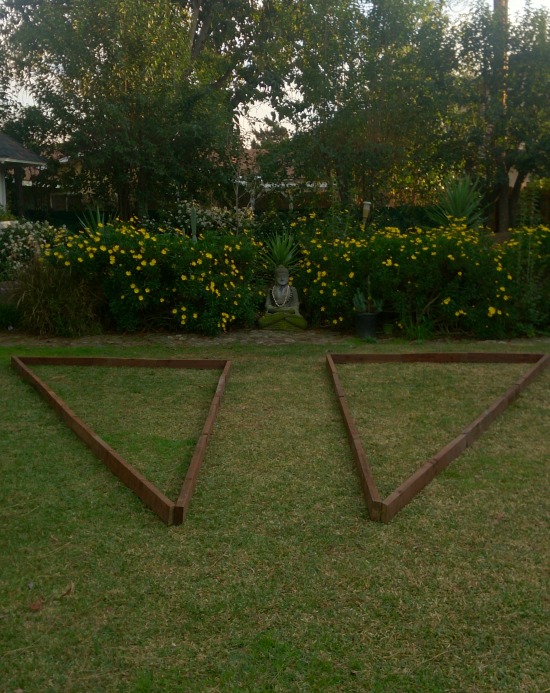
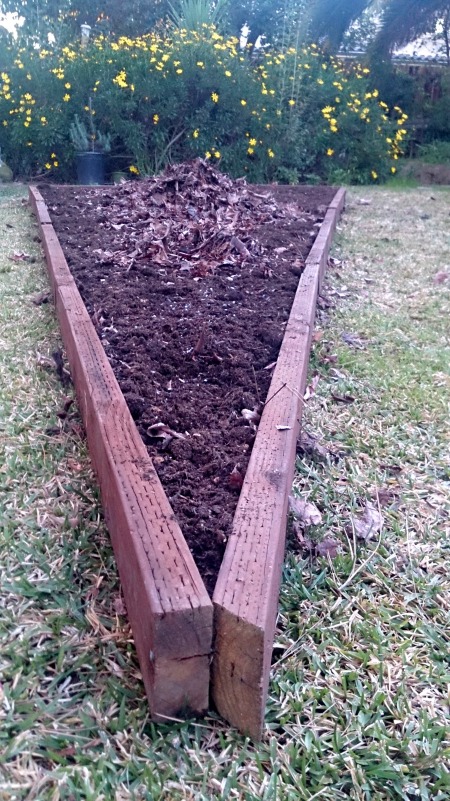
Construct raised garden beds and paths
Treat your garden like art and make it both functional and aesthetically pleasing to your landscape. I chose a pyramid style design because I wanted something different than the traditional rectangle design. However, rectangles are great too. Since I used wood, I connected the pieces with screws and a power drill. Nails or glue would have worked fine too. Make sure you are able to easily access the vegetable garden for maintenance and harvesting. Paths and access areas between raised bed gardens can be made using bricks, tile, bark, or other materials of your choice. This keeps your vegetables from getting stepped on.
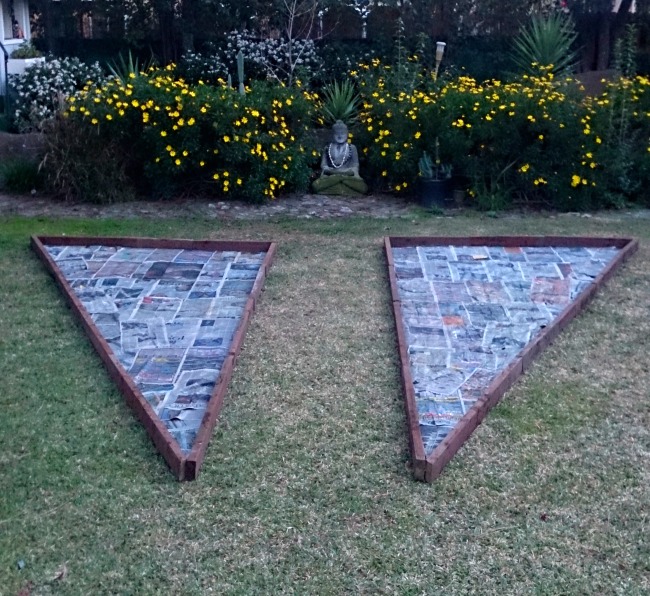
Cover the area with newspaper to smother the grass.
The grass decomposes and turns into nutrients (especially Nitrogen and Carbon) for your plants and this is a lot less work than digging up the grass. Vegetable plant roots will grow through the newspaper into the lovely, naturally composted grass. Make sure to use at least four layers of newspaper so the grass does not grow through the newspaper. If the newspaper is too thin, it will likely tear up easily.
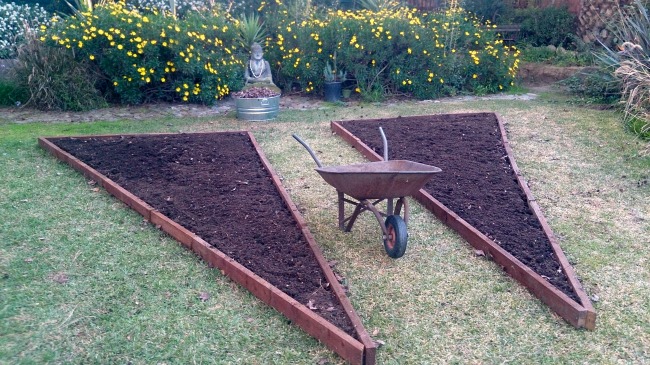
Fill the beds with soil.
Plan to use more soil than you initially think. It took roughly 20 – 1 cu ft. bags of soil to fill these raised garden beds. I used a combination of Dr. Earth Home Grown Organic Vegetable Garden Planting Mix and E.B. Stone’s Organics Edna’s Best Potting Soil. Free soil can often be found in your local area via Craigslist or the classifieds but I would definitely recommend researching where this soil came from. You want nutrient dense, pesticide free soil if you are growing vegetables. If your yard has had pesticide and weed killer used on it, raised beds become even more important when protecting your vegetables. Planting in an area raised above pollutants gives your garden a much better chance of staying organic straight off the get go.

Collect and crush shells to apply as mulch.
I used leftover clam and mussel shells from dinner. You can also use oyster shells but I was unable to make any progress in crushing these so they ended up in my compost pile instead. The shells provide calcium and other minerals for your vegetable garden which will leach into the soil over a long period of time. This was the most time consuming task of the garden setup process. I placed the shells in a bucket and used the head of a sledgehammer and my body weight to slowly crush the shells. It is a good idea to protect your eyes in this process just in case you get pieces flying out of the bucket towards you. Ideally the shells would have been crushed into powder but since I am little, I decided to use them as mulch instead. I have seen gardening forums where people have recommended burning the shells in an outside fire pit to make this process easier. I think it is worth a try next time.
Mix compost and fertilizer into the soil
I have a decent sized freestanding compost pile in a back corner of my yard where I place leaves, vegetable scraps, grass clippings, and leftover garden soil. I wet this every so often and turn it with a pitch fork about once a month to aerate it. It takes a couple of months to break down and I usually find earthworms in it which I take as a good sign. I used about 8 cu ft. of this compost in the garden beds. The fertilizer I used was E.B. Stone Organics Alfalfa Meal, Chicken Manure, and Bat Guano. I made sure this was mixed really well into the soil and then applied the shells as the first layer of mulch.
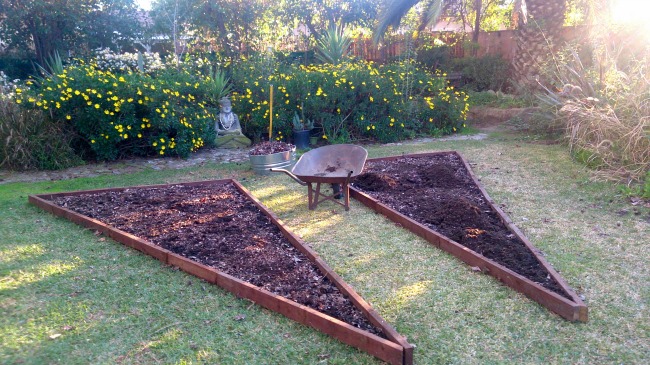
Apply leaves as second layer of mulch
The leaves will break down over time and provide the vegetables with extra nutrients during their growing season. Mulch helps the soil retain water and protects it from nutrient loss and weeds. It promotes balance in soil temperature, creating warmth for roots in the winter and a shield from extreme heat exposure in the summer. I have a sweet gum tree that drops a huge amount of leaves once a year. Since I can’t use them all as mulch at one time, I pile them around the outer areas of my yard to use at various times of the year.
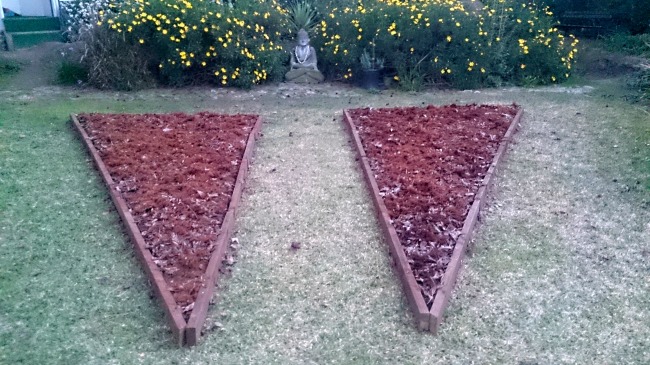
Apply more mulch.
During the second phase of mulch, I used bits of redwood bark as an additional layer in the raised garden beds because I had it lying around. It acts as an insect repellent, so I figured this was worth a shot.
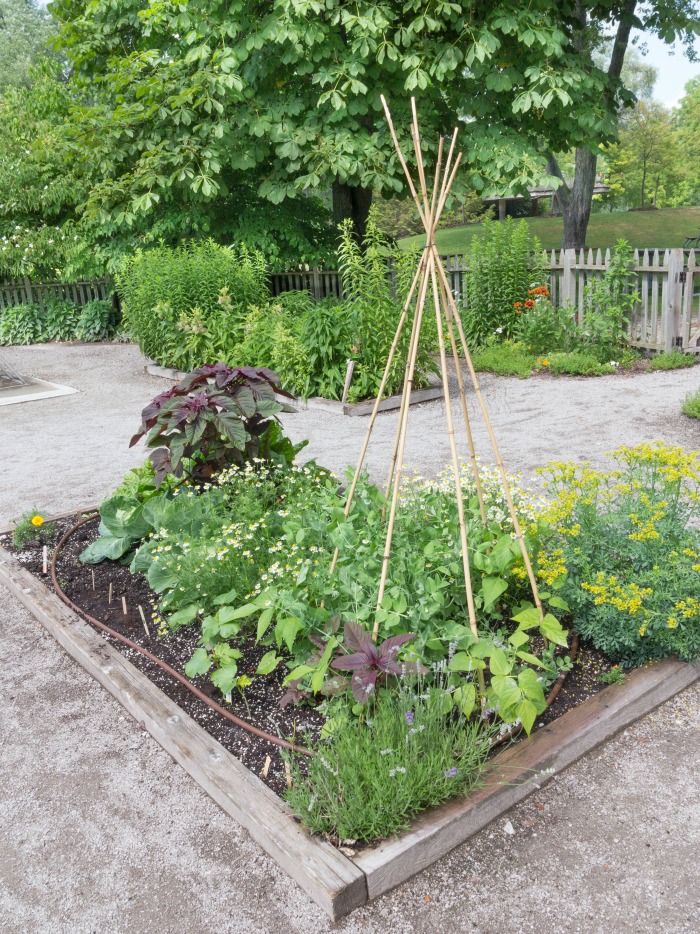
Planting Your Raised Bed Garden
I started a variety of seeds in my mini greenhouse which should be big enough to place in the raised bed garden within a month. I also cleared the mulch from a couple of areas from the garden bed and planted seeds that do not transplant well, like carrots, beets, turnips, and other root vegetables. This area will be watered both by sprinklers and a drip irrigation hose that can be connected to a main hose if extra water is needed. Make sure the raised bed garden gets a thorough soak every other day and the soil always retains moisture.
While it seems like a lot of work, a raised bed garden may be the easier, and better, choice for your vegetable garden.
[…] 3. Start A Raised Bed Garden – How Was Your Day […]