I’ve always been an avid coaster user. Maybe it was my grandmother always yelling at me about leaving rings on the tables. Or perhaps it was when I got my own first set of real, grown up furniture and not wanting it to get damaged. Whatever the reason, there’s always a set of coasters out for use in my home.
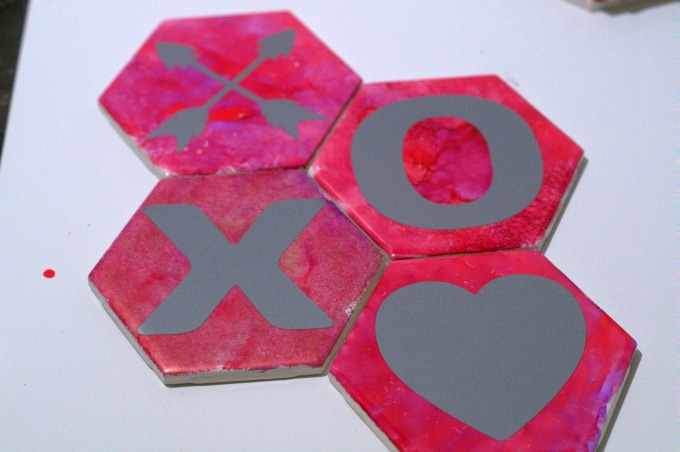
But, the same old coasters can get sooooo booorrrr-iiinnngggg… I believe in having a lot of options, and change the coasters out as I desire. Enter these Hugs and Kisses coasters. Wanna know a secret? They’re made from tiles from the home improvement store. They’re super cheap to make, look great, and your friends will be so impressed. Make up a batch for your next craft fair, too!
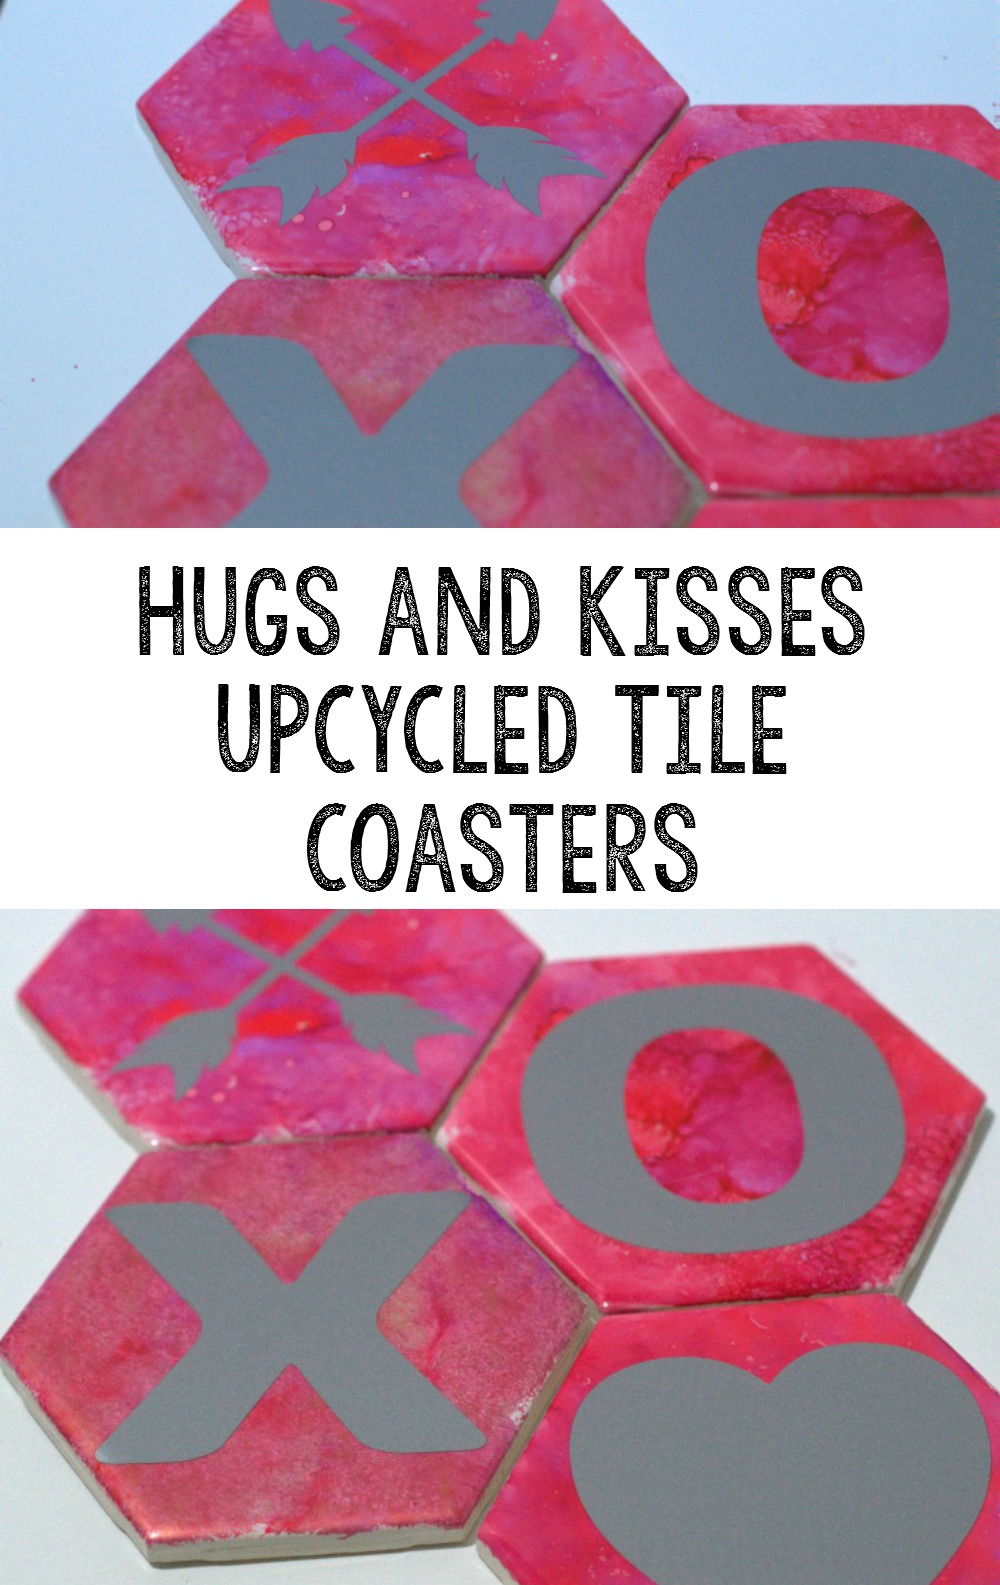
Hugs and Kisses Upcycled Tile Coasters Tutorial
Links may be affiliate links.
Supplies
-
-
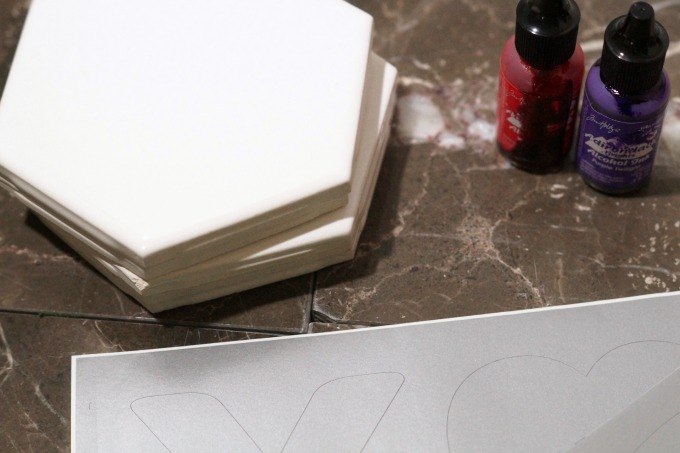
- Alcohol Inks– I used red, purple, and a touch of orange for these.
- Hexagonal Tiles. I got these at Home Depot, and I think they were around $0.25 each.
- Alcohol wipes
- Cork or felt
- Scissors
- Ballpoint pen or sharpie
- Makeup sponge or cotton balls
- E6000 glue
- scrap paper
- Small scrap of chipboard or lightweight cardboard
- Spray Varnish
- Silhouette or Cricut machine
- Permanent vinyl (we used silver)
- Transfer tape.
-
Directions
Clean your tiles really well with the alcohol wipes. This removes any dust, grime, or grease that may be hanging around.
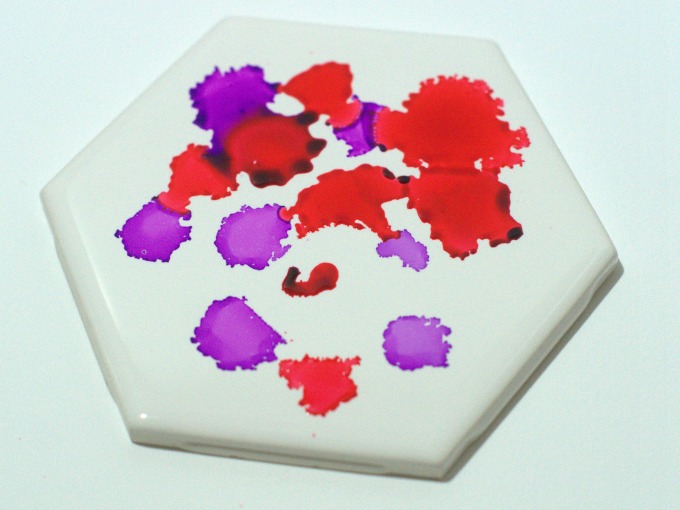
Sprinkle a few drops of alcohol inks in your tile. Dab it around with the makeup sponge or cotton ball until it’s mottled to your liking.
Repeat this step with all of your tiles.
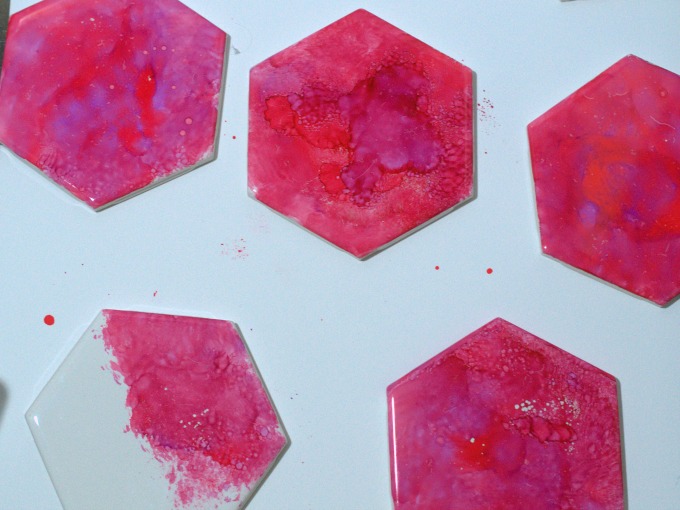
Set aside to dry.
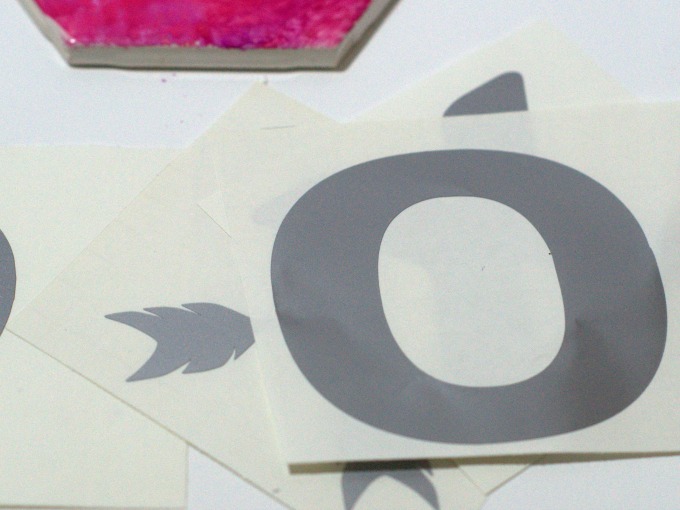
While the tiles are drying, cut a few motifs using your die cutter. Personally, I use a Cricut Maker, but both Silhouette and Cricut machines are good quality. These tiles are about 4 ¼-4 ½ inches across, so I made the designs about 3 ½ inches across. Remove the excess vinyl from your designs (weed them) and set aside.
Once the tiles are dry – about 10-15 minutes – spray with a spray varnish. Set aside to dry, about 30 mins or so. This helps seal the alcohol inks from condensation from your drinks.
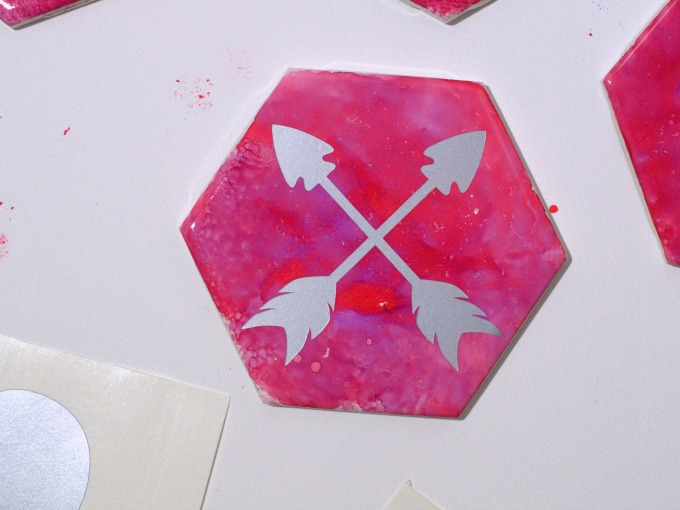
When the sealer is dry, it’s time to add the decals. Cut a piece of transfer tape to fit over the decal and burnish it down with your fingers. Measure the center of the coaster, and mark it lightly. We just want to be able to line the decals up.

Peel the backing of the decal off, and it should be stuck to the transfer tape. Place the decal on your tile, taking care to center it. Apply slowly and burnish well. Peel off transfer tape, and your decal should be suck down. Don’t worry about any tiny bubbles, as they’ll work their way out.
Repeat for the whole set.
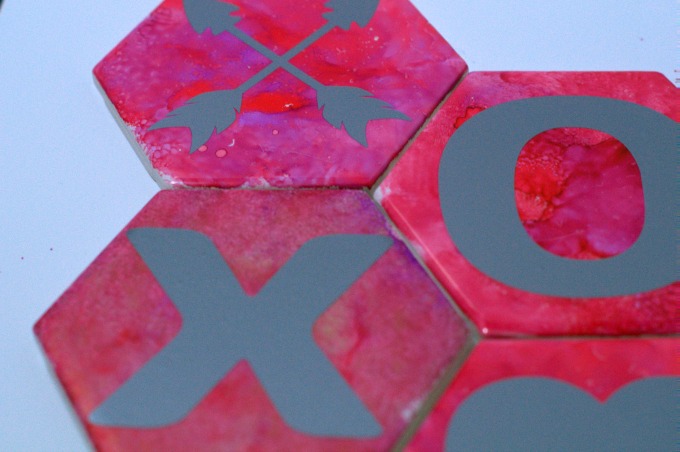
You can finish the edges with a metallic paint pen, alcohol inks, or even acrylic paint. Personally, for these tiles, I like to use a paint pen or acrylic paint. It’s all personal preference.
Applying cork to the back of the coasters.
What’s the point of having coasters if our furniture gets all scratched up from them, right?!?!
Trace the shape of the tile on the cork. Cut out with scissors. You may need to trim this down a little more to fit nicely on the back.
Apply some E-6000 glue to the back of the tile, and use the chipboard scrap to spread it. I’ve used old credit cards, hotel room keys, business cards, etc. You just want something to spread the glue evenly. Place your piece of cork on the glue, and press down to stick well. Let dry.
Congrats! You now have a complete set of coasters that look amazing. Only you know that they took about an hour to make and cost around $1.50!
Be sure to check out the rest of these great Valentine’s Day DIY projects
-
-
- Food Fun Family – DIY Rose and Lavender Lotion Bars
- Style on Main – Pearl and Leather Lariat Necklace
- Thrifty Jinxy – DIY Homemade Peppermint Lip Balm
-