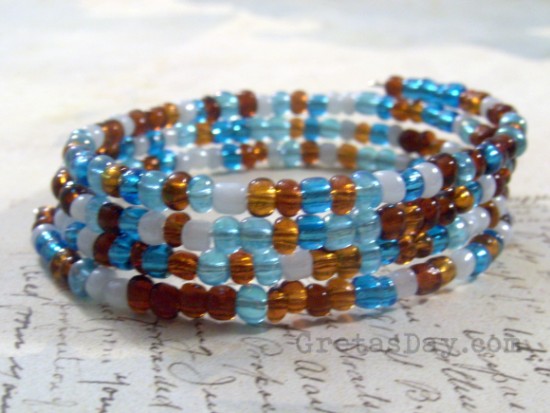
Stacks of bracelets, chunky bracelets, and wrap bracelets are so hot right now. This is a gorgeous bracelet that looks a lot more difficult than it is, not to mention a lot more expensive. Even if you don’t consider yourself crafty or creative you can do this!
My local bead store had these beads on sale one day when I went in there. I bought several packs, and was trying to figure out what to do with them. I think this wrap bracelet shows them off nicely.
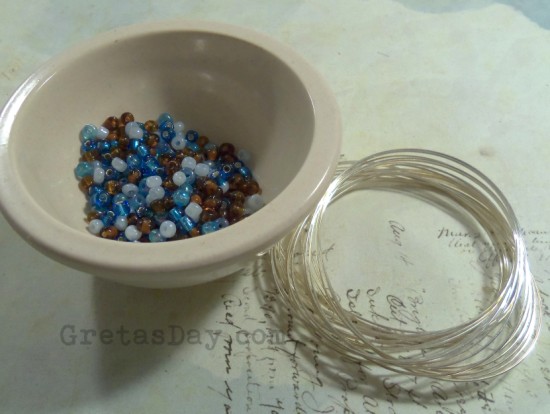
Supplies you will need for your wrap bracelet:
- Bracelet Memory wire. I prefer the oval memory wire to the round, as it fits the wrist better.
- Size 6 seed beads in your choice of color. I bought these beads about a year ago and have been holding them for the right project. These are also referred to as size e beads.
- Round nose pliers
- Wire cutters
Time: 20-30 minutes
Cost: Roughly $2. I spent about $6 on supplies. However, I have enough seed beads left over to make another project and a coil of memory wire has enough wire to make 6 or so additional bracelets.
Wrap Bracelet Instructions –
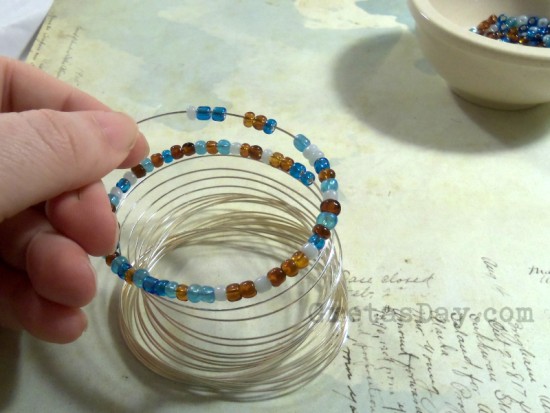
Dump your beads into a container to work out of. I like to use a small bowl or dish from my kitchen. Take your memory wire and find the end. Start threading beads on the wire. I try to do a random assortment, but it usually ends up doing a self-pattern.
Sometimes, the beads will break when you thread them on the wire. Just remove the broken bead and throw it away. If you notice a bead in the middle of your bracelet is broken or damaged, just break it off with your pliers. Be sure to do this away from your face, as you don’t want to be hit by flying shards.
Continue threading beads until your wrap bracelet is the desired length.
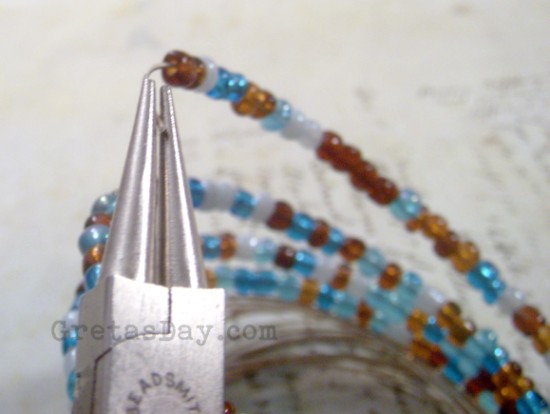
Once there, you’ll need to make a loop in the wire end. Use the round nose pliers for this. Grasp the end of the wire, and turn it to make a loop. It may be a bit difficult at first, then it will turn easily. I prefer to turn the loop to the outside, so it doesn’t dig into my wrist.
Scoot the beads down to the point where they’re snug against the loop that was just made. Cut the beaded wire from the coil of empty memory wire, leaving about half an inch of empty wire. Make a loop in this end as well. There may be a little bit of space left at the end between the loop and the beads. That’s okay, as your beads will have a bit of room to move.
Your bracelet is now complete. Recently, I’ve seen very similar bracelets selling for $25-40 in catalogs and websites.
A few tips for making your wrap bracelet:
Memory wire comes in small and large bracelet, choker, and ring sizes, as well as oval bracelet.
Memory wire can be really hard to cut. You may not want to use your good wire cutters on it. The oval memory wire seems to be a lot easier to cut.
I choose to work on the entire coil of memory wire. It allows me to work on the fly and change my mind if need be. I also think it creates less waste, which allows you to get more projects out of a coil.

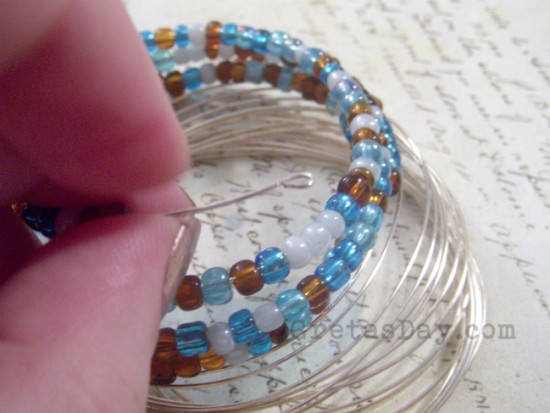
[…] A memory wire wrapped bracelet. This is also cute, quick, and easy. And you can’t make a mistake. Even little hands can make this, with a little bit of help. […]