One of the things that I am always battling is how to organize my jewelry. Well, really, I should say I’m trying to figure out how to organize my necklaces. Do you lay them flat? Hang them on small hooks. Roll them in one of those travel jewelry organizers? HELP ME!
I was cruising Pinterest one day, and I saw that people were making these jewelry displays with driftwood and glass knobs. Hmmm…it’s kinda like those long coat or mug racks we had when I was a kid. HMMMM… I decided to give the DIY necklace organizer and Jewelry Display my own twist. Driftwood isn’t my aesthetic, and everyone needs a little sparkle in their life.
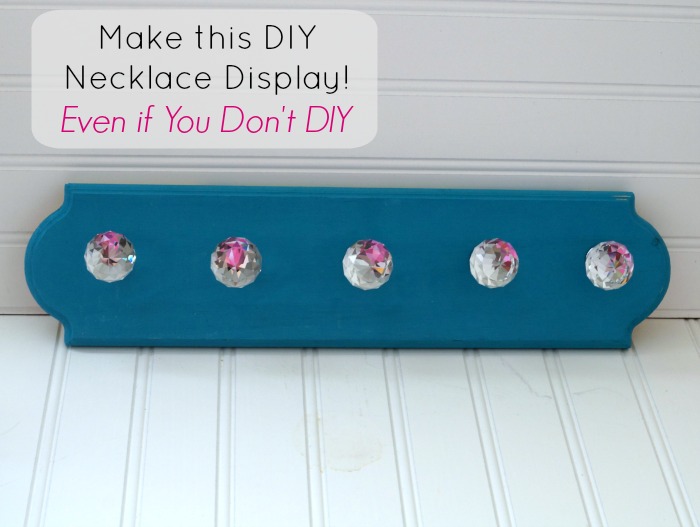
How to Make a DIY Necklace Organizer and Jewelry Display
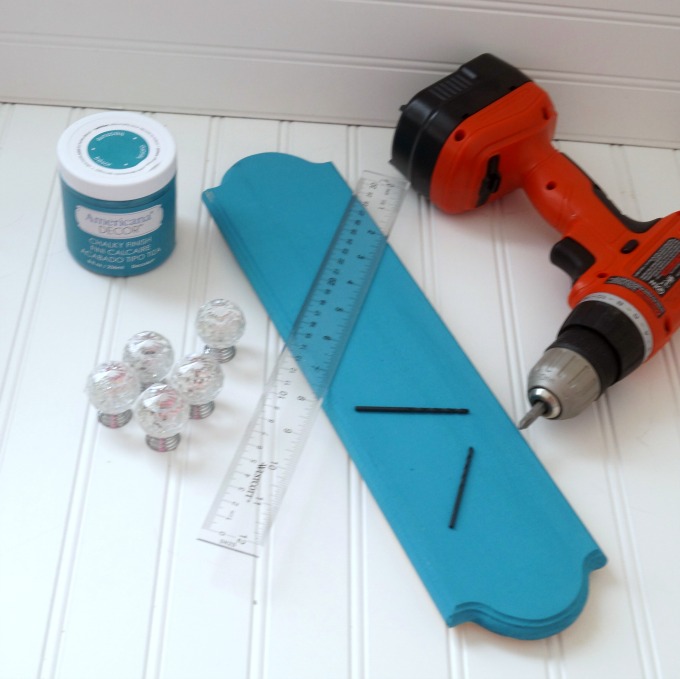
Materials needed
- Unfinished Wood Plaque – mine is 15 inches. This one is similar, and a little longer.
- Crystal knobs – These are the exact ones I’m using. They look like little disco balls. I used 5 of them.
- Paint – I’m using Americana Décor Chalky Finish in Treasure.
- Picture Hanger
- Foam Brush
- Ruler
- Pencil
- Drill
- Drill Bit
- Fine Grit Sandpaper (optional)
Directions
Paint your wood plaque. It will need two coats, and may need three. Sand between coats, if desired. Let dry well.
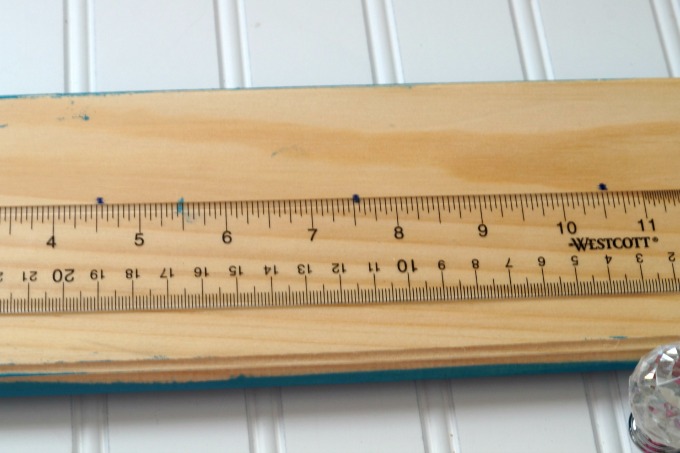
Flip your plaque back side up. Measure your plaque from end to end, and mark the center point. Now measure 3 inches to the right and left of the center point and mark those. Measure and mark the rest of your plaque at 3 inch intervals. This will space the knobs for your DIY necklace organizer nicely.
Make sure the marks are in a straight line.
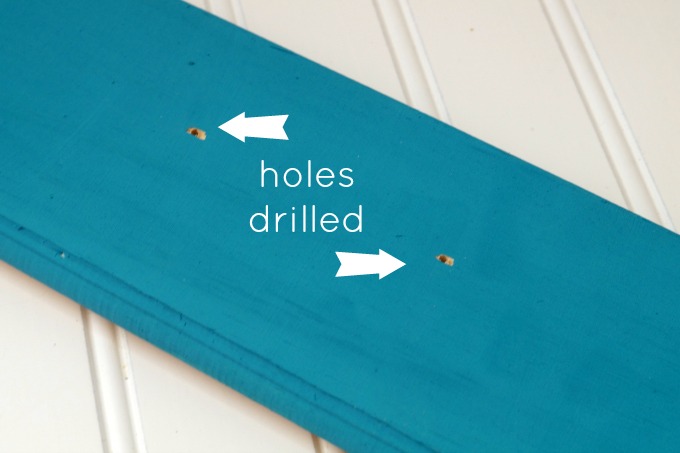
Start drilling where your marks are. Drill from back to front. Don’t worry about little chips. The knobs will cover that up, and no one will know.
Once the holes are drilled, screw the screws in from back to front, where the holes are.
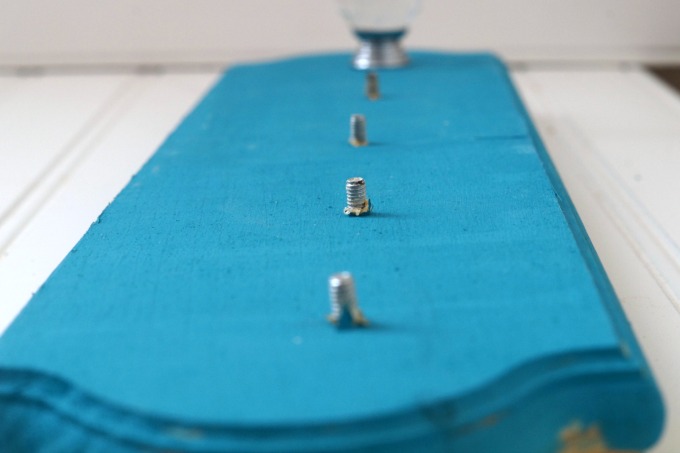
Attach the picture hanger to your DIY necklace organizer at this point, too. It makes life easier to do it before the crystal knobs are on. Not that I’m speaking from experience or anything. *cough*
Flip the plaque back right side up. Screw the crystal knobs onto the screws. Tighten down with the drill or a hand screwdriver, if needed.
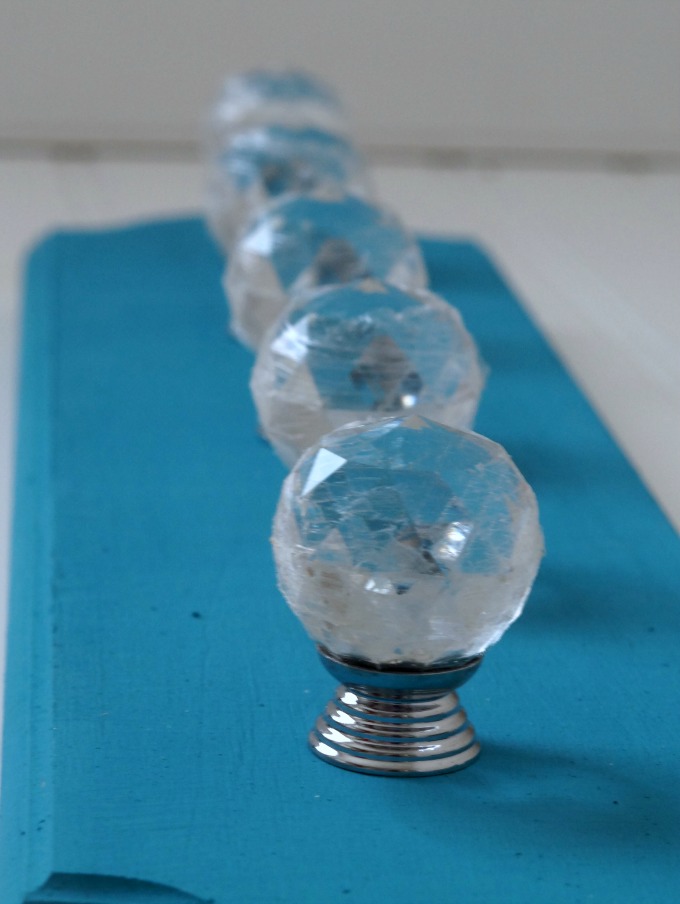
Voila! You’ve got a great DIY necklace organizer. Hang it on your wall, and put all your gorgeous necklaces on it. They’ll stay somewhat organized, and you’ll be able to see what you have. And, it doubles (triples?) as some fab art for your home. Win win win.
Looking for more fun Pinterest Remakes? Check out a few of my favorite blogs:
- How to Distress a Flower Pot by Confessions of an Overworked Mom
- Inspire Creative Play with an Easy Mask Craft for Kids by Our Family World<
- Sand Pudding Cups by Better in Bulk
- DIY Project Using Old Window Frames by Simply Southern Mom
- Easy Succulent Centerpiece by Upstate Ramblings
- No Churn Minion Ice Cream by Homemaking Hacks
- DIY Oriole Bird Feeder by My So Called Balanced Life
- Peanut Butter Banana Breakfast Cookies by LW Vogue
- DIY Painted Rocks Garden Markers by Mom Always Finds Out
- Banana Pudding Eclair Cake – No Bake Easy Dessert by Sweep Tight
- Grilled Chicken Fajitas Bowls with Cilantro Lime Rice by Oh So Savvy Mom