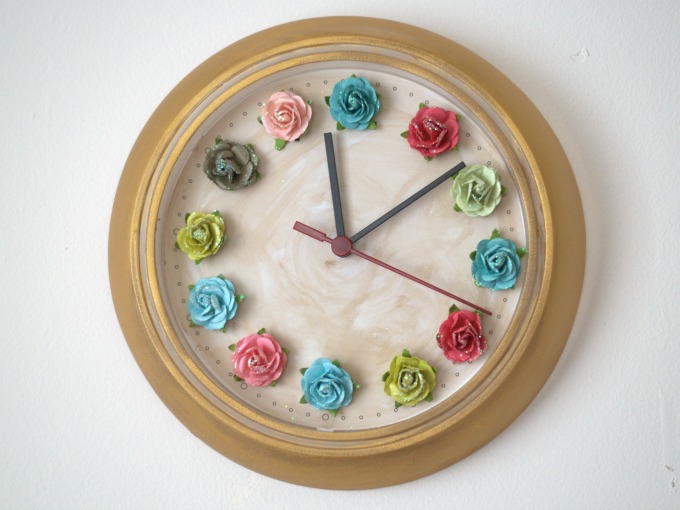
I don’t have a clock in my office. I’m not sure if that’s a good thing or a bad thing. Oh sure, I have a clock on my computer, or on my phone. But an actual clock that I can see what time it is when I’m working on something? Nope. I decided it was time to change that with this cute DIY flower wall clock.
Yeah, I could have just bought any old clock. Or even a kitschy cool clock that would be awe-some in my office. I could have even put the base clocks up as-is, all plain like. HA! No I couldn’t have. Even I know that would never work.
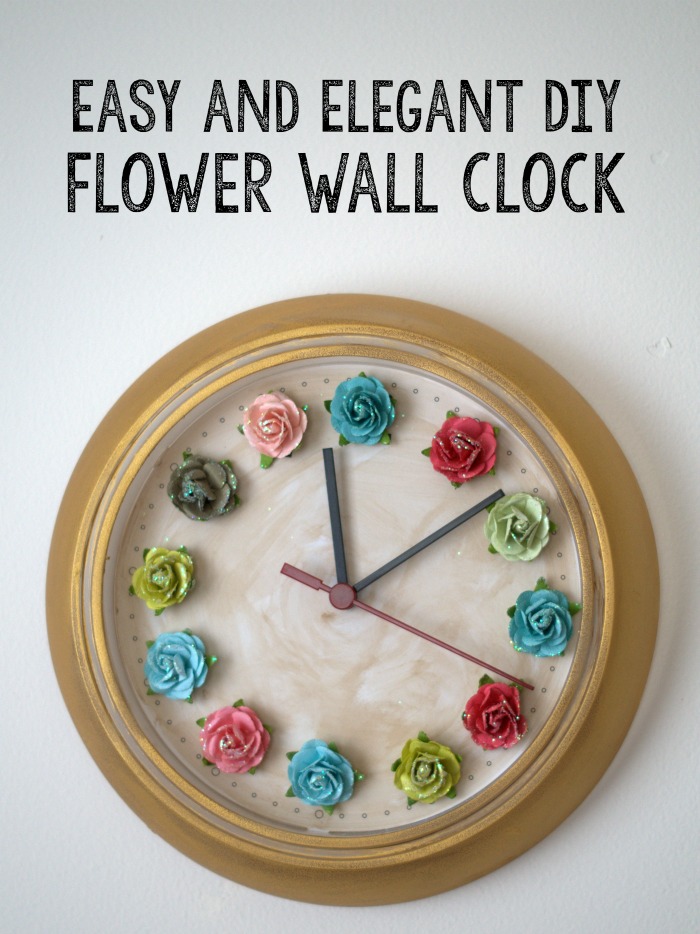
DIY Flower Wall Clock
Links may be affiliate links.
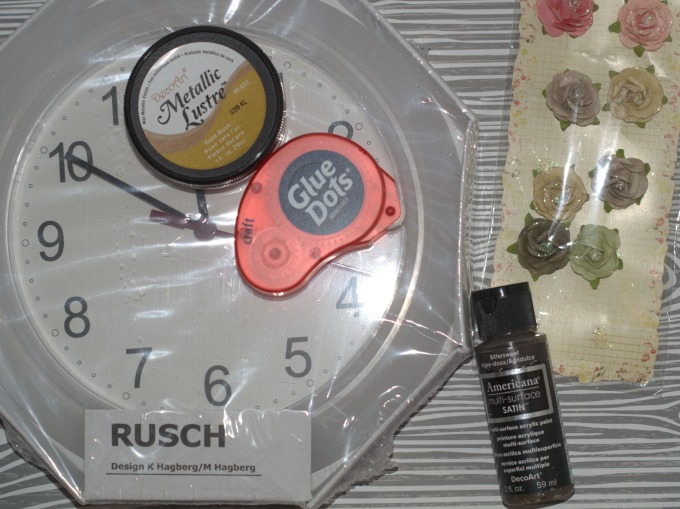
Supplies
- Rusch Clock from IKEA – If you don’t live by an IKEA, you can get these clocks on Amazon.
- Prima flowers – You’ll need 2 packages for this project.
- Glue Dots – Craft strength
- Americana Multi Surface Satin Acrylic Paint in Bittersweet
- DecoArt Metallic Lustre in Gold Rush
- Foam pain brush
- Soft cloth or paper towels
Directions
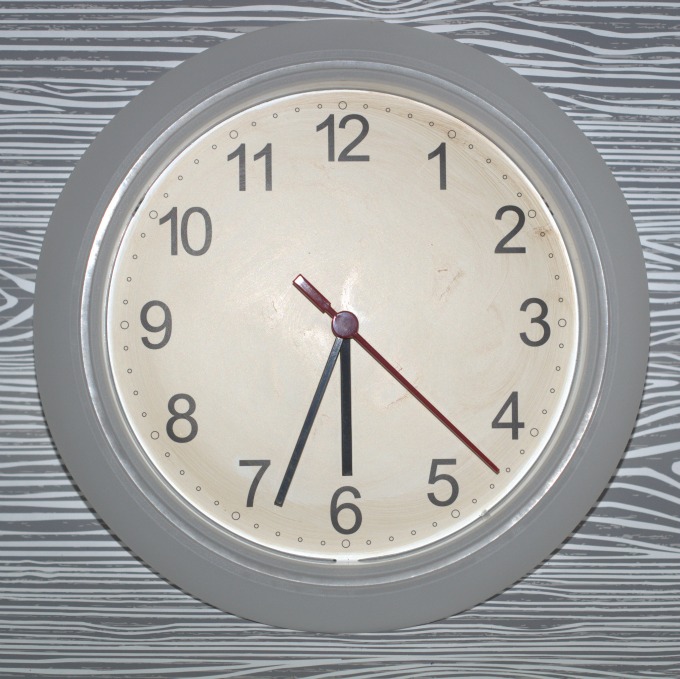
Take the plastic cover off the Rusch clock. Set to the side.
Put a few drops of the Americana Multi Surface paint on the face of the clock and spread it around. We want to give the clock a bit of an aged and distressed look. Let dry. This should just take a minute or two to dry.
Add a few drops of paint to the outside plastic of the clock, and spread it around. Add more paint as needed. Again, we want to give this DIY flower wall clock an aged or distressed look, not paint it completely brown.
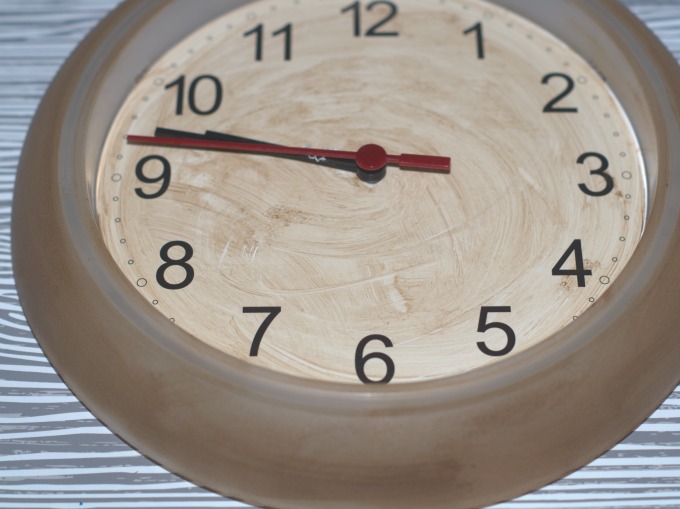
Let the paint dry really well. This should take less than 5 minutes or so.
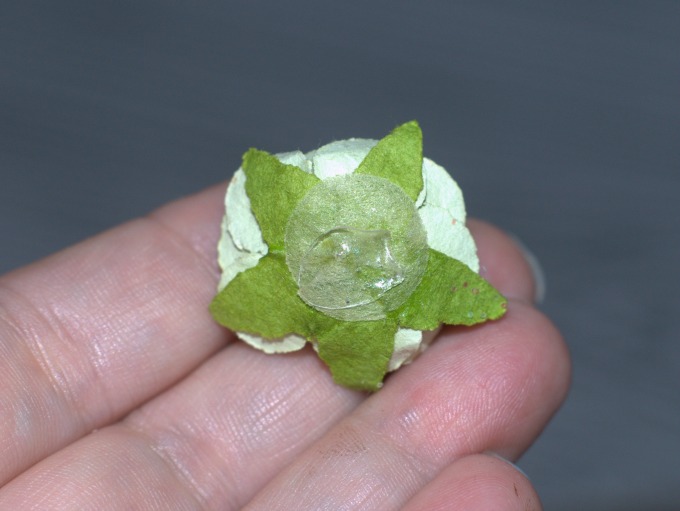
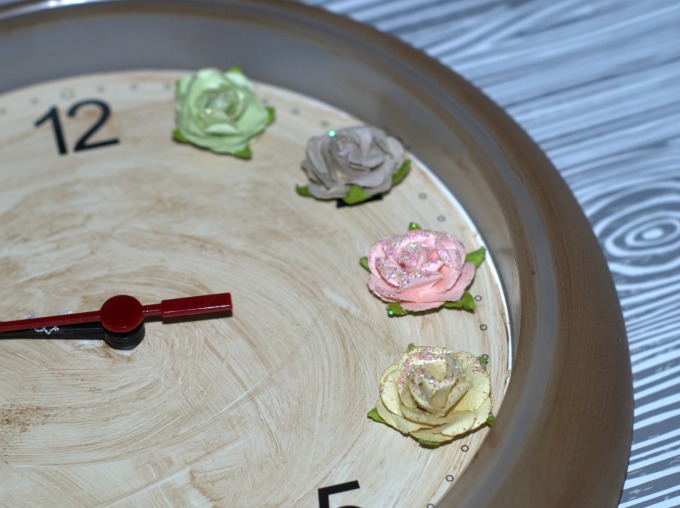
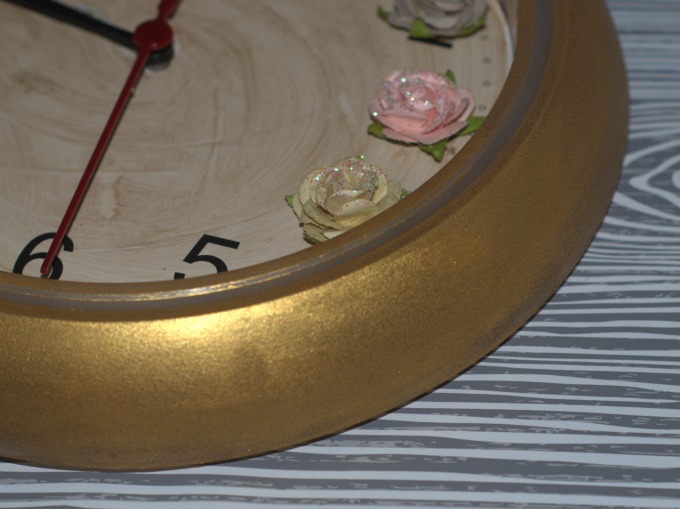
Add the flowers to where the numbers are on the clock. To do this, add a Glue Dot to the back of the flower, and then stick it down to the clock.
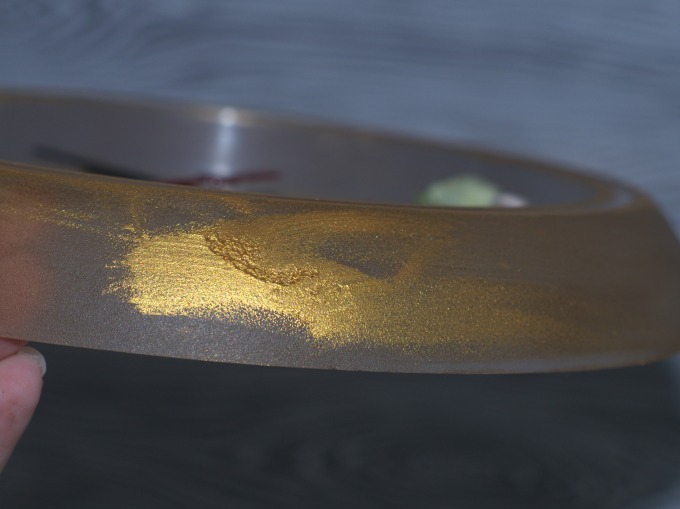
Now add a bit of Metallic Lustre gilding wax to your clock. Take a soft cloth or paper towel and dip a little bit out of the container. A small amount is more than enough. Spread it on your clock in a thin layer, and keep spreading until it’s not spreading any more. Repeat for the entire clock. Don’t forget to get the front plastic part. Set aside and let dry.
Once the whole DIY flower wall clock is done and dry, put the plastic cover back on. Now, hang your fabulous DIY flower wall clock where people will see it, and it will make you happy!
For more creative Easter and spring ideas, visit a few of my favorite bloggers:
- How to Dye Your Easter Eggs with Natural Dyes by Confessions of an Overworked Mom
- How to Marble Easter Eggs With This Nail Polish Hack by The Socialite’s Closet
- Easter Coloring and Puzzle Fun for Kids by Day by Day in Our World
- Washcloth Bunny Easter Egg Holder by Mom on the Side
- Easter Basket Cake by Kids Fun Reviewed
- Rice Krispie Easter Egg Bites by Mom Does it All
- Easter Chick Craft for Kids by Sincerely Mindy
- Chocolate Chip Cookie Dough Eggs by Sugar, Spice and Family Life
- Choco Peanut Butter Easter Cookies by Mommy Snippets
- Rustic Easter Wreath by sweet lil you
- Make Your Own Spring Sunshine Essential Oil Perfume by Style on Main
- Italian Easter Meat Pie by Upstate Ramblings
- Jellybean Bark by Savvy Saving Couple