Do you love beaded bracelets? We all know that stacks of bracelets and beads are both very in right now. Beaded bracelets can be very expensive, though. Luckily, it’s not hard to make them yourself! This bracelet tutorial will teach you how to make a beaded bracelet, even if you’ve never stepped foot in the craft store.
Beading Supplies Needed
Links may be affiliate links
- Tigertail beading wire
- Focal beads – in this project, we’re using 8mm vintage glass pearls (similar) as the focal bead. I used 10 for an 8 inch bracelet.
- Accent beads – the red crystal beads used. I needed 10 for an 8 inch bracelet.
- Seed beads – a size 10 or 11 will be the best for this project. These are the tiny white beads used.
- Crimp beads – they’re what finishes the wire.
- Split rings or jump rings – 4-6mm
- Lobster claw clasp
- Cutters. You can use wire cutters, scissors you don’t care about, or even nail clippers.
- Pliers. Any kind, doesn’t matter. You only need them to smush the crimp beads.
How to Make a Beaded Bracelet
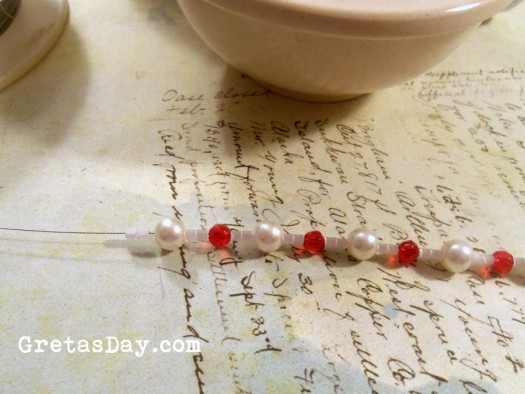
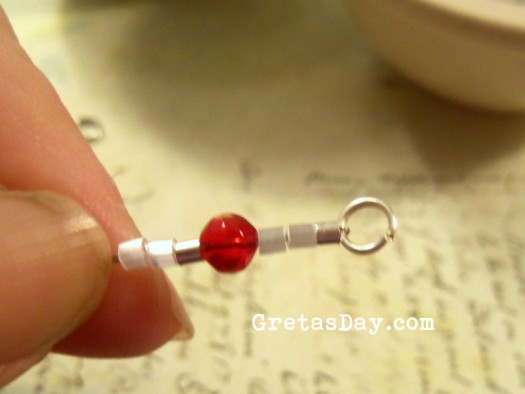
Take your spool of tigertail and find the end. String on two seed beads, a red crystal, two more seed beads, and a white pearl.
Personally, I prefer to work on the spool, so I can change my mind as I go. I also find that I don’t waste as much of the wire.
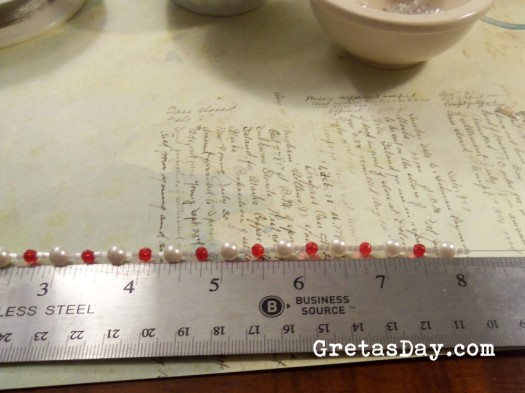
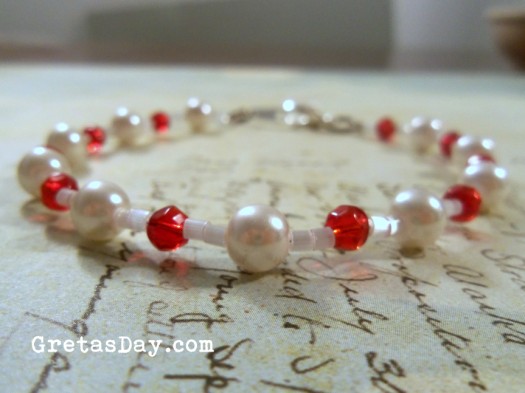
Repeat the bead pattern until you reach your desired length.
Now, we’re going to finish the bracelet off. First, we need to figure out how much length the clasp is going to add. My clasp and split rings added approximately an inch – ¼ inch for each split ring, ½ inch for the clasp and tab. If your clasp doesn’t have a tab, it will add somewhere between 5/8 and ¾ inch to your bracelet length.
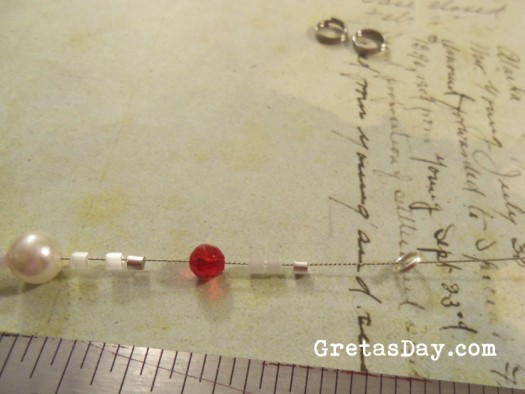
Once you determine how much length the clasp adds, remove that in beads. Take off your last red crystal or white pearl bead and the seed beads closest to the end. Add one crimp bead, the bead you removed, and if your design didn’t end with seed beads, add two seed beads.
Add another crimp bead and a split ring. Make sure to leave a couple inches of wire tail to work with.
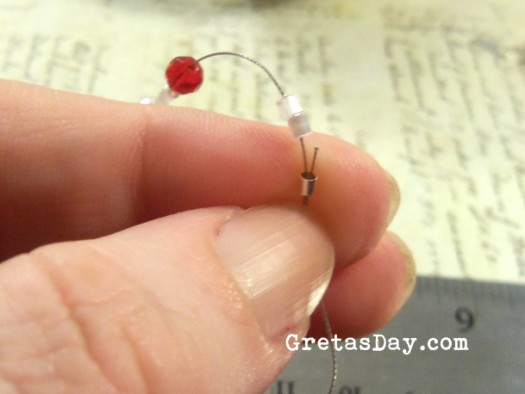
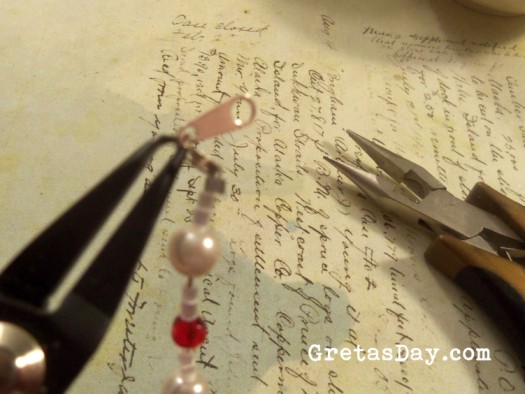
Now, to the slightly tricky part. Take the end of the wire, and thread it back through the last crimp bead, so that the split ring dangles. Thread the end through the seed beads, the focal bead, and through the 2nd crimp bead. You may even want to thread it through a few more beads, as I do.
Pull the tail taut, so that the beads are pretty snug. You may need to push the beads from the end attached to the spool, so they don’t keep sliding away. Using your pliers, smash the crimp beads down. If you break a seed bead, it’s ok. I do it all the time! Trim the excess wire.
Now, trim the bracelet from the tiger tail spool, leaving about a 3-4 inch tail. Repeat the process for ending the bracelet on this end.
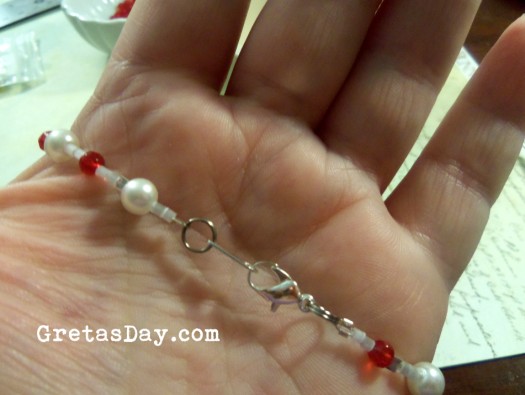
Now, you should have a length of beads with a split ring on each end. Find the split in the split ring and open it up. This looks like your key ring. Open it up using a pair of pliers or a headpin or something. I have been known to use my fingernail. Slide the lobster claw clasp onto the split ring, and work it around, just like adding keys to a key ring.
If you have a tab part of your clasp, repeat that step with the tab end of the clasp for the other end of your bracelet. If not, don’t worry about it! You have now made a beaded bracelet. Pretty easy, huh?
Helpful Beading Hints
I have a pair of split ring pliers that help me with opening split rings, but unless you’re going to be making a ton of items with split rings, you don’t really need them. If you decide you want a pair, they run about $15.
I use split rings, as they’re more secure. Jump rings are easier to use and easier to find. However, if you don’t close your jump rings tightly, they can fall off.
Tigertail is a nylon coated cabled wire. Almost every store has it, and if you ask for tiger tail, they should know exactly what you’re looking for. Even at the big box craft store.
Total cost to get started: About $10-15, if you have to buy everything. Of course, the more items you have at home, the price goes down.
Price per bracelet: This varies wildly depending on the beads used. To use nice quality beads, I would estimate that $1 is a fair price.
For the pearl & crystal bracelet, the red crystals were $3.25 for 25, and the vintage glass pearls were $4.50 for about 65 beads. The seed beads were $0.89 for a tube. While I spent $8.64, for the beads, I have enough to make another identical bracelet, plus a ton of pearls and seed beads left for other projects.
If you decide to make a bracelet, I’d love to see your project!


