Do you ever get that itch to make changes in your home? It might be a new rug or a few new throw pillows to freshen up the sofa. Sometimes, though, the home improvement goal is a bigger one. Every so often, we get the idea to paint our walls.
Maybe your walls are drab and are starting to look shabby. Maybe you’ve decided to go with an easier to clean finish. Possibly you even just want to make a dramatic change with a whole new color. While painting isn’t really difficult, there are some tips and tricks for painting with a roller that will help make the job easier.
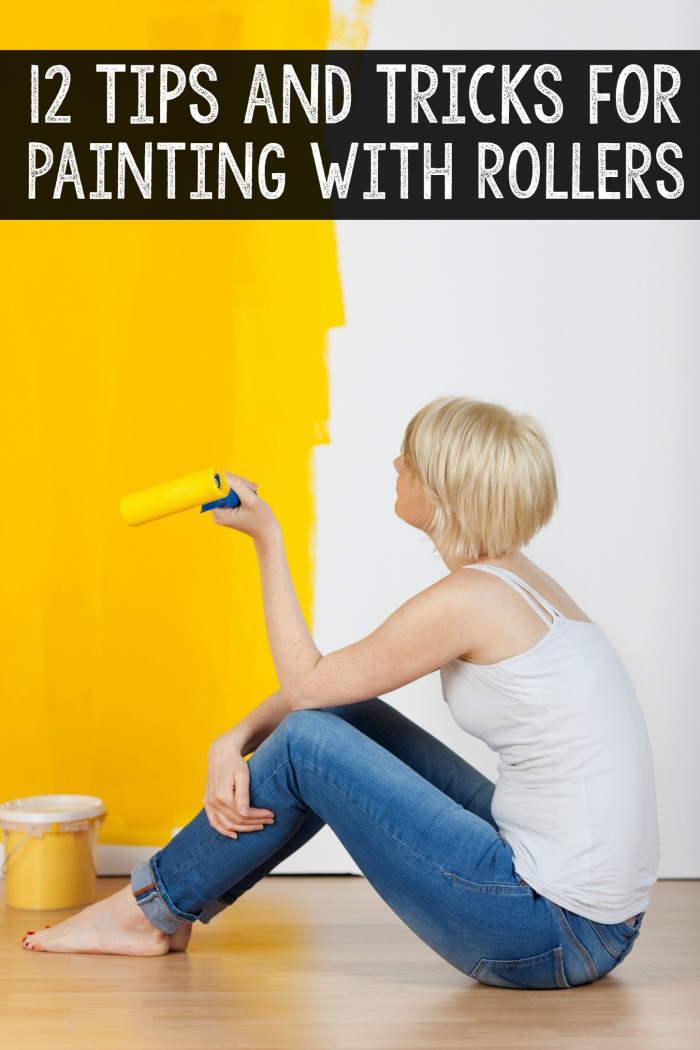
Tips and Tricks for Painting with a Roller
Use good quality paint and tools
Like most things, using a good quality product will immensely improve the results. Many paints nowadays have a primer built in, which can help eliminate a step. Yay for good shortcuts. Likewise, don’t buy the cheapest tools. While you don’t need to buy professional quality, a step or two up from the basics can make the job so much easier.
It is a good idea to use a bucket
We have seen many people using one of those roller and tray set ups that you can buy as one. The truth is that you’re better off using a bucket and a bucket screen. Using a five gallon bucket means that you can keep the roller cover soaked a lot easier than you can if you use a tray. It’s also a lot easier to maneuver a bucket without spilling the paint. If you need to take a break while you’re painting you can also cover the bucket and the paint will not dry out in the same way it will if you use a tray.
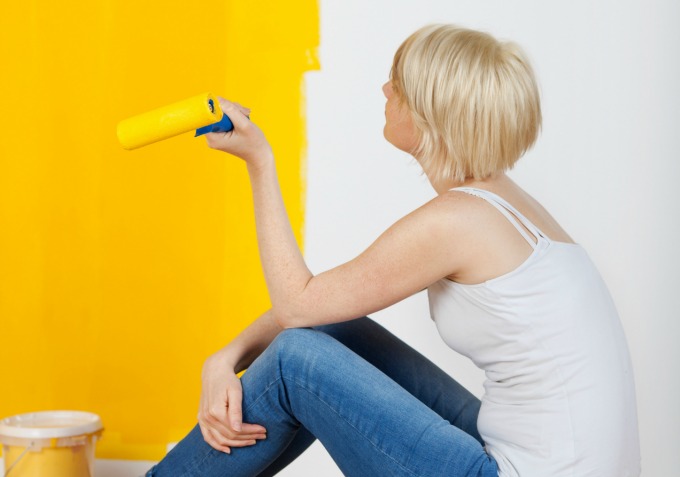
Painting a wall
So, now you know you should use a bucket, to make life easier. What about when you actually start painting? Here are our top tips for you.
- Use a brush to paint along the ceiling and in corners, around windows and doors, or other tight places where you cannot roll paint on.
- Do not submerge the roller in the paint, just dip the nap.
- Start around 6 inches from the corner and a foot from the bottom of the wall and roll up and at a slight angle until you are a few inches from the ceiling.
- Keep rolling up and down and slightly overlap your previous stroke.
- In corners, roll close to but do not touch the adjoining wall.
- Close to the ceiling, you can smooth out the paint by using the roller horizontally without using more paint on it. This covers any earlier brush strokes you have made.
- Paint and smooth so that you always keep a wet edge. Painting an overlap on dry paint leaves a visible mark.
- Limit lumps by keeping the roller away from dusty surfaces and covering paint with a damp cloth when you are not using it. This helps to stop the paint from partially drying.
- Use a damp cloth to pick off any lumps that do appear on the wall, as soon as you see them.
- Do not press too hard when you are rolling.
Of course, you always have the option of speaking to professionals to get the job done for you. Professional painters make sure the job is done effectively and efficiently.
Never just sit and ignore a wall in your home that desperately needs painting; either call a professional painter for help or take a look at our tips and have a go yourself.