With tariffs contributing to higher food costs, it’s becoming more difficult to afford food that is both nutritious and filling. You may find yourself consuming lower-quality meals to keep up with the rapidly rising cost of living. Poor diets have been linked to long-term health risks, which may increase the likelihood of future medical costs. Now is the time for prioritizing self-sufficiency, and all you need is your own space and patience. It might seem intimidating at first, especially if you don’t have much of a green thumb, but follow through with these steps and you may avoid tariff-related troubles at your dinner table.
Step 1: Evaluate Your Space

Every garden needs an appropriately allocated space to thrive, and plants need adequate sunlight to grow. Taking the time to evaluate a plot around your home is important, as it will help you figure out how much you can grow, and how well.. At this point, it’s good to have a general idea of which assortment of seeds you plan on planting, since every plant has different growth requirements. Once you have your selection, you can easily pinpoint where to plant your seeds.
Step 2: Analyze the Soil
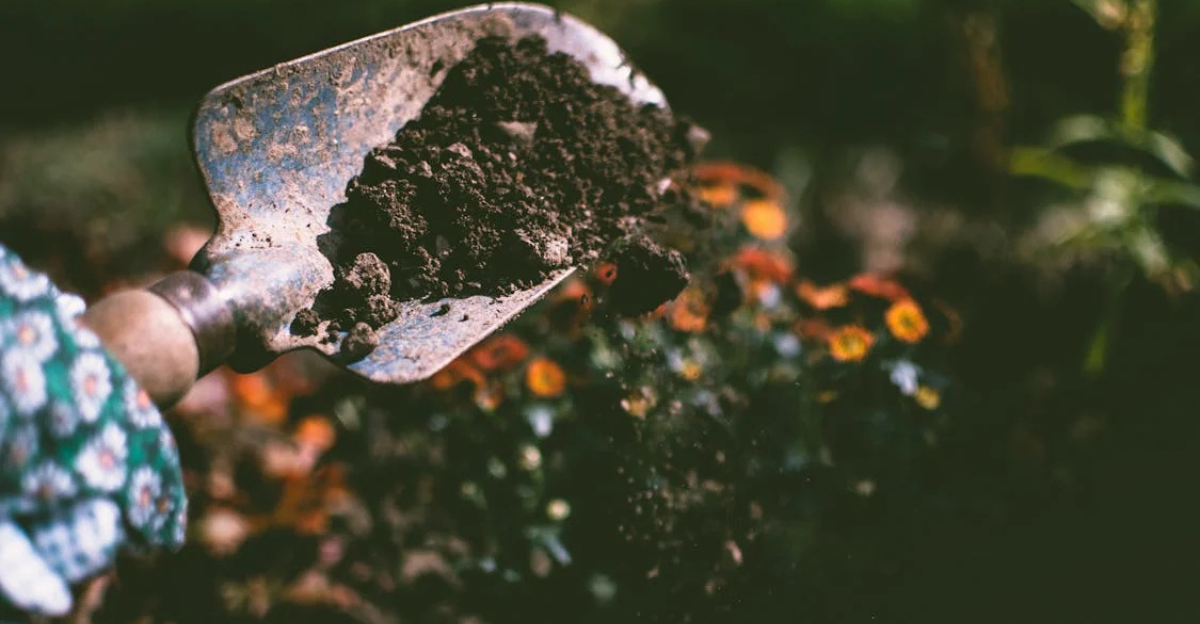
The soil is your plant’s home as it transitions from a seed into your next meal. This is where it will get its nutrients while it grows, so using high-quality soil ensures a good harvest. You can use a soil test kit available at garden centers to examine the pH and nutrient levels during your planning process. The results can then help you determine if you need to improve anything, such as using compost to give the nutrient levels a boost.
Step 3: Decide on Layout

Once you’ve determined the quality of your space, you can figure out how and where to grow your plants. This greatly depends on your space availability, so even if you live in a high-rise apartment, growing your own garden is not an impossible dream. It does, however, affect the variety of plants you are able to grow, but anything is better than nothing.
Depending on your soil and space situation, you may choose from raised beds, plant containers or pots, and in-ground beds to house your garden.
Step 4: Choose High-Yield Crops
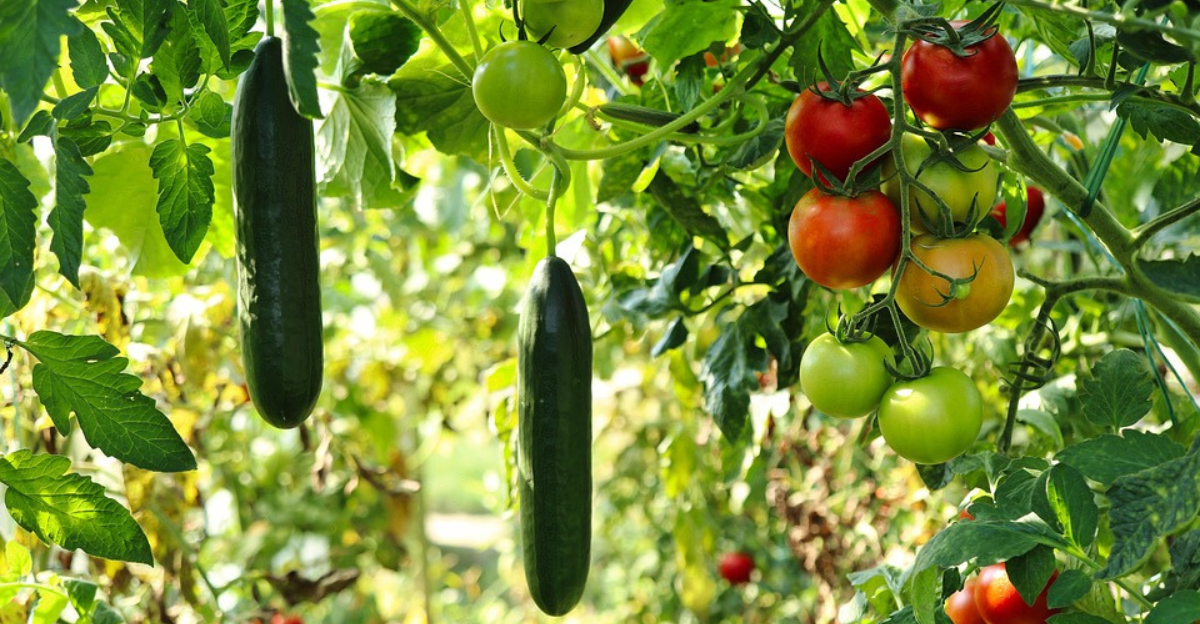
It’s best to choose crops you would typically go for in the grocery store and consume at home. In addition, choosing crops that are perennials, such as asparagus, rhubarb, some herbs, berries, or even fruit trees, is a great way to supply fresh ingredients to meals each growing season. Annual crops like tomatoes, lettuce, and carrots are versatile vegetables that can be prepared in all kinds of recipes.These versatile veggies help keep meals fresh and interesting.
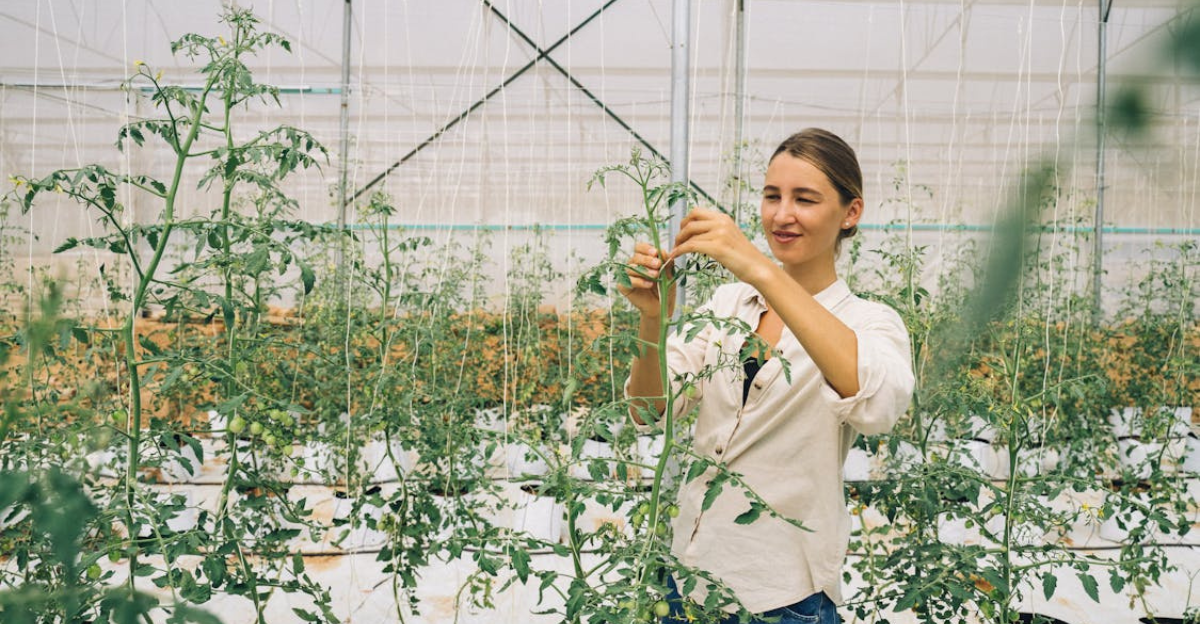
Step 5: Prioritize Plant Compatibility
Not all vegetation likes being next to each other because of differences in sunlight exposure, watering patterns, and nutrients. Some plants also compete for nutrients with each other, which can cause one to thrive while the other struggles. Mapping out your garden to optimize the space with high-quality crops while preserving every plant’s well-being will make the growing process much easier.
Step 6: Set Up Irrigation
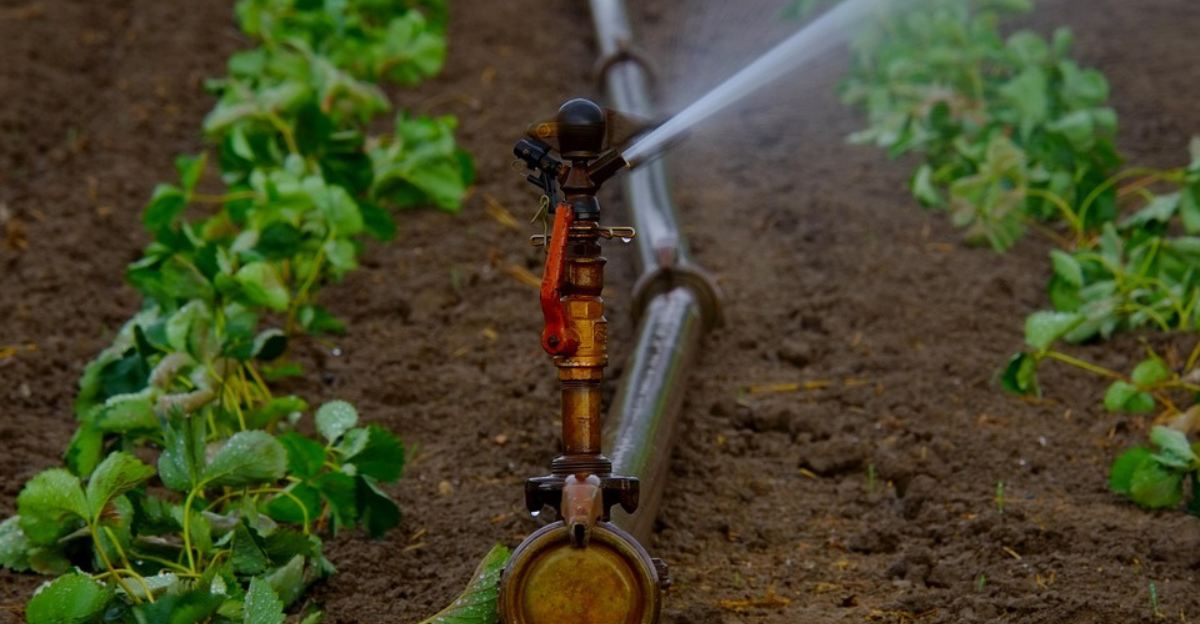
If possible, setting up a basic irrigation system is a great way to guarantee that your plants are getting a consistent amount of water on time. You may choose to install drip irrigation or purchase watering globes. Another more sustainable idea is to collect and use rainwater as a water source for irrigation. You could save a lot of money on water bills, especially if you manage to build a fairly large garden. Just be cautious about stagnant water, which can attract mosquitoes.
Step 7: Start Composting
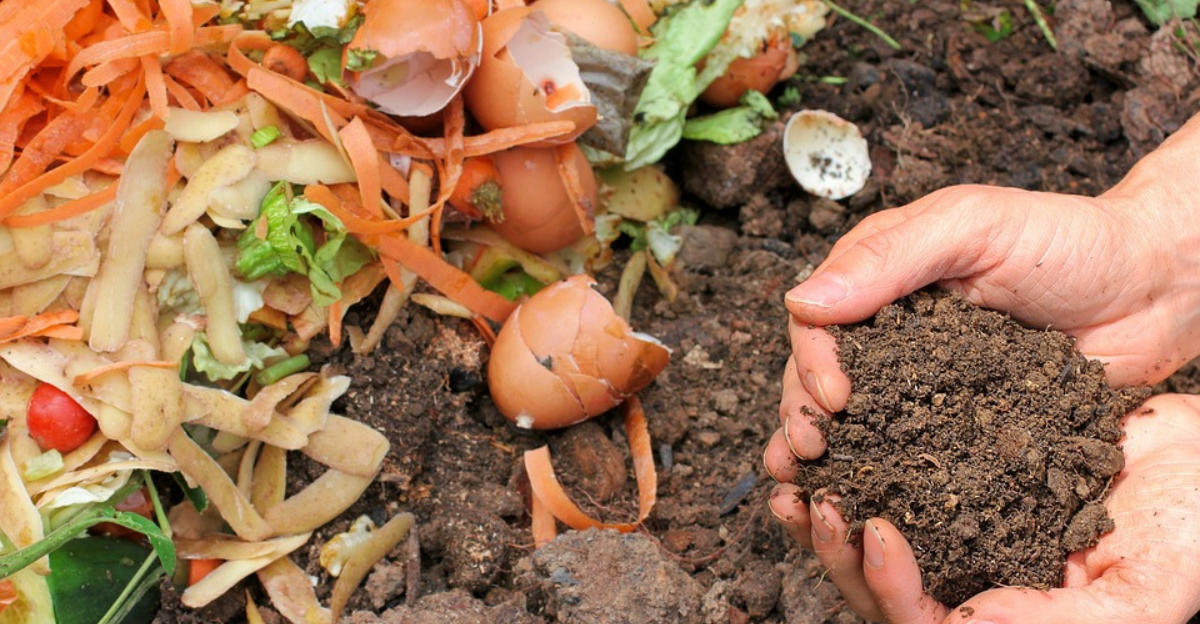
Composting is a great way to feed your garden in addition to being a responsible way to care for the earth. Food scraps usually go to waste in the trash, but certain scraps can be given a second purpose by returning them to the earth to nourish what will become food again. Things you can compost include fruit and vegetable scraps, coffee grounds, leaves, and even cardboard, which means the food you eat from your garden essentially becomes nutrients for even more food. Before you begin your composting journey, it’s best to do some research on techniques so you can do it safely.
Step 8: Control Pests
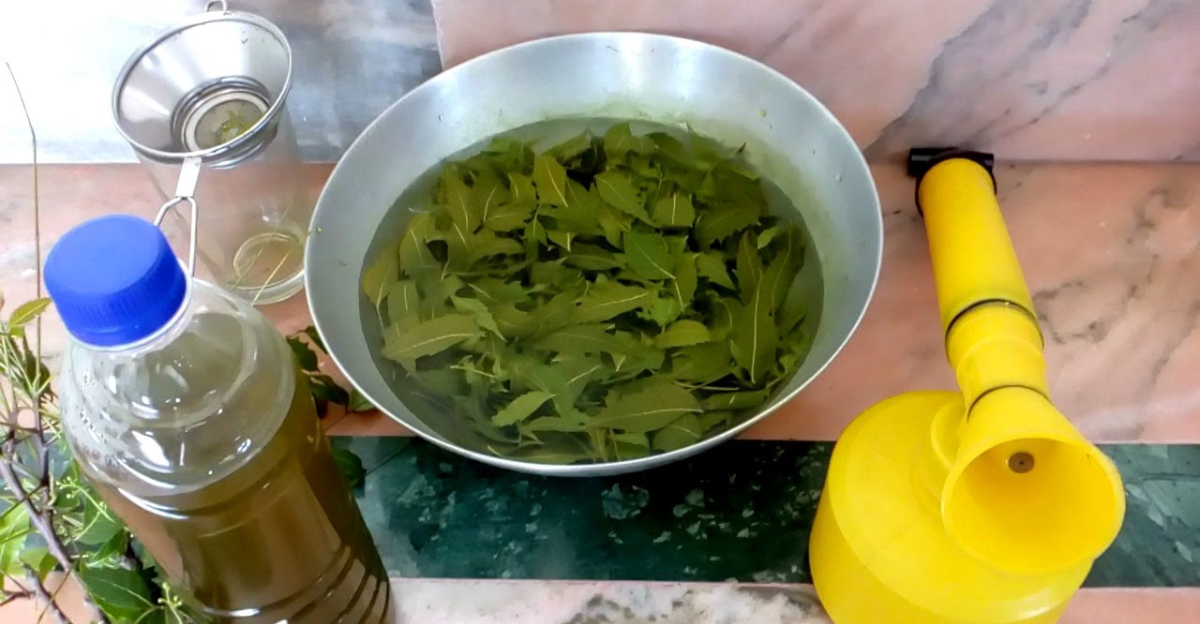
When handling pests, it’s best to do so using natural remedies in order to keep your family safe while consuming your homegrown crops. Chemicals not only negatively affect the growth of your crops but also their nutritional quality. It’s wise to avoid harsh chemicals and go for homemade pesticides such as neem oil, garlic, or eucalyptus oil spray. Installing other countermeasures, such as fences, nets, or mesh, is another way to protect your crops, especially from larger pests.
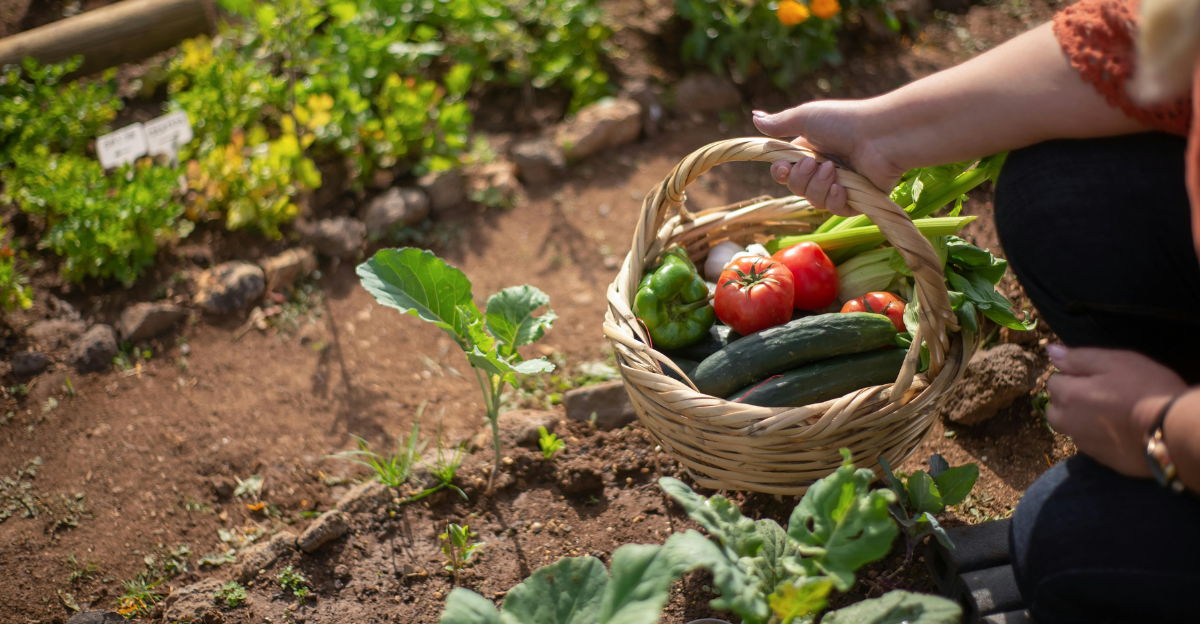
Step 9: Happily Reap What You’ve Sown
Knowing when your crops are ready to harvest is just as important as the previous steps, so that you can enjoy your greens in their most optimal state. It’s best to stagger planting times so that you’re able to extend your harvest season. After enjoying a homegrown, healthy meal, consider saving seeds from your best crops to plant next season. Just imagine slicing into a freshly homegrown tomato grown feet from your door. If you’ve been able to follow through the steps, then you’re on your way to growing a sufficient and delicious garden!