Special thanks to Lutron for sponsoring this tutorial about How to Install a dimmer switch.
Lighting is one of the things that can really set the mood in a room. Think about it. Bright light makes us want to work, while low light is often used in romantic restaurants. They even have different colored light bulbs or bulbs with filters that can mimic the sun, natural light, and other effects.

Even in our own homes, we use different lighting effects to achieve our desired results. Kids’ playroom? It’s bright in there. Media room or home theater? It usually has low lights or no lights, depending on what we’re watching. Unfortunately, most of us aren’t lucky enough to have a dedicated media room or home theater, and we have a shared space that doubles as…hey…like the kids playroom or the family room and the home theater.
One of the easiest ways to make the transition from bright light to mood lighting is with a dimmer switch. Now, I know what you’re saying “oh no. I don’t want to do that. I’m going to have to hire an electrician and take time off work…There has to be some other way.”
There is another way! You can install the dimmer switch yourself. It’s quick and easy, and really pretty painless. The best part is that you probably already have just about everything you need laying around the house.
Supplies
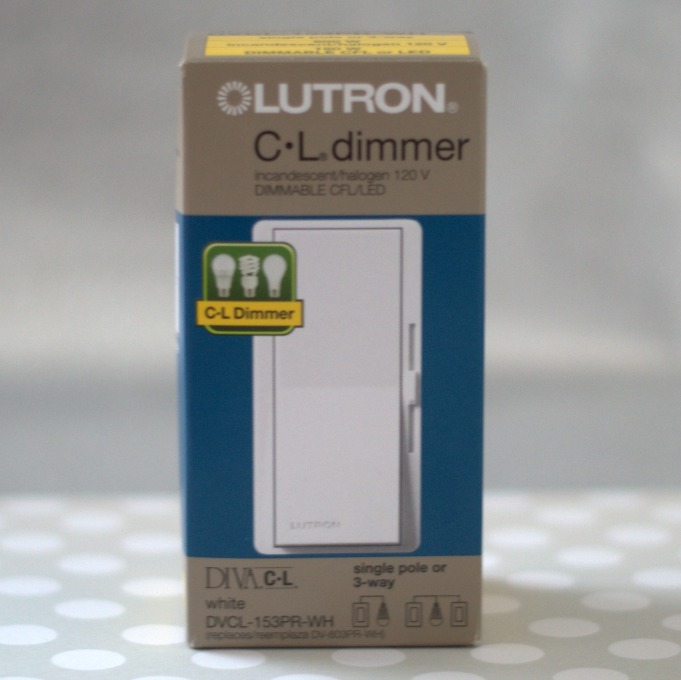
- Dimmer Switch – We’re using the Lutron Diva Dimmer
- Screwdriver
- Pliers
- Wire cutters
- Wire Strippers or a box knife
How to Install a Dimmer Switch
Choose a light that’s controlled by a light switch. This is probably the most important part. Ask me how I know. No, don’t. I don’t want to relive that mistake.
Turn the power OFF! This is most important part B.
Remove the switch plate for your light switch. There are 2 screws holding it on.
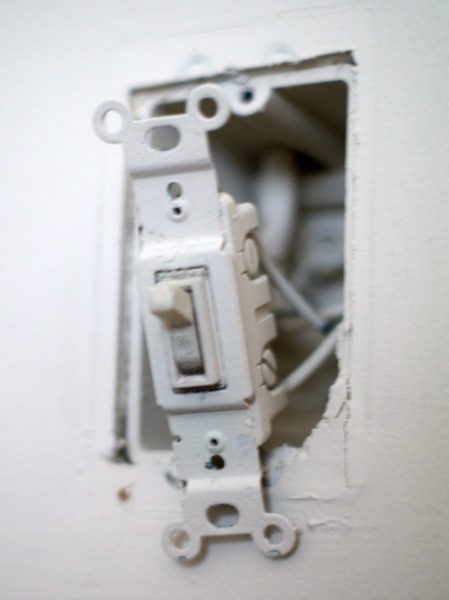
Remove the old switch. There are 2 longer screws holding it in to the junction box.
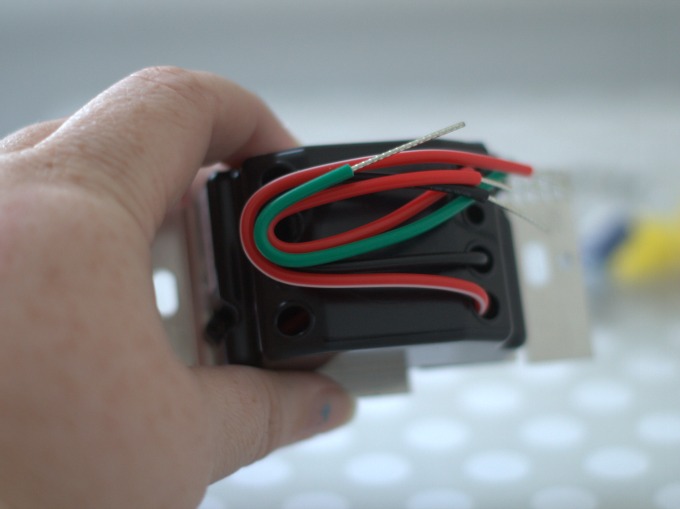
Examine the wires inside – there should be a green one (ground wire), and 2 that are connected on one side of the switch. Now look at your dimmer switch; you should see a green wire (ground wire), and 2 wires on the side.
Remove your old switch from the wires. You may have to pull the wires out of the switch, or cut them off the switch (what I had to do). If you have to cut the wires off the switch, cut them as close to the switch as possible; you also may have to trim some of the plastic coating off to leave 3/8-1/2 inch of wire exposed. This is where wire strippers, or a box knife, comes in handy.
Match up your ground wires and twist the ends together. Twist one of the plastic caps over them to make a good connection.
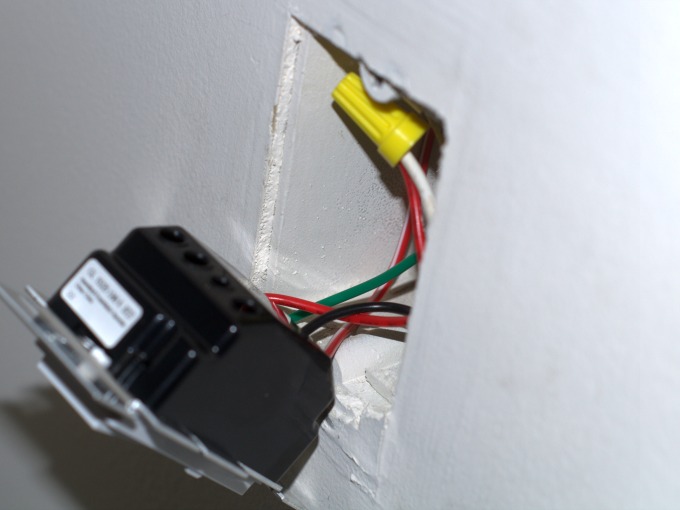
Match up each of the pairs of wires you have left. Make sure you have enough wire exposed to ensure a connection, and twist caps on each of the pairs.
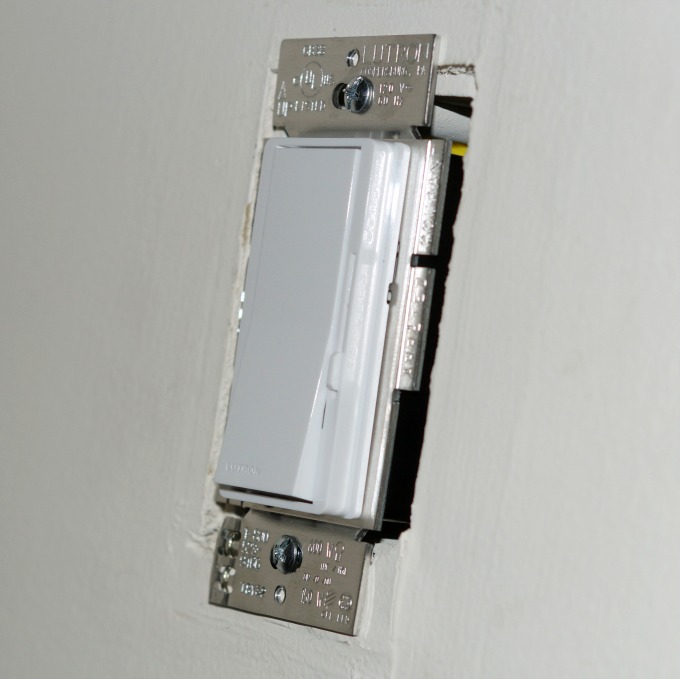
Put all the wiring back in the junction box in the wall, and slide your dimmer switch into place in front.
Screw the dimmer switch into place with the long screws provided.
Attach a dimmer face plate using the screws that are provided with it.
Turn the power back on, and admire your handiwork!
All in all, this takes about 10-15 minutes. Of course, you’ll notice that I forgot to get a dimmer switch face plate, so I’ll be making a return trip to the home improvement store.
For a limited time, you can enter to win one of 5 $2000 Smart Home makeovers or one of 14 motion detectors! Just show us how light is important to you during the holidays!
Installing a dimmer switch doesn’t have to be hard, scary, or even difficult. As long as you read the directions, and practice safety first, you’ll be okay. Before you know it, you’ll be changing alllll your switches out!