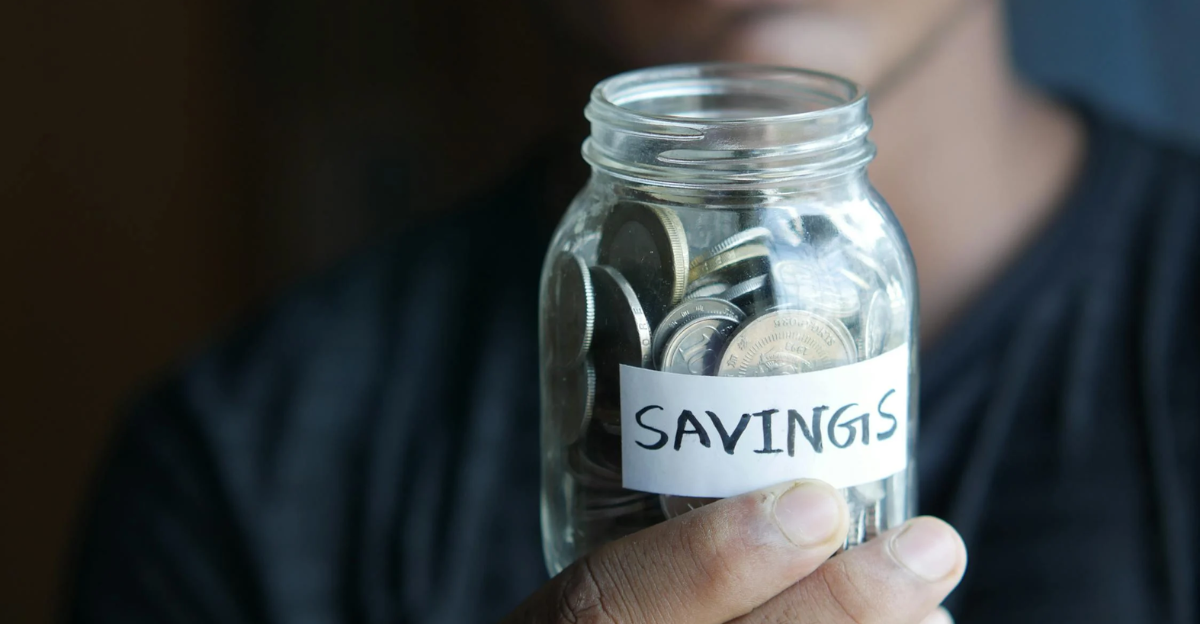
In this economy, buying fresh produce at affordable prices is a gamble. You get greater deals buying in bulk, but then you are left with a bunch of groceries you might not be able to consume in time. Food preservation has long been a technique for prolonging shelf life, and with what’s been going on lately, you’re going to need it. Follow these steps to start canning your food, and you’ll be glad you did.
1. Research on the Best Canning Method
Canning may be intimidating at first, especially since precision plays a significant role. Conduct research on a canning method that you find achievable yet still produces quality results. You need to consider the nature of the food you want to preserve and your environment to determine which method is most ideal for you.
2. Gather What You Need
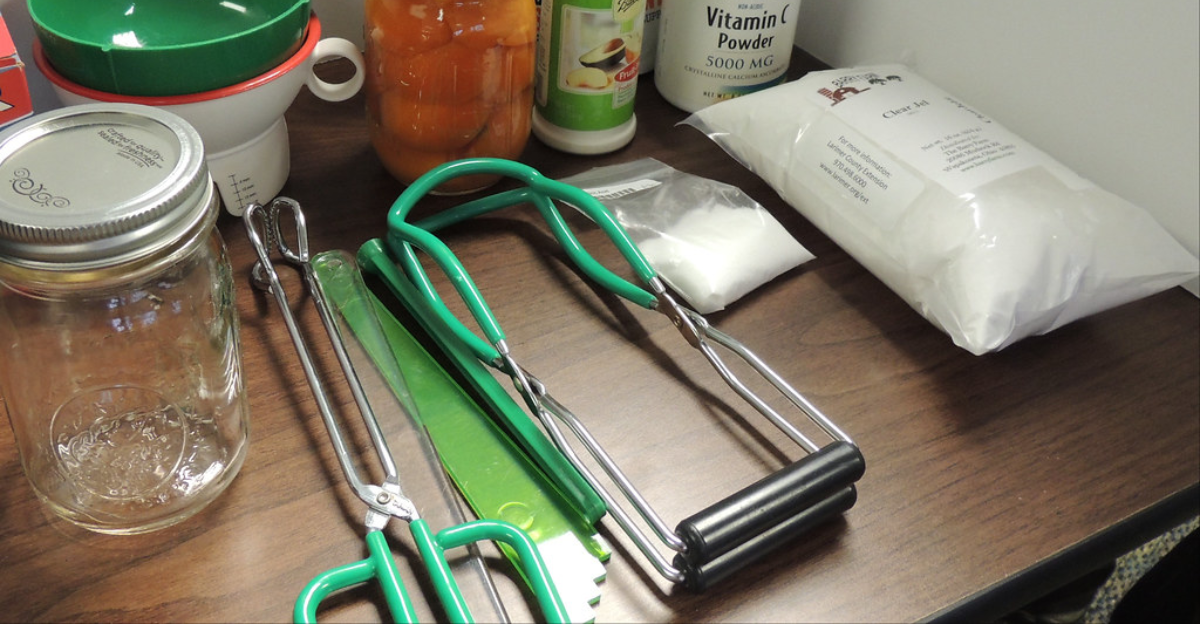
Stores sell beginner canning tools; however, you may have all you need at home. Canning essentials include jars, lids, rings, a canner, a jar lifter, a funnel, ladles, towels, and labels. Every method is different and may require different things, so it’s best to do some research on what you may need.
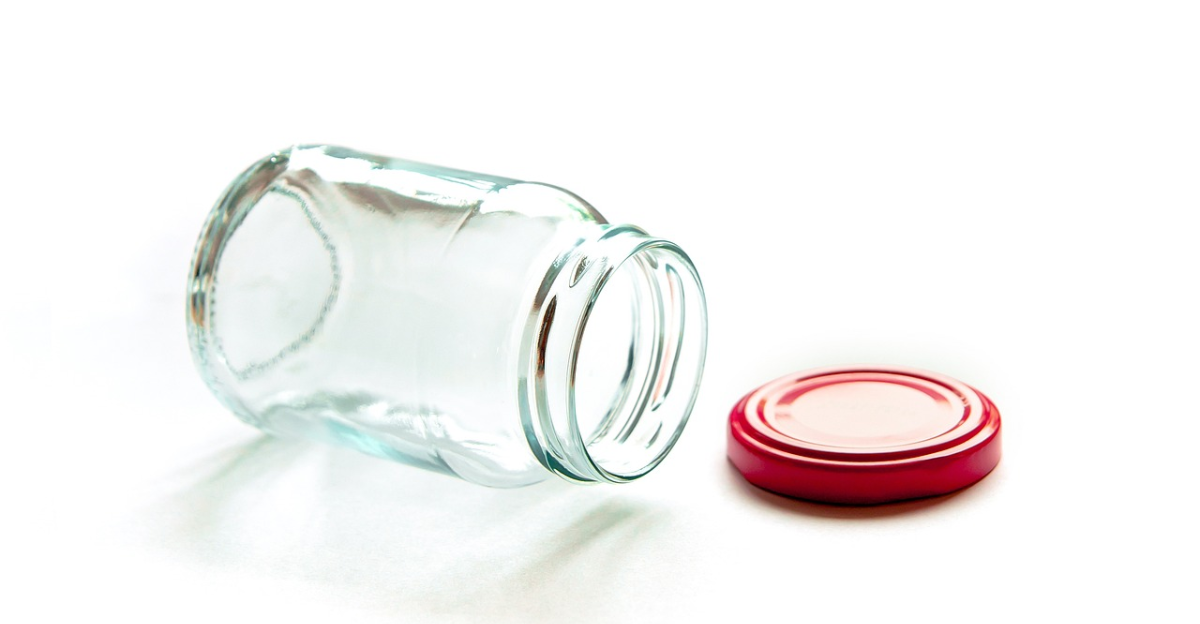
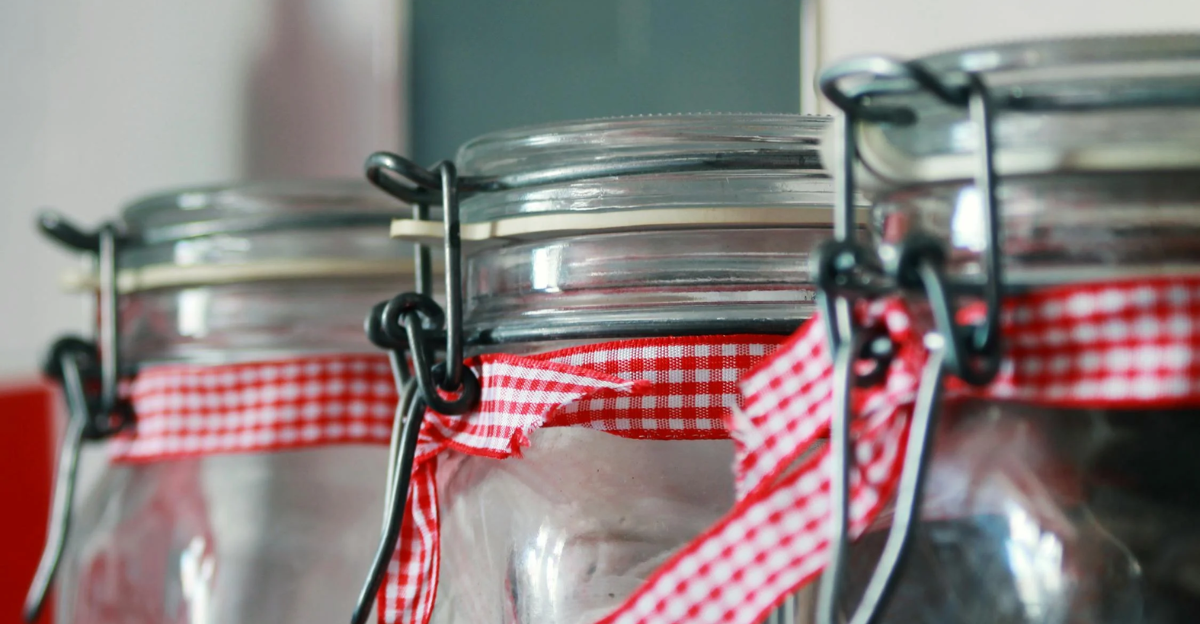
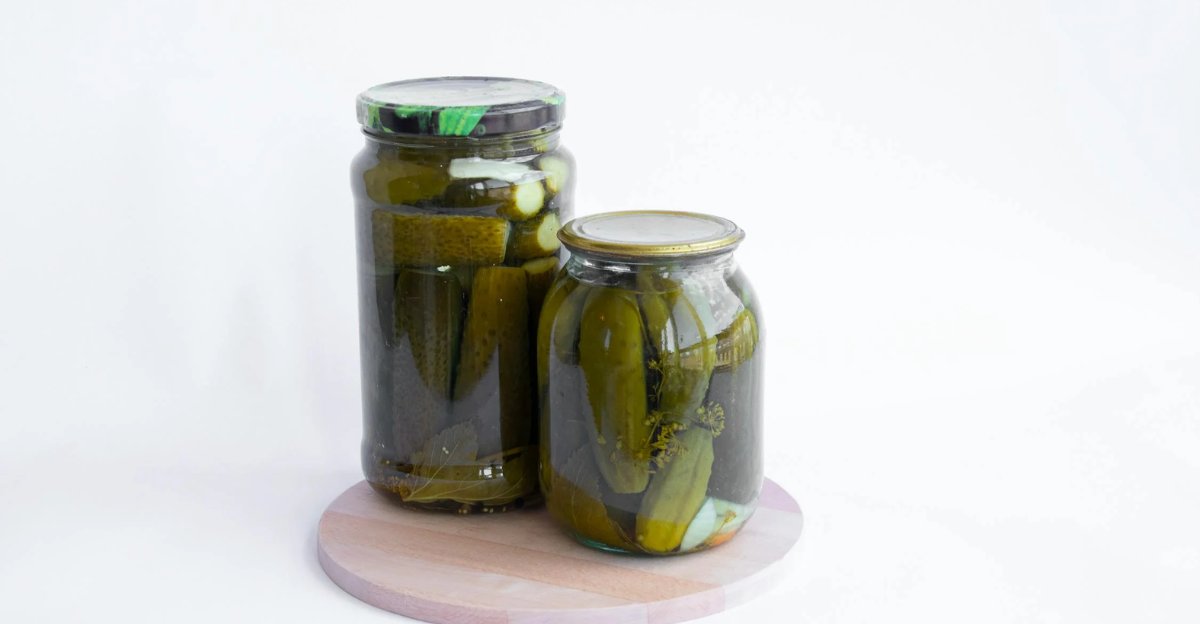
3. Inspect Your Jars
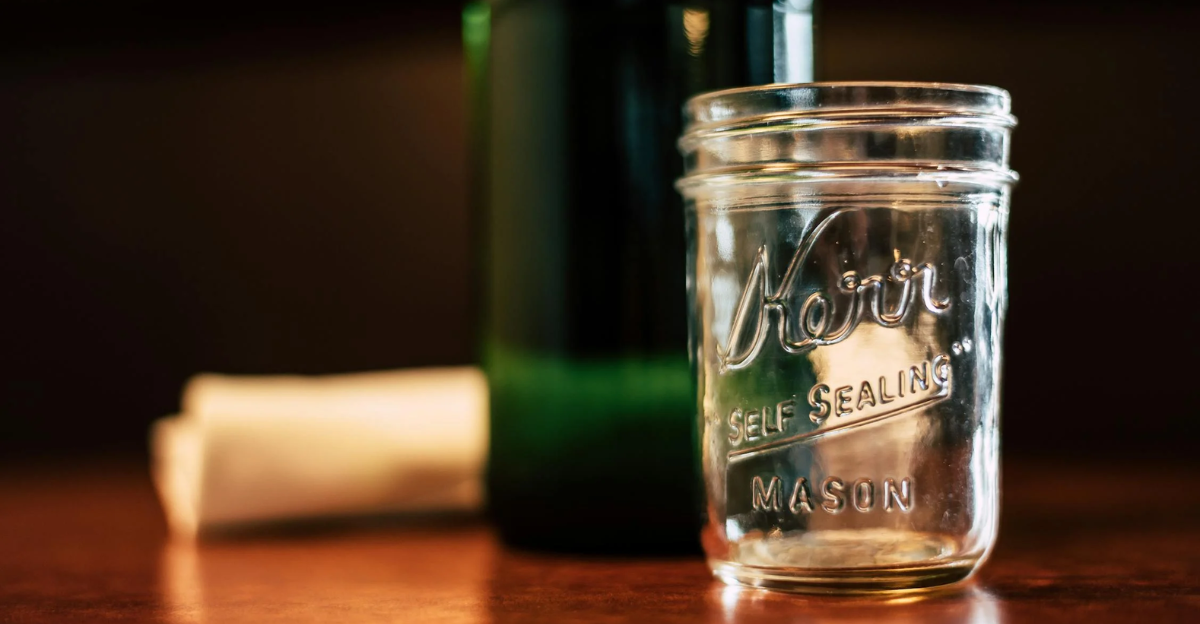
Canning highly relies on the steps you take before the food even goes into the jars. Choosing optimal jars with no cracks or chips ensures no air goes in or out, which can ruin the preservation process. Many canners use mason jars, which can be tapped on to check the integrity of the vacuum.
3. Wash and Sterilize Jars
Making sure that your jars are clean is integral so that no bad bacteria grow beside your food. Clean your jars in hot, soapy water and dry in a well-ventilated space. You can run them through the dishwasher, but just make sure they are placed securely and do not chip.
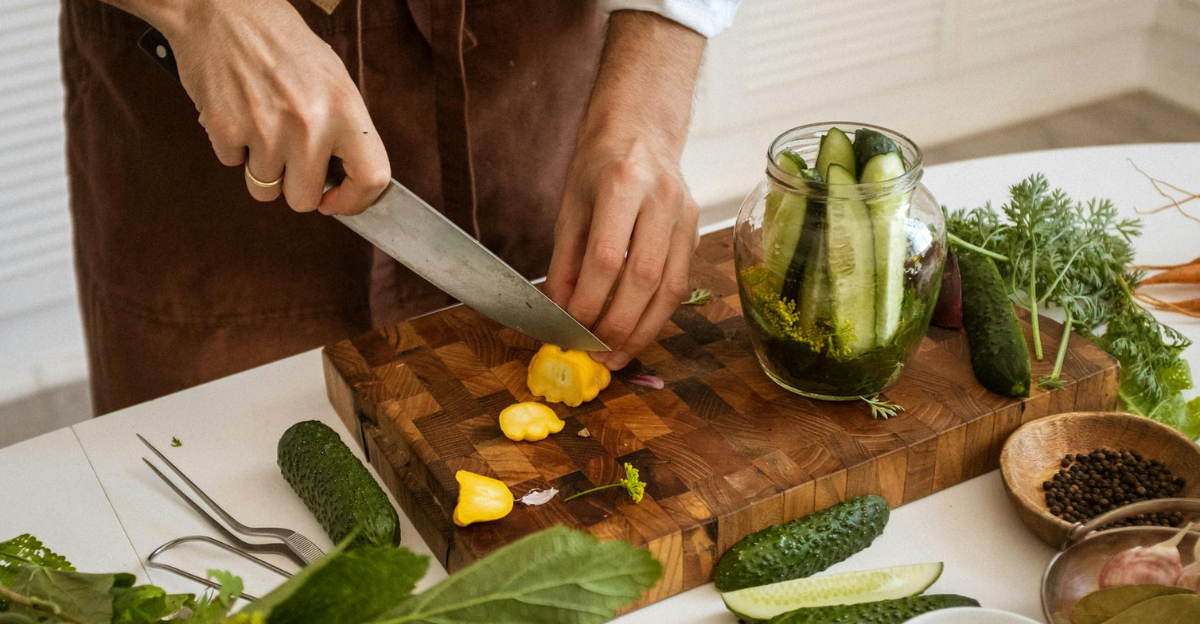
5. Prepare Ingredients
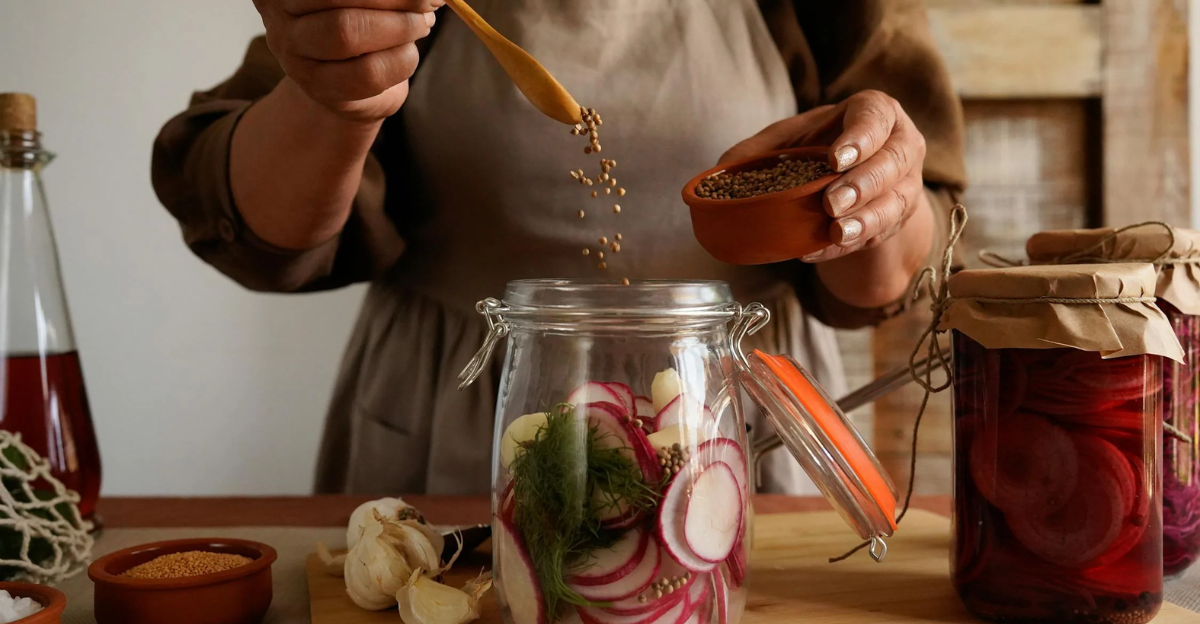
Once you’ve got all the prerequisites in place, it’s now time to gather the ingredients you intend to can. Make sure you wash, peel, and chop the ingredients to fit whatever recipe you will use them in. Prepare ingredients for food you know you will eat to lessen waste.
6. Use Tested Recipes
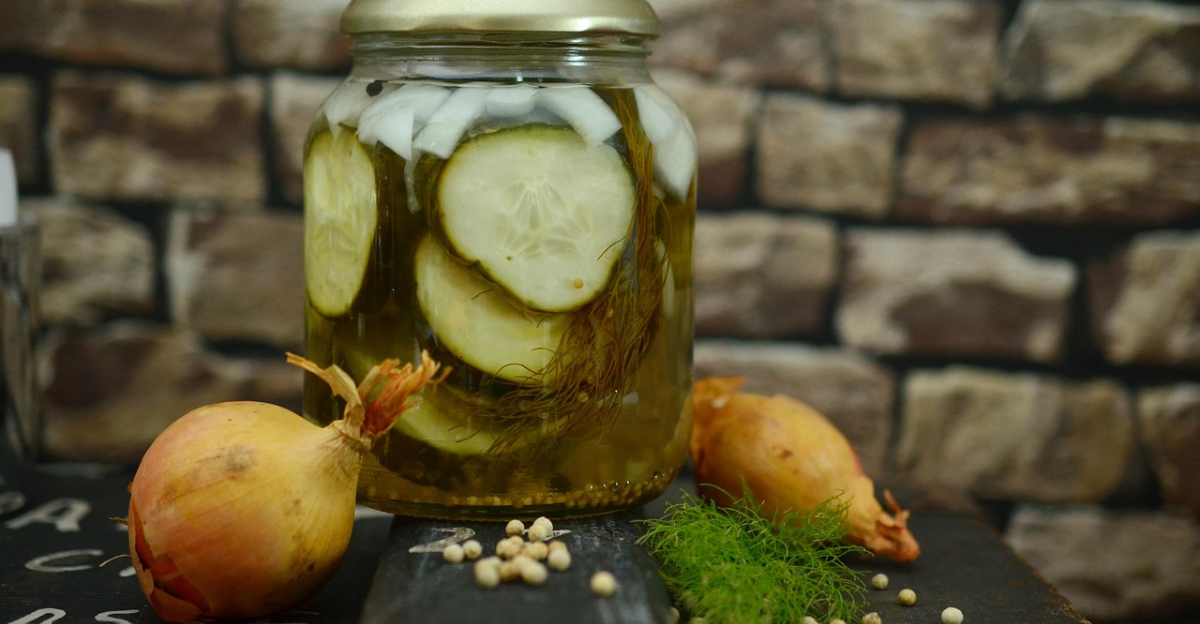
Not every recipe preserves well in canning, so it’s best to use tested recipes. When canning, there are several factors that affect the safety of the food inside, and some foods do not can as well as others. Follow USDA or other tested recipes to ensure the food doesn’t go bad and is safe to consume upon opening.
7. Simmer Lids
If you plan to use two-piece lids, simmer them in warm, not boiling, water to soften the seal. If you plan on using modern jars, this step is not necessary.
8. Fill the Jars
Once you’ve prepared what you wish to can, be it fresh produce or cooked meals, it is time to fill them into their new container. Using a funnel ensures you get everything inside, and make sure to leave at least an inch of headspace.
9. Remove Air Bubbles
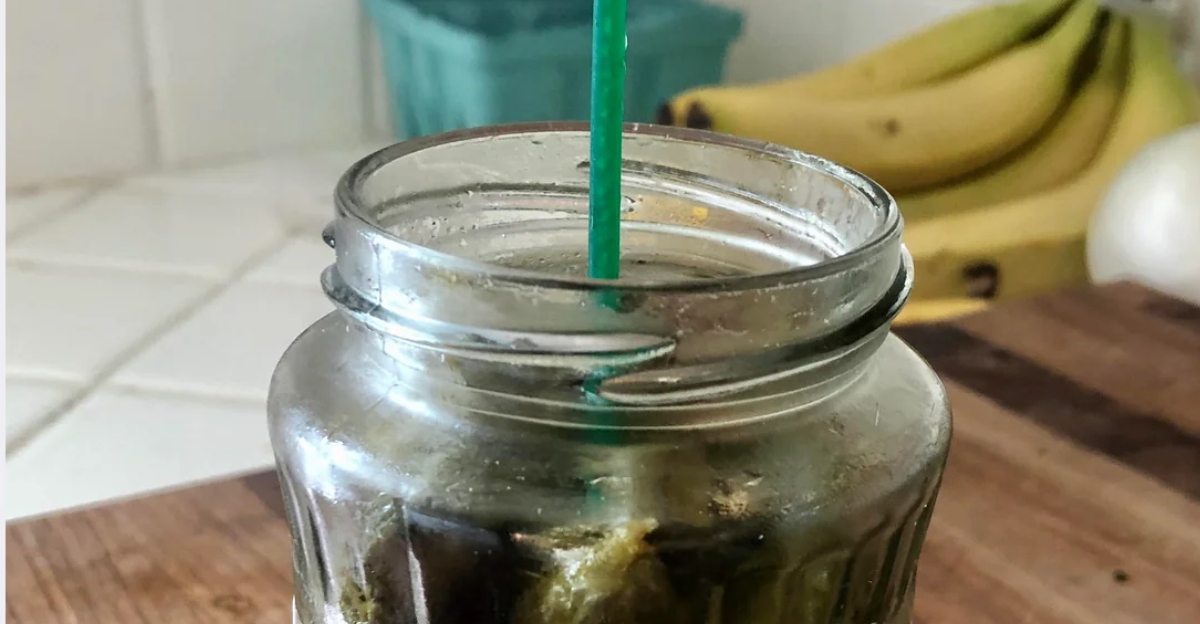
Tapping the jar gently or sliding a spatula on the top helps remove bubbles. Removing air bubbles before sealing allows for a proper seal to prevent the food from going bad. A poor seal can lead to spoilage or unintentional flavors.
10. Wipe Rims
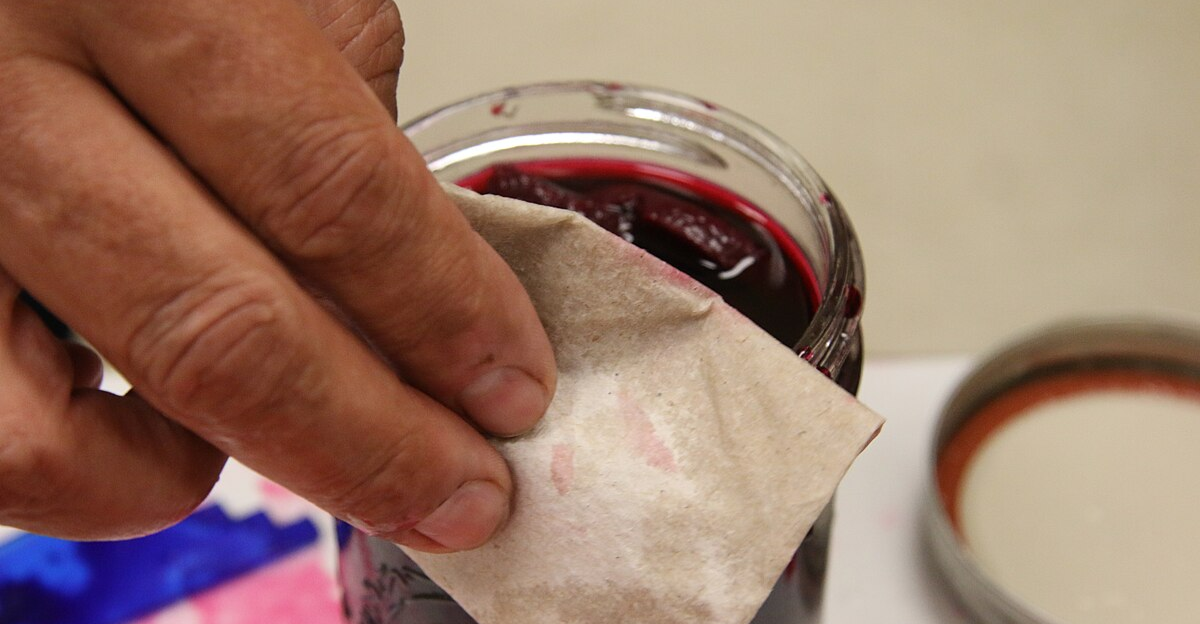
Clean the rims with a damp cloth and make sure no particles are left. Making sure the rims are nice and clean ensures a strong seal. Allowing for a little headspace prevents spillage when closing the lids.
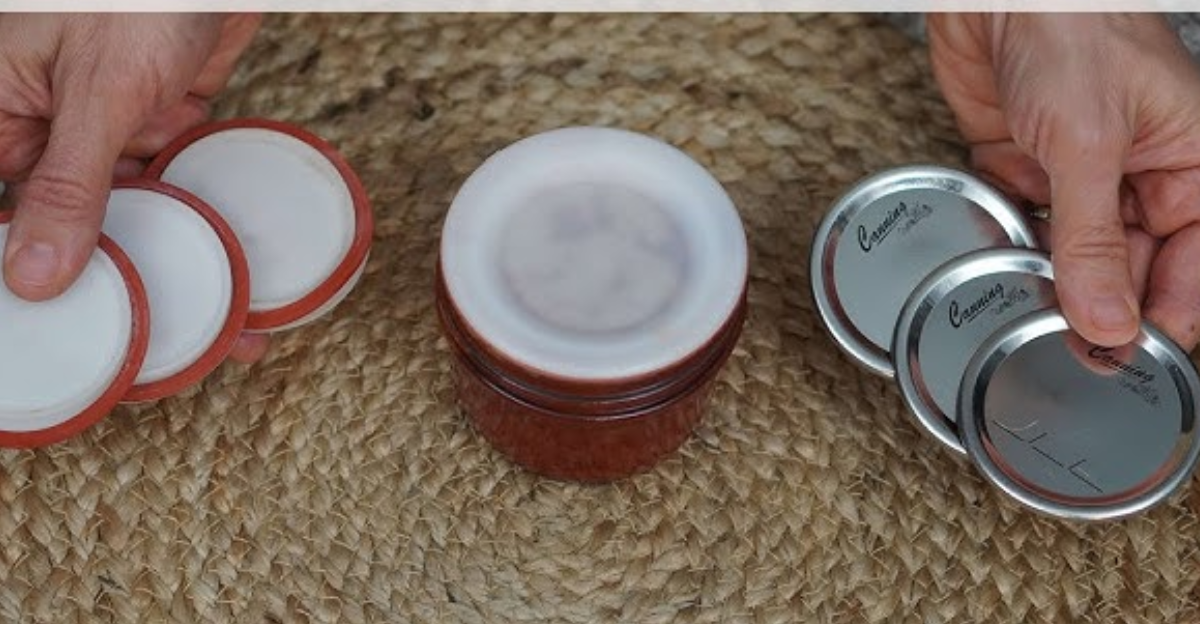
11. Apply Lids and Rings
Place the lids onto the jars and screw the rings on fingertip tight. It is best not to screw it too tight or too loose. Make sure the lids are placed properly since the seal is what protects your food from spoiling.
12. Place Jars in the Canner
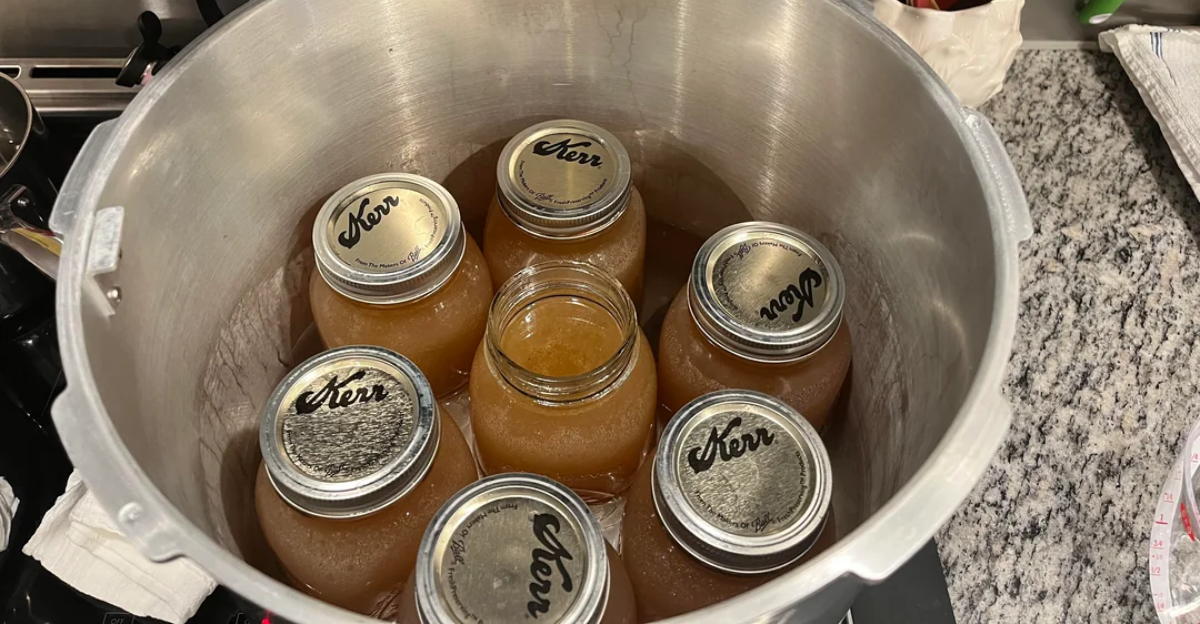
A canner is a pressurized chamber that heats the jars with food to above the boiling point for an appropriate amount of time. This preserves the food and eliminates any potential microorganisms that cause food to go bad.
13. Process the Jars
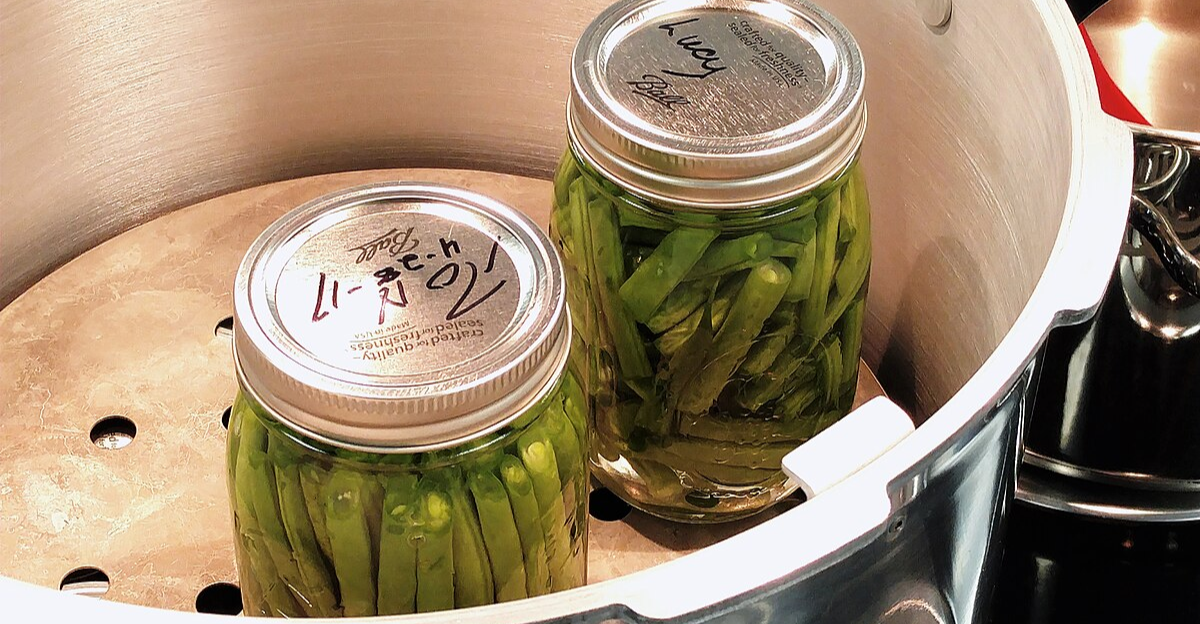
Let the jars stay in the canner for around 10 minutes and only start timing once the water has reached a boil or until the proper pressure is reached.
14. Cool the Jars
Once the time is up, carefully remove the jars from the canner. Leave them undisturbed for 12-24 hours after removal. Doing this will prevent any breakage that can occur because of the temperature changes it has just gone through.
15. Check Seals
After it has cooled and been left undisturbed, the seals should be checked. Press the center of the lid; if there is no flex, then the seals are secure. If it was not successfully sealed, then refrigerate to be consumed shortly after, or reprocess it.
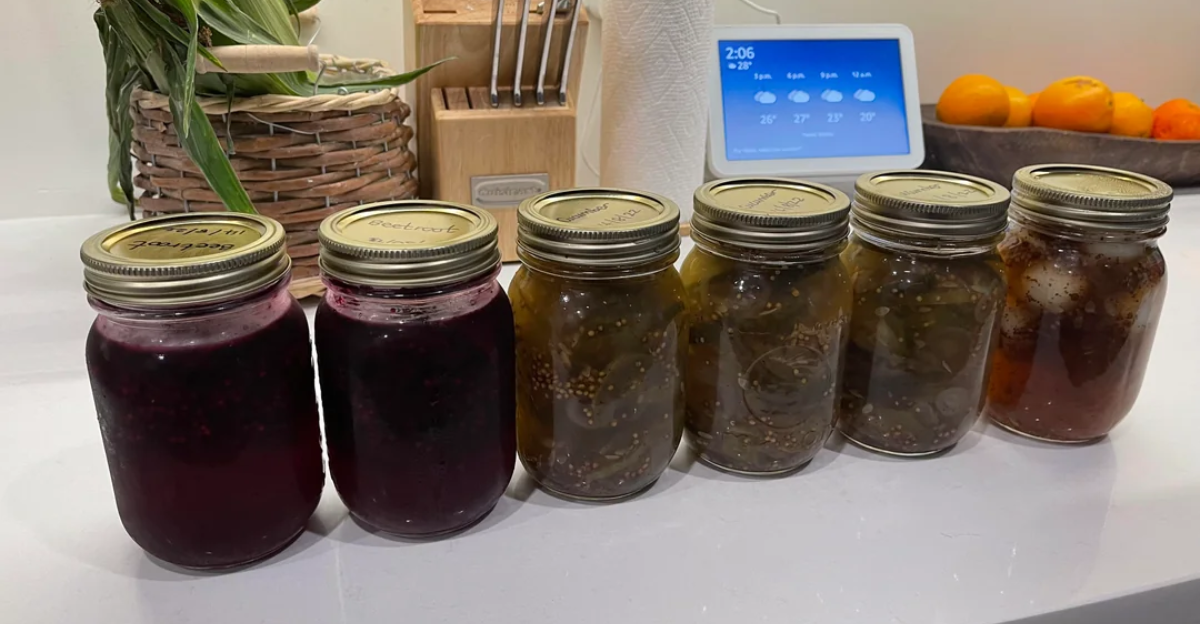
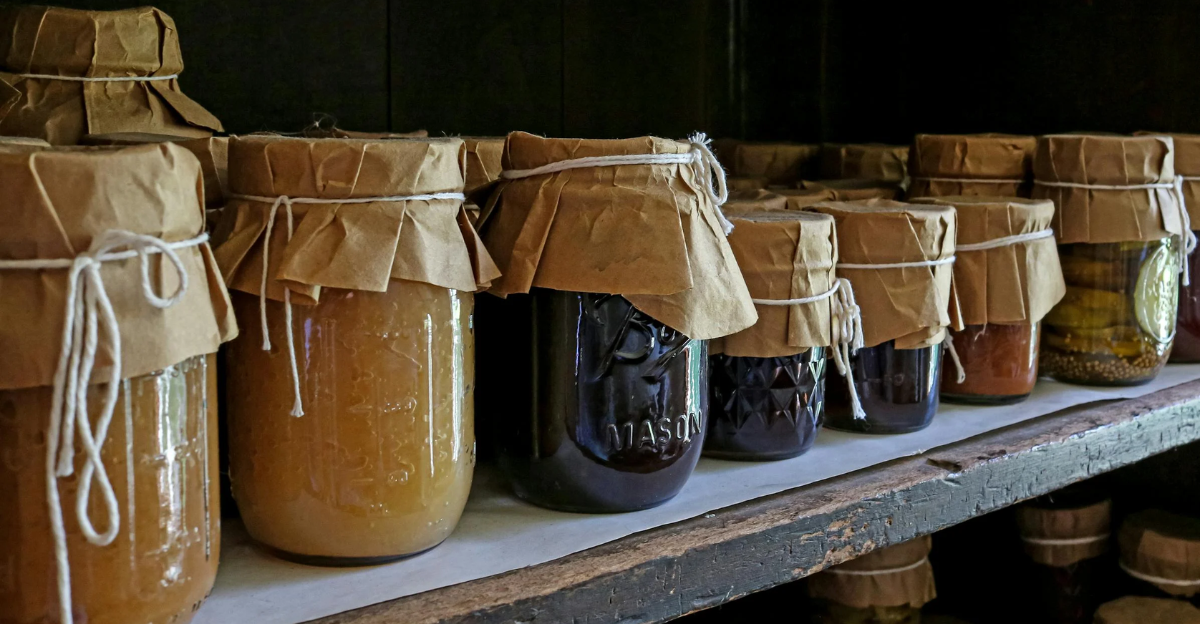
16. Label and Date
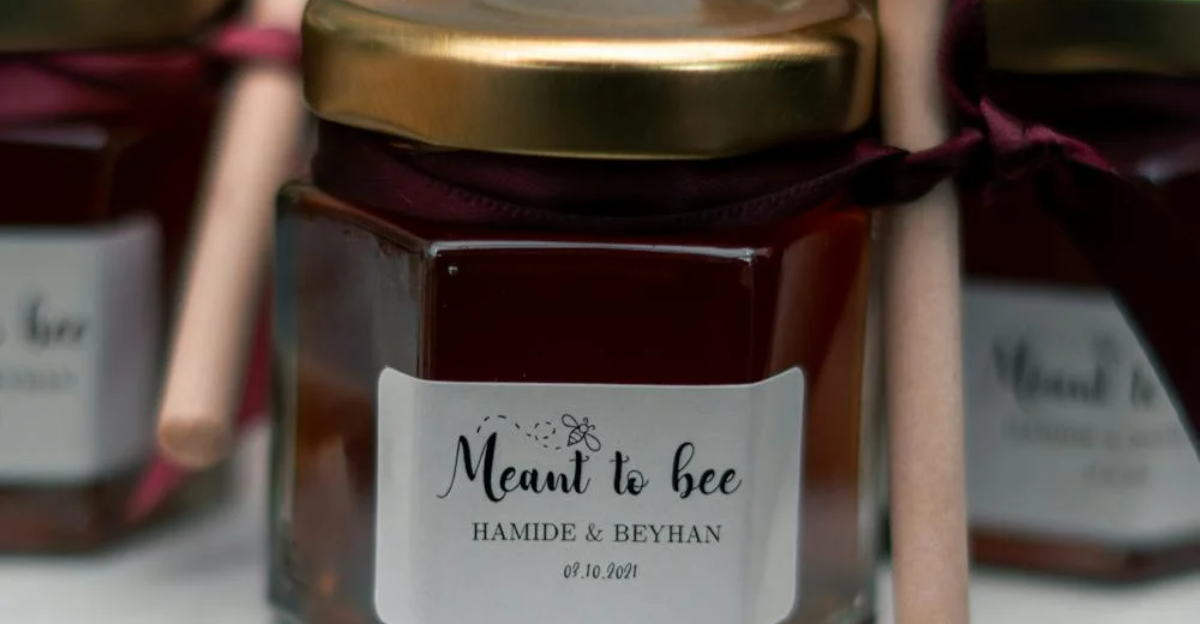
Labeling is just as detrimental to canning as the process itself. Even by using the best canning techniques, you should not allow the food to be left for too long. Label the jars with all the contents and the canning date.
17. Store Properly
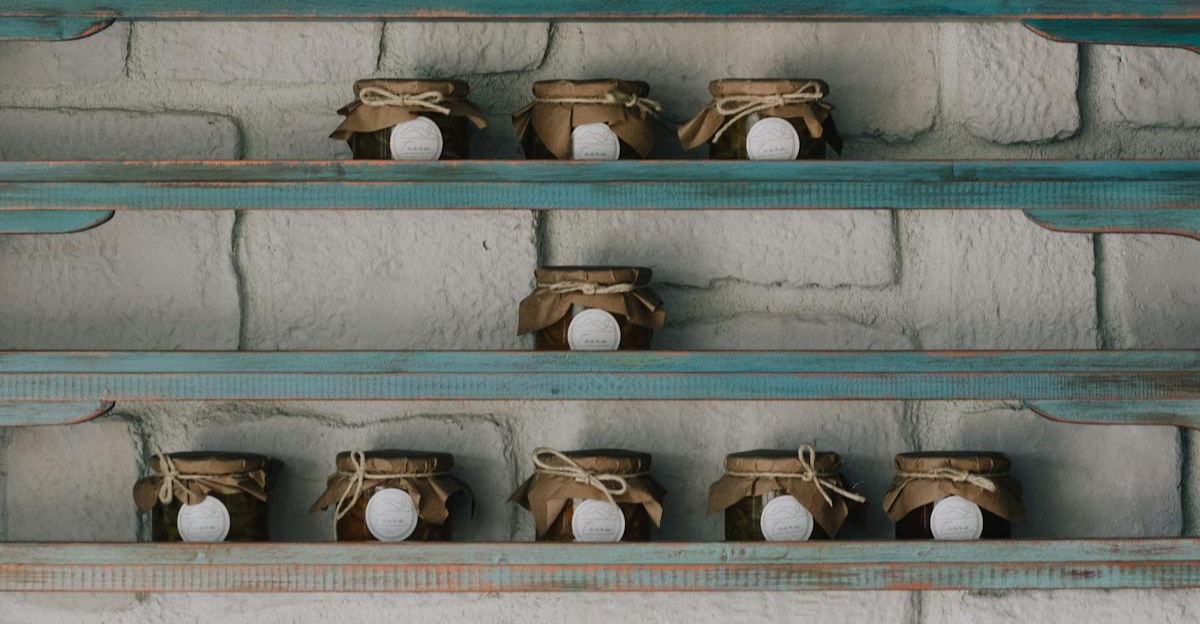
After you have labelled, place the processed jars in a cool, dry, dark place for up to a year. This time varies depending on the food in the jar, so it is best to research properly on what you plan to preserve. Exposing your cans to light can cause color changes and nutrients to degrade.
18. Rotate Your Pantry
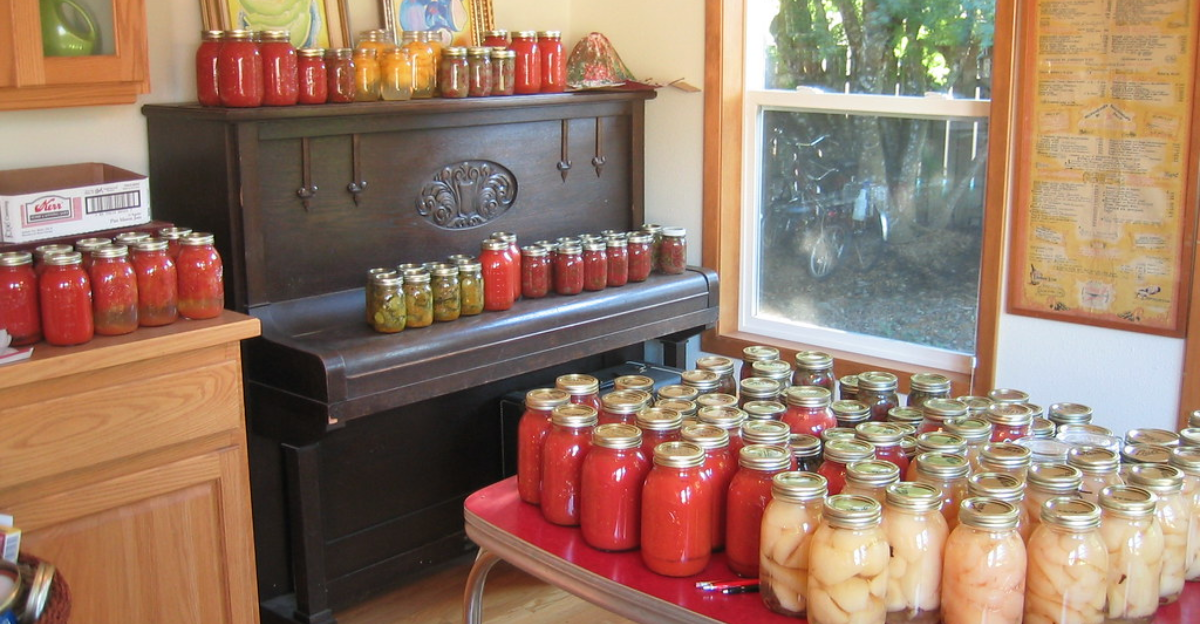
Follow the first-in, first-out rule with your jars to ensure no food is left on the shelf for longer than it has to be. Use the oldest jars first and keep an organized inventory to identify what you still have in stock. Canning is all about saving money but lessening waste as well, so doing this will prevent any unnecessary throwaways.
19. Enjoy At Every Meal

Canning allows you to enjoy pre-made meals in a sustainable way. You can use whole meals or ingredients in recipes to be used in everyday meals. If done properly, you will be able to enjoy what you canned with maintained taste and quality.