
Georgian food isn’t generally well-known around the world. However, this quaint culture has some really tasty meals that are quick and easy to make. Khachapuri is a baked dish that’s similar to an open-faced pie and is really tasty, not to mention simple and straightforward to make. In this straightforward recipe, we’ll guide you through the steps of making your own delicious chicken and egg Khachapuri. You’ll be enjoying a tasty homemade pie in no time, and can wow your family or guests with something different!
Ingredients
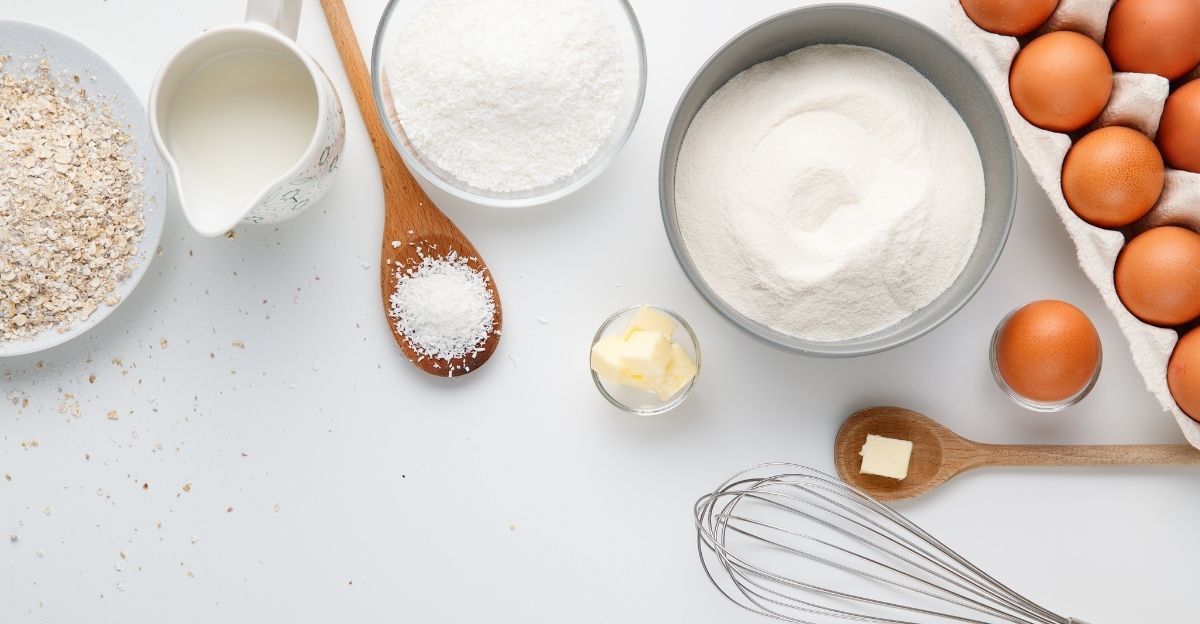
In order to make Khachapuri, you’ll need the following ingredients:
- All-purpose flour
- Yeast (instant)
- Sugar
- Water
- Unsalted butter
- Cheddar and Feta
- Eggs
- Chicken
- Sea salt
- Fresh dill
- Milk (optional)
Getting good ingredients is key to making a really tasty Khachapuri. You want to aim for things like freshness and be sure about the specificity. For instance, the butter is meant to be unsalted because it’s supposed to add a rich, creamy texture to your dish, not overpower the saltiness. Don’t forget, salt is a separate ingredient already!
Making the Mixture
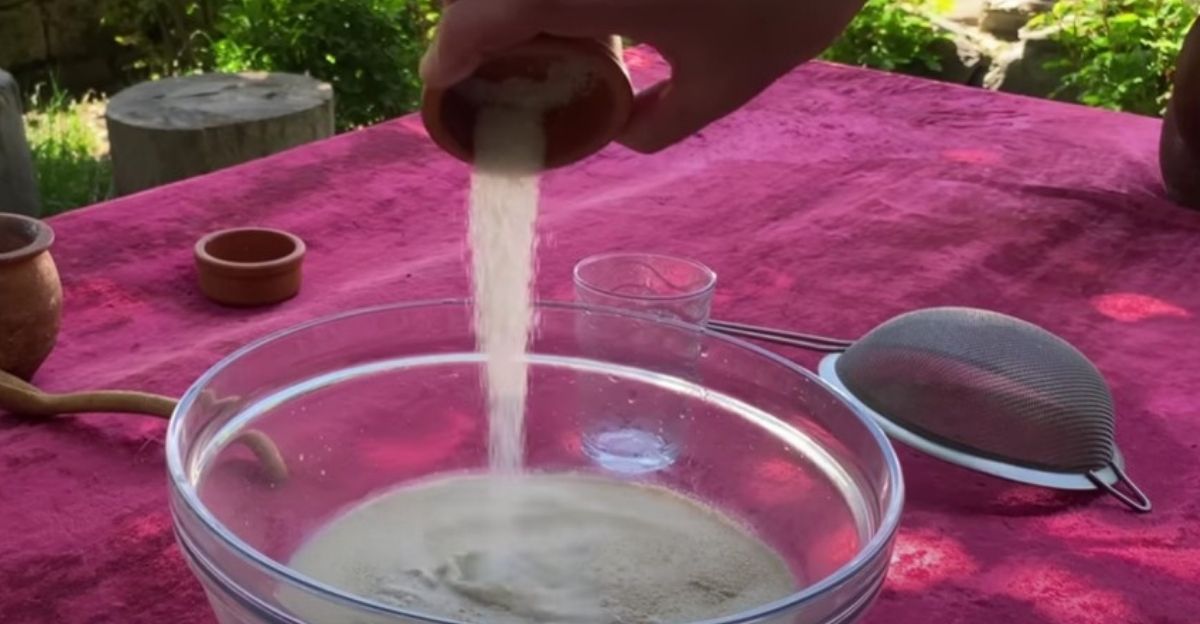
In order to start off, you’ll want to mix the ingredients together for the dough. First, start by adding the yeast, a little salt, and a little sugar to a bowl. Then lightly add water (or milk, or both) while you stir the mixture together. Be sure to stir the mixture well, as this helps to ensure a good mix and helps to stimulate the yeast, which will cause your dough to become lighter, fluffier, and rise more. Once you’ve mixed the ingredients, cover the bowl and let the mixture breathe for at least 10-15 minutes.
Adding the Flour
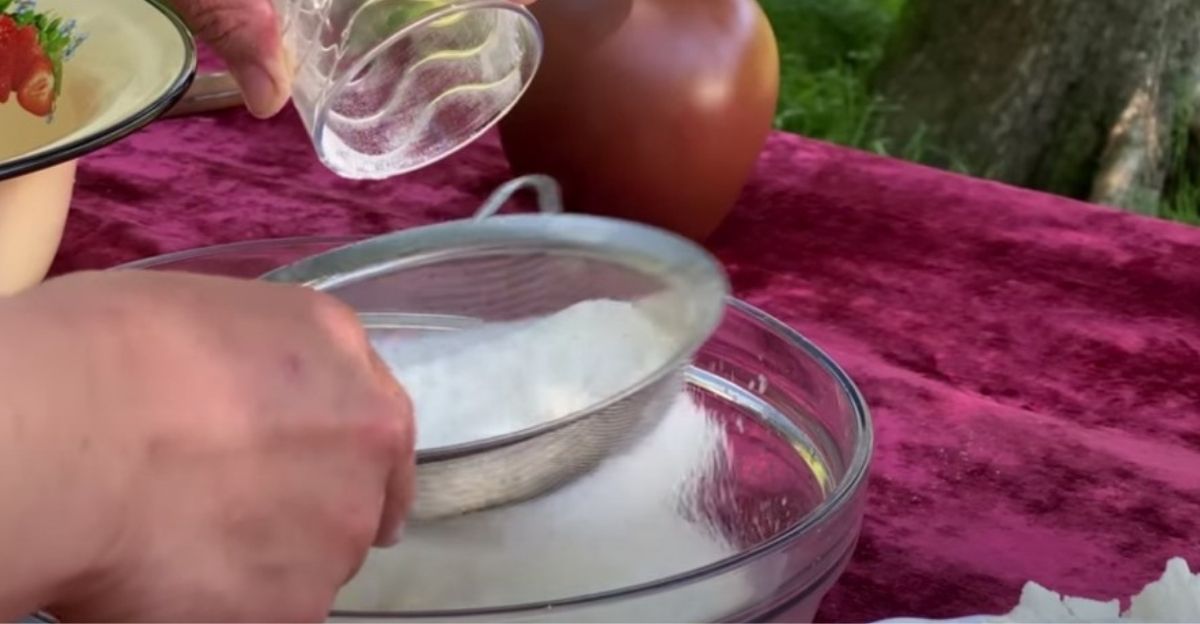
Next, you’ll want to sift in the flour. This is an important part of the process, as the finer the flour, the better your dough. Once the flower is sifted in, stir and mix it well. You want to ensure that all the liquid mixes with the dough as best as possible. You should use a spoon for this part, as your hands can get quite dirty and won’t do the trick as well as a spoon does. Once this is done, cover your dough and let it rest for around 30 minutes to allow the yeast to rise.
Kneading the Dough
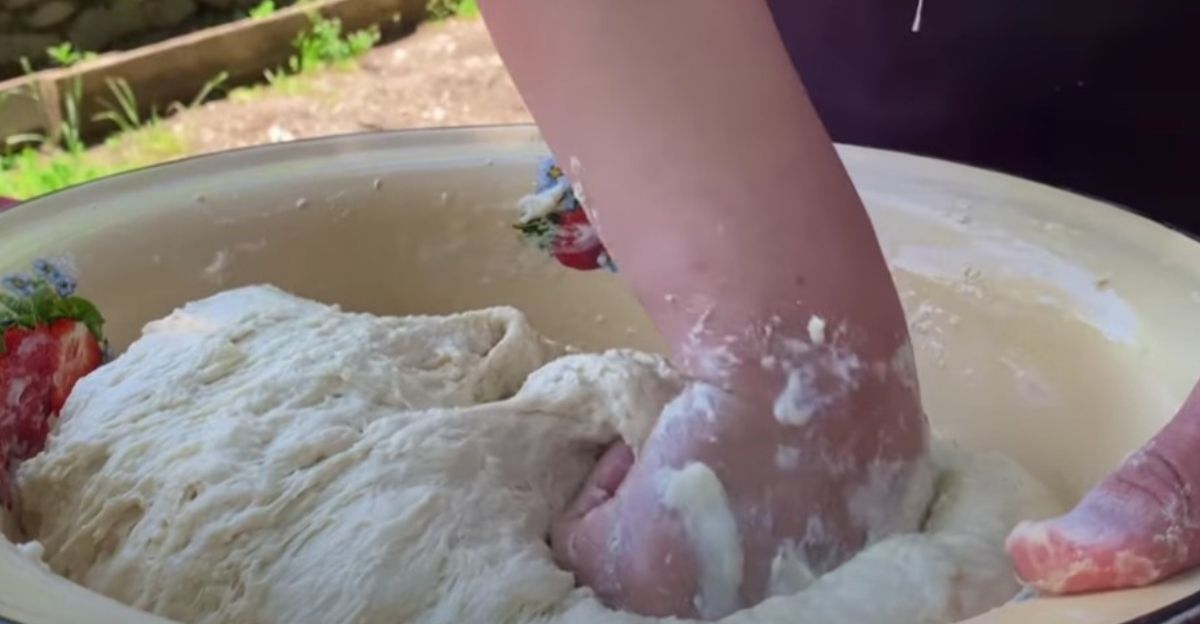
Now comes the fun part. Once you’ve let your dough rise, it should be ready to work. You want to ensure that the dough is solid, not still liquid. If it is still liquid, keep adding flour and mixing it until it becomes ready. Once your dough is ready, tear off small, fist-sized clumps of it. Be sure to knead the dough in your hands for a little while as this makes the dough smoother. Once that is done, repeat the process until you have a series of small balls of dough ready.
Readying the Dough and Cheese
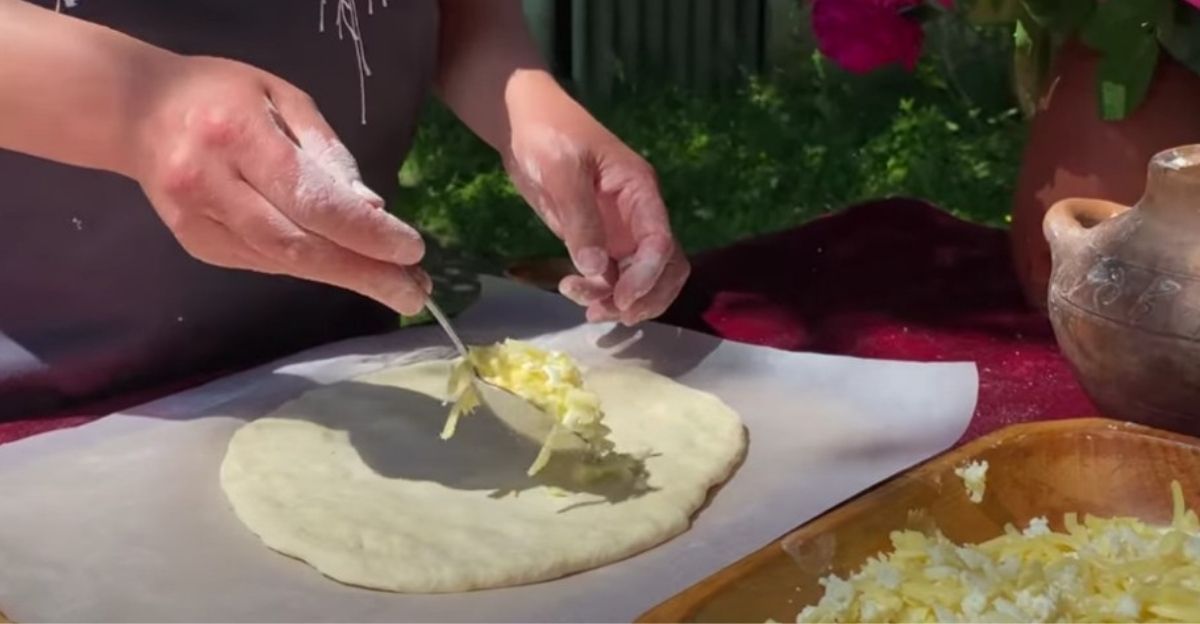
Next, you’ll want to roll out the dough into little, pizza-shaped circles. Be sure not to make the rolled out dough too thin. Khachapuri is usually quite thick by nature. On top of this, you’ll want to prepare your cheese. Grate the cheddar and crumble the feta together into a separate bowl. You want to ensure that there’s a good mixture of cheese and feta, as this will really help the taste and texture of the dish. Once you’ve rolled out your dough, place the cheese in the center of the circle.
Folding the Dough and Coating with Egg
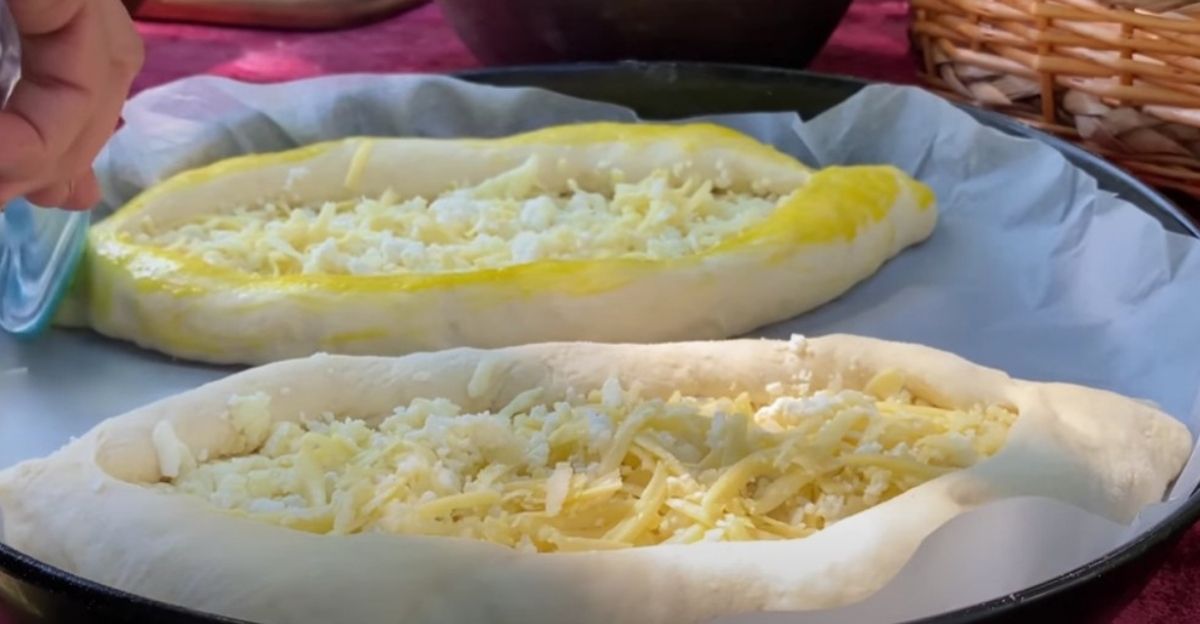
Once you’ve placed the cheese in the centre of your dough, fold the sides over. This creates the distinctive shape of the Khachapuri and makes it easier to eat. Once you’ve folded the sides over, crack an egg into another bowl and mix it well. Now, take a small brush and dip it in the egg. You want to coat the sides of the Khachapuri with the egg. This helps to bind the dough, but also gives it a really nice texture and color.
Adding Egg and Chicken to the Dish

Now, make a small clearing in the cheese in the centre of the Khachapuri. Then, take an egg and crack it into the center of the Khachapuri. This is the distinctive mark of a Khachapuri and really helps to give the dish its distinct look and taste. As for the chicken, I would highly recommend that you pre-cook it or get premade chicken, as roasting it with the Khachapuri from scratch won’t really work. Once your chicken is cooked, pull it apart and add some pieces to the Khachapuri around the egg in the center.
Baking Time
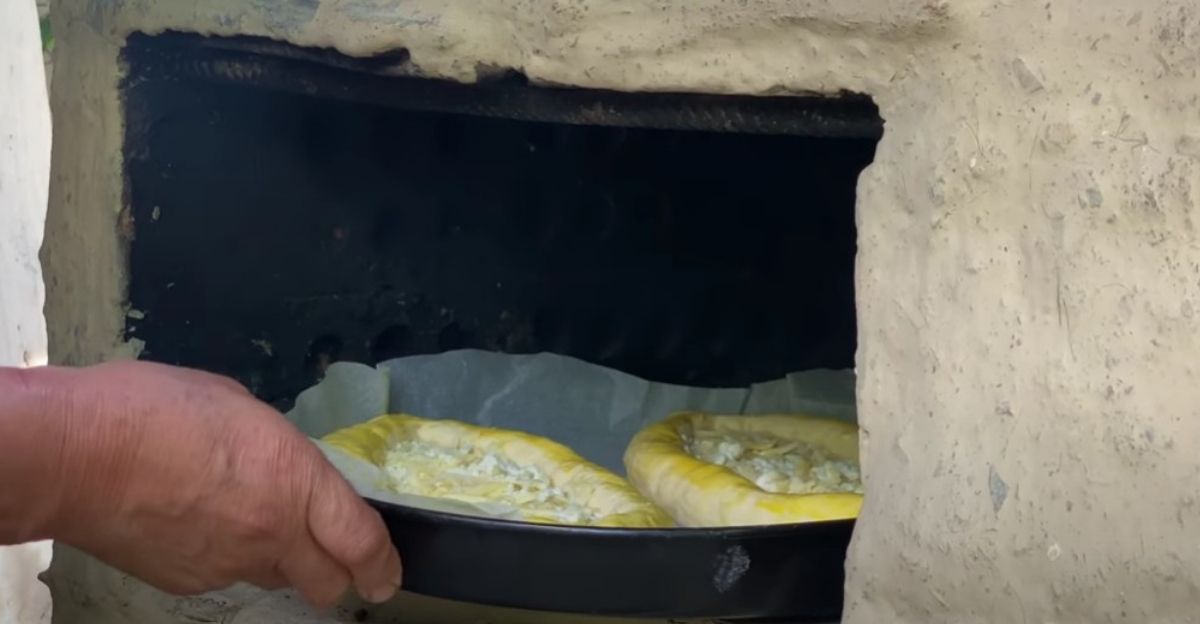
Now that your Khachapuri is ready to go into the oven, be sure you’re prepped first. Before putting it in, preheat your oven to 400°F. Once your oven is ready, slide the Khachapuri in. Allow the Khachapuri to bake for 18 to 20 minutes. Once that’s done, raise the temperature of your oven to 450°F and continue to bake for 8 to 10 minutes. A good way to check on how the Khachapuri is doing is to monitor the egg whites in the center. They give a good indication as to whether the dish is done around the 30-minute mark.
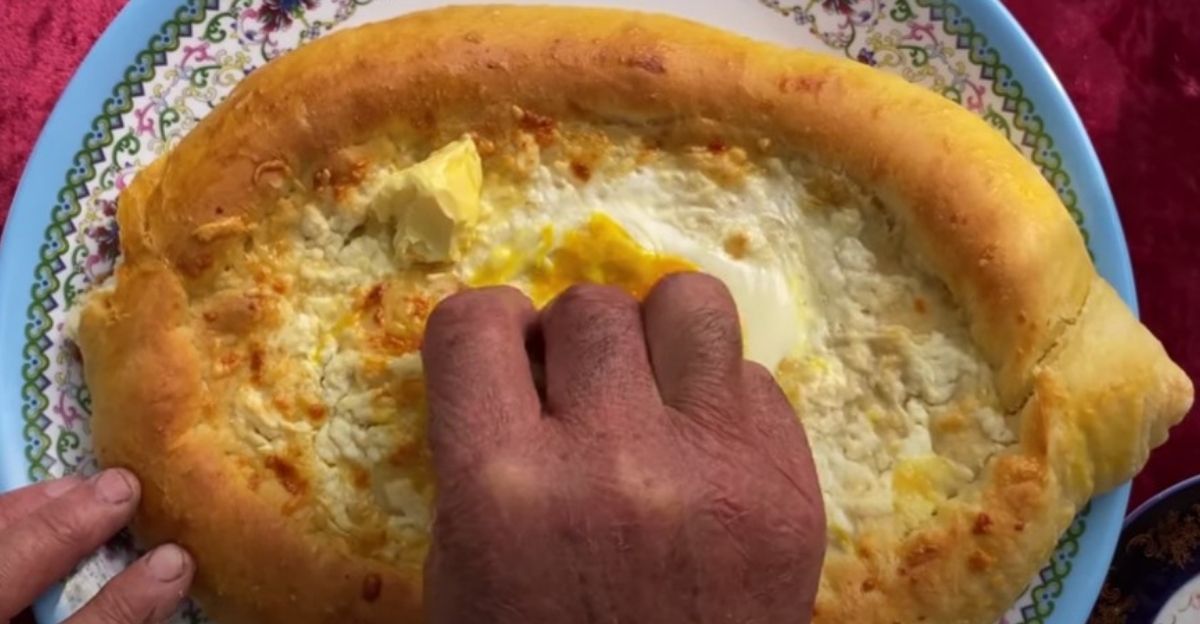
Allow to Cool

While you might be tempted to eat the Khachapuri straight out of the oven, it’s important to let the dish cool for a little while. This way, you allow the cheese to solidify a bit more and ensure that the egg isn’t too runny when you tuck in. Usually, around 15-20 minutes is enough to let the dish cool appropriately. Now you can add the fresh dill to your dish, or any other spices or herbs you’d like to add for flavor.
Serve and Enjoy

When serving the Khachapuri, remember that you can either eat it alone as the main part of the meal or serve it alongside something else. If you’ve still got leftover chicken, maybe you could make a lovely chicken salad to go with the meal. The Khachapuri is generally eaten by hand, so try pulling pieces off and eating them like that to stay traditional. However, how you eat it is entirely up to you.
A Delicious, Quick Meal
The Khachapuri is a truly delicious and very simple dish to make. You can play around with it quite a lot, adding almost any variety of toppings you’d like, and the beautiful thing is that it pairs with so many other meals easily. Roasts, fish, vegetable bakes – Khachapuri is a wonderful addition to all of them. You’re only really limited by your imagination when it comes to toppings, so be sure to experiment, especially if you’re vegan or vegetarian.